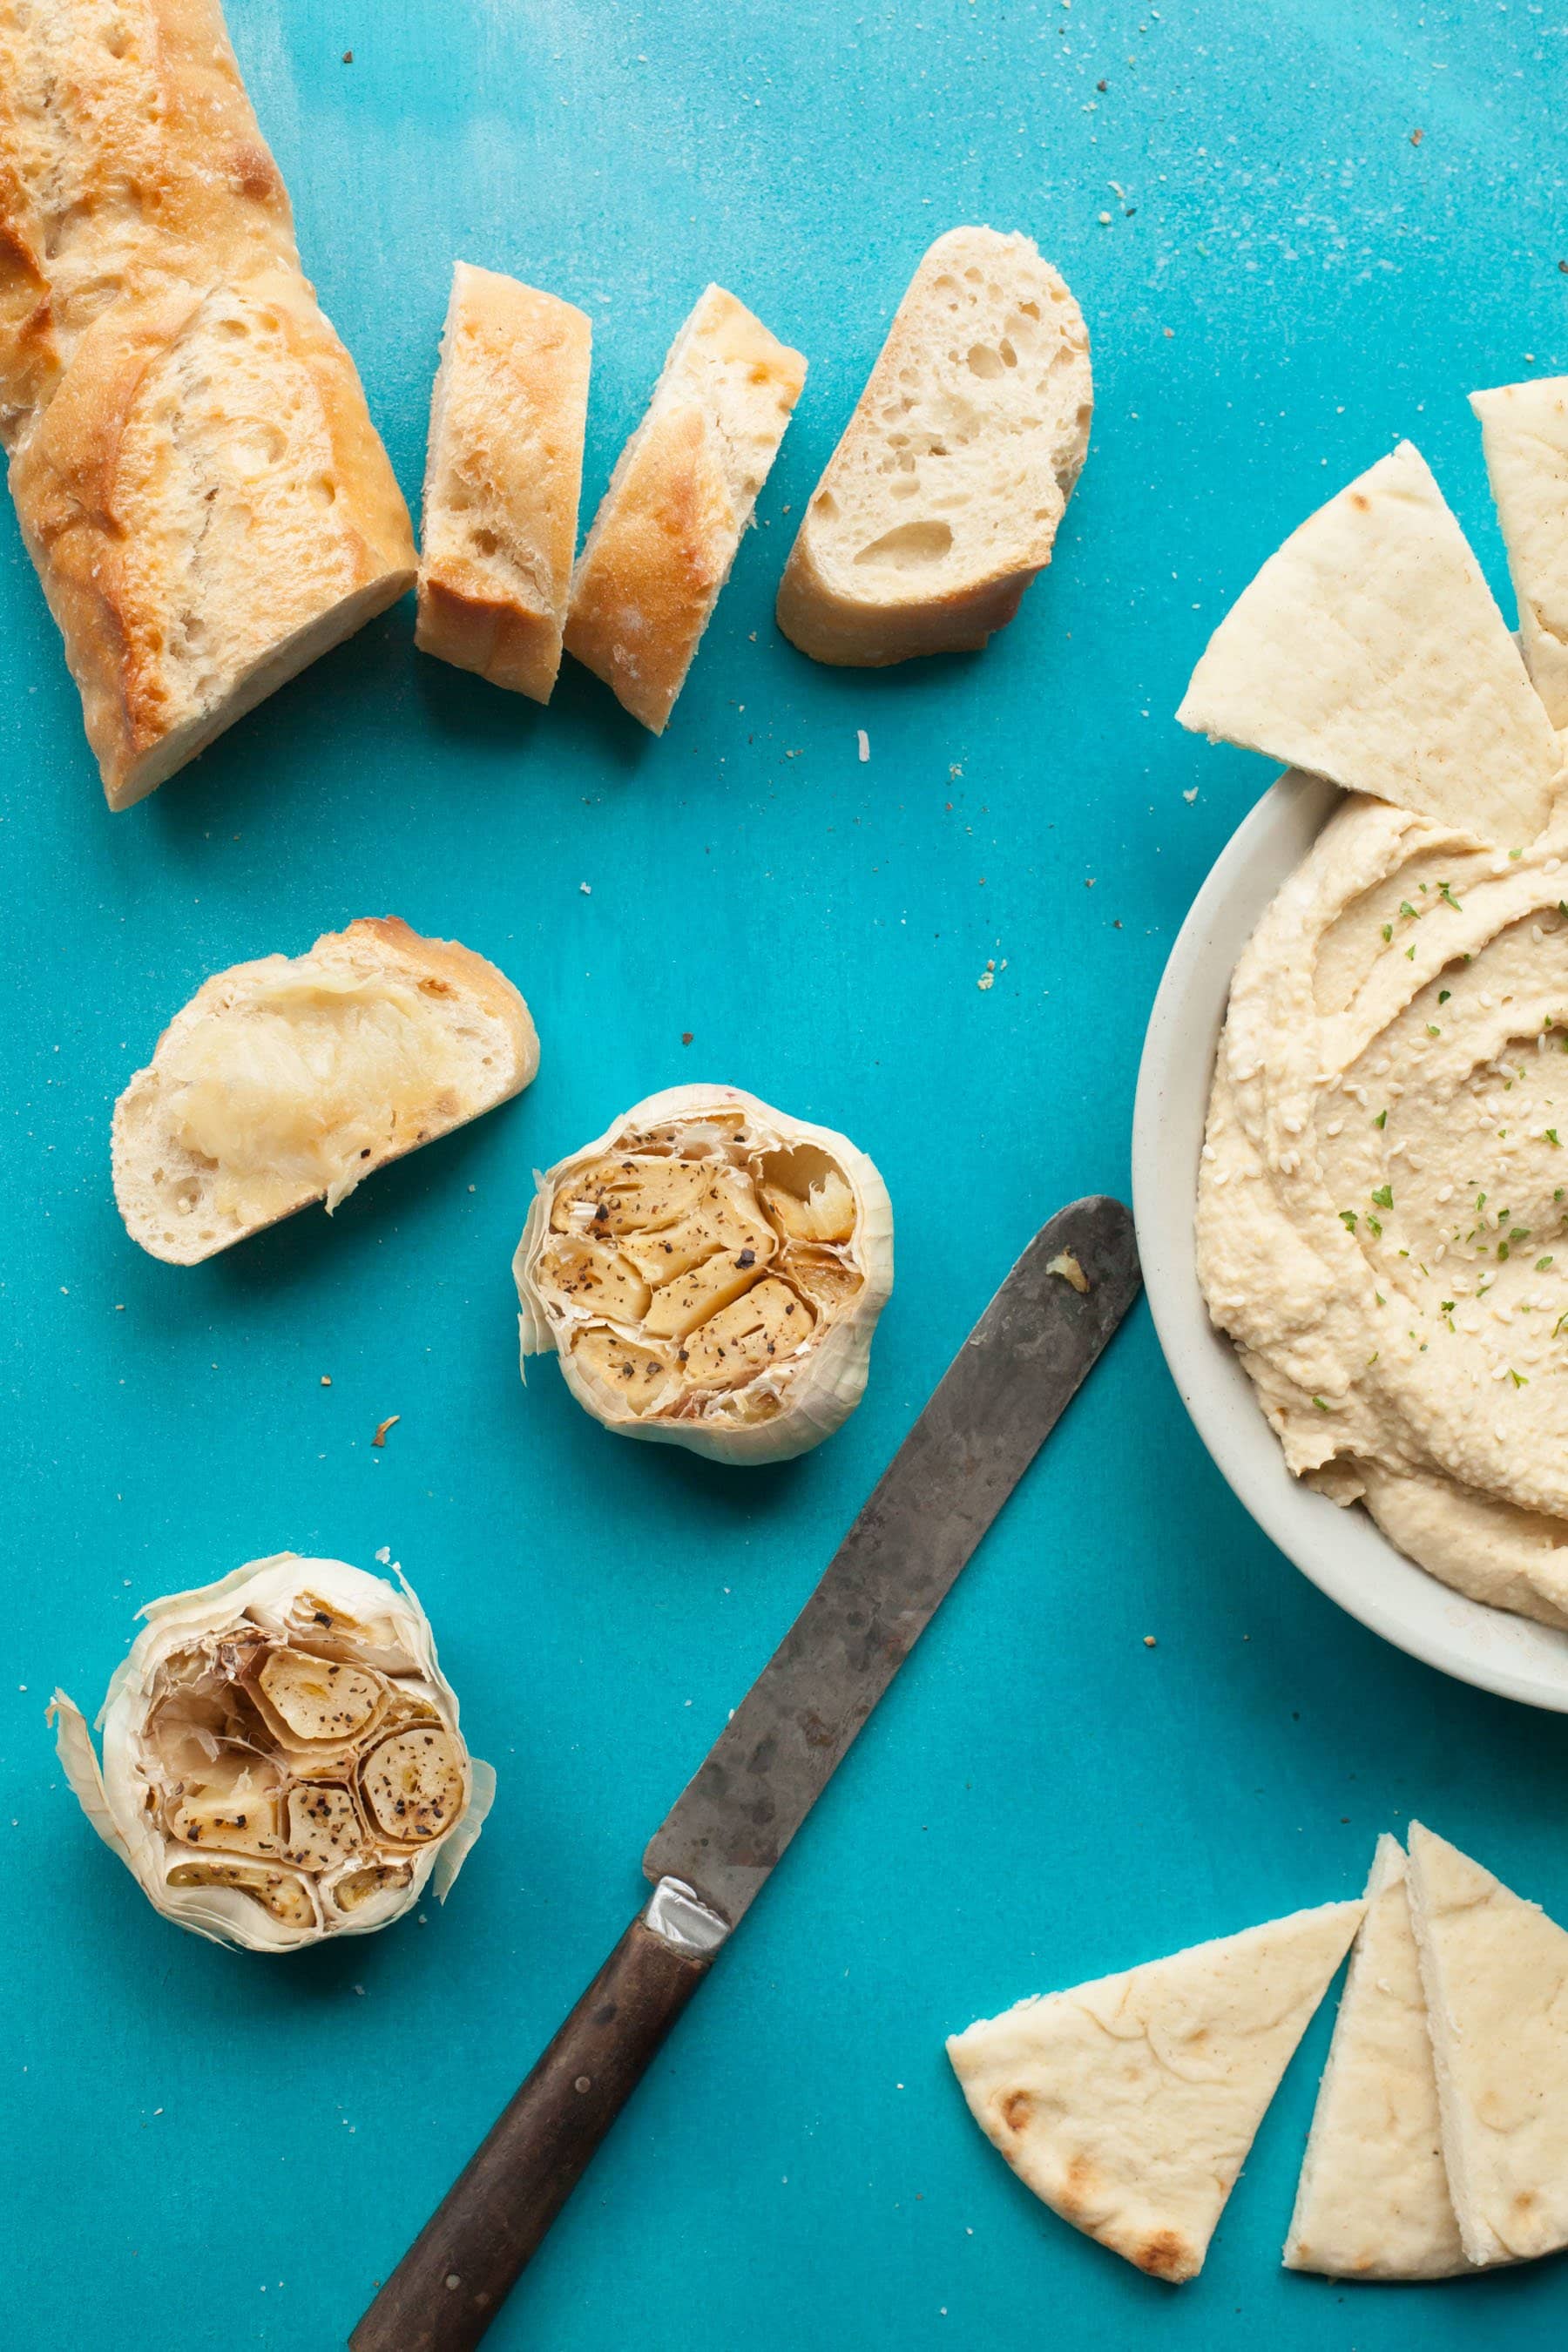
If you’ve never roasted a head of garlic, you are seriously missing out. It’s nothing like the spicy and aggressive (although totally delicious) flavor you get from raw garlic.
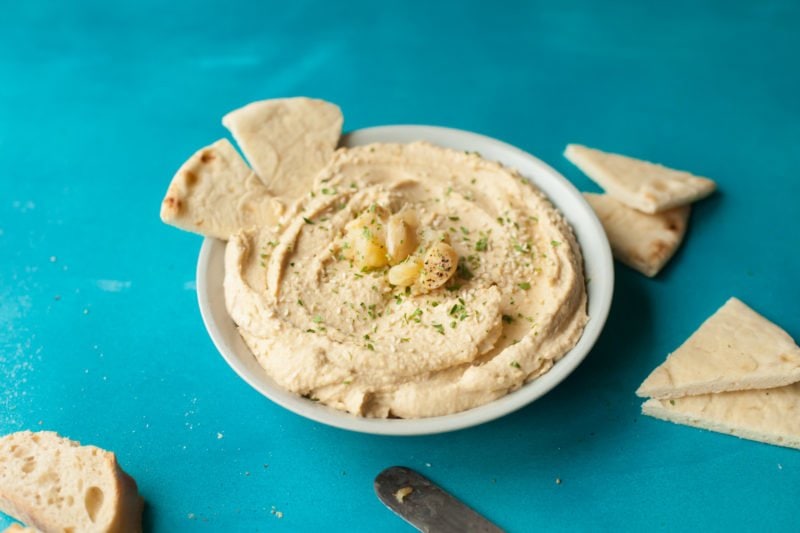
The end result of roasted garlic a mild, nutty, sweet, creamy paste that is excellent mixed in with pasta, mashed potatoes, and even just spread on a warm slice of crusty bread. One of my favorite meals is a head of roasted garlic, a baguette, a bunch of grapes, and a glass of wine. Yum! Let’s get to roasting.
Step 1: Pick the right garlic.
The key to good roasted garlic is picking a good head for roasting. You want to find a head that is relatively flat on the bottom so it sits level while roasting.
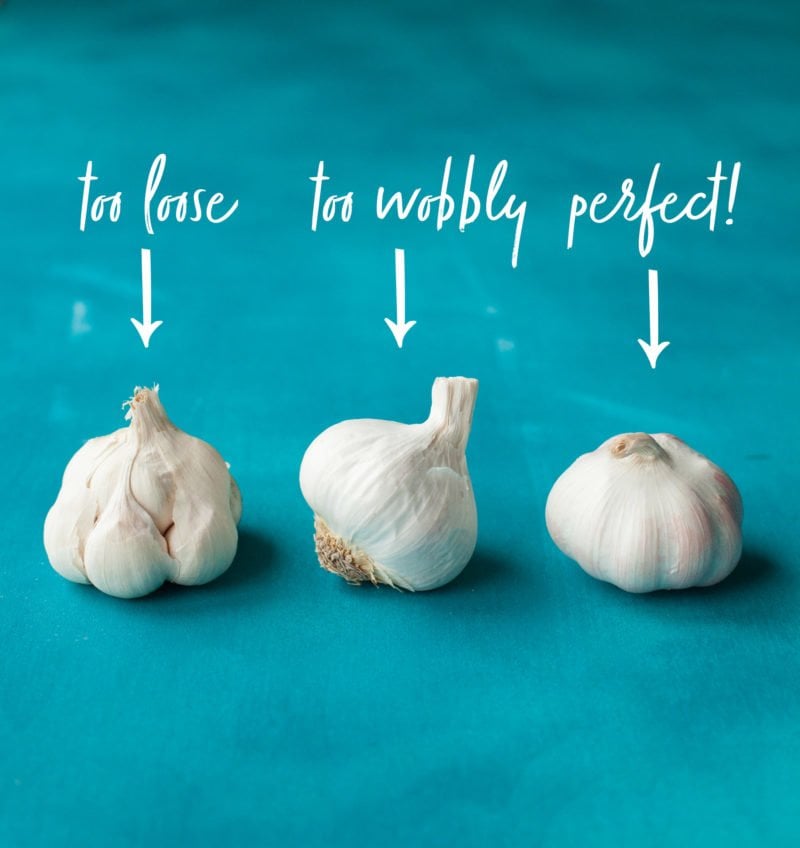
You also want tight, compact cloves. Bonus points if you can find a head of garlic that is more flat than round. We’re going to lop off the top of the head to expose the cloves, so the flatter the head, the less garlic needs to be chopped off.
Step 2: Prep the garlic.
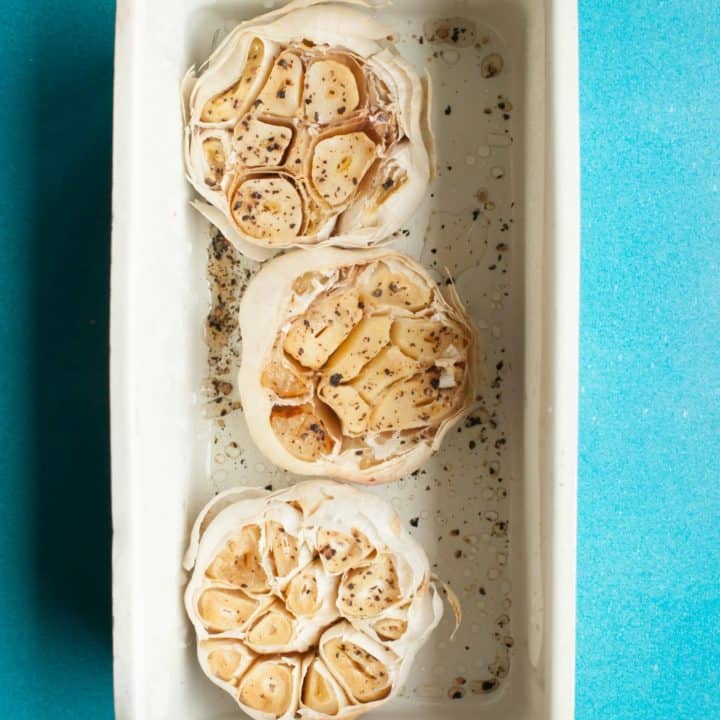
Once you’ve got your perfect garlic at home, go ahead and preheat your oven to 400°F. Then, using a sharp knife, carefully slice off the top 1/2″ of the head. This should expose the flesh of the majority of the garlic cloves.
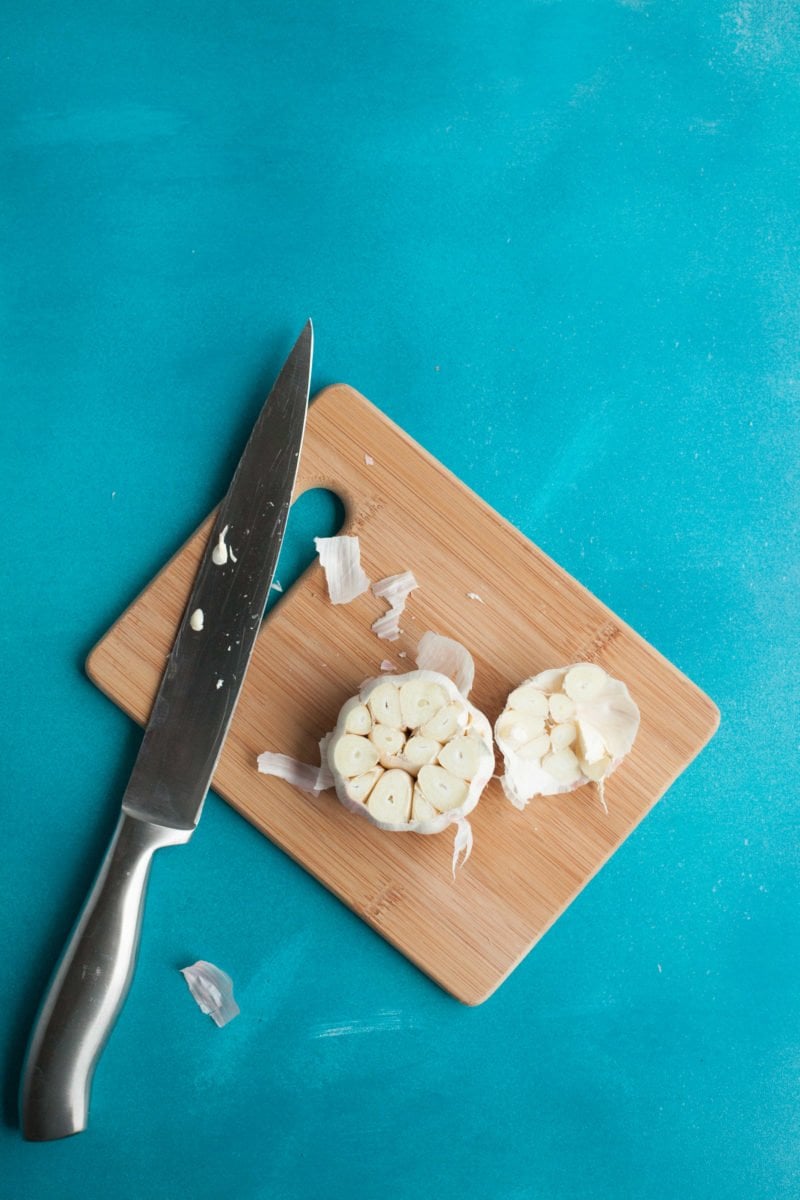
Dispose of (compost!) the top. Or put it into your stock bag. Then place the head, cut side up in a baking dish. I’ve also heard of people just popping them into the cups of a muffin tin. Sounds like a good plan, too!
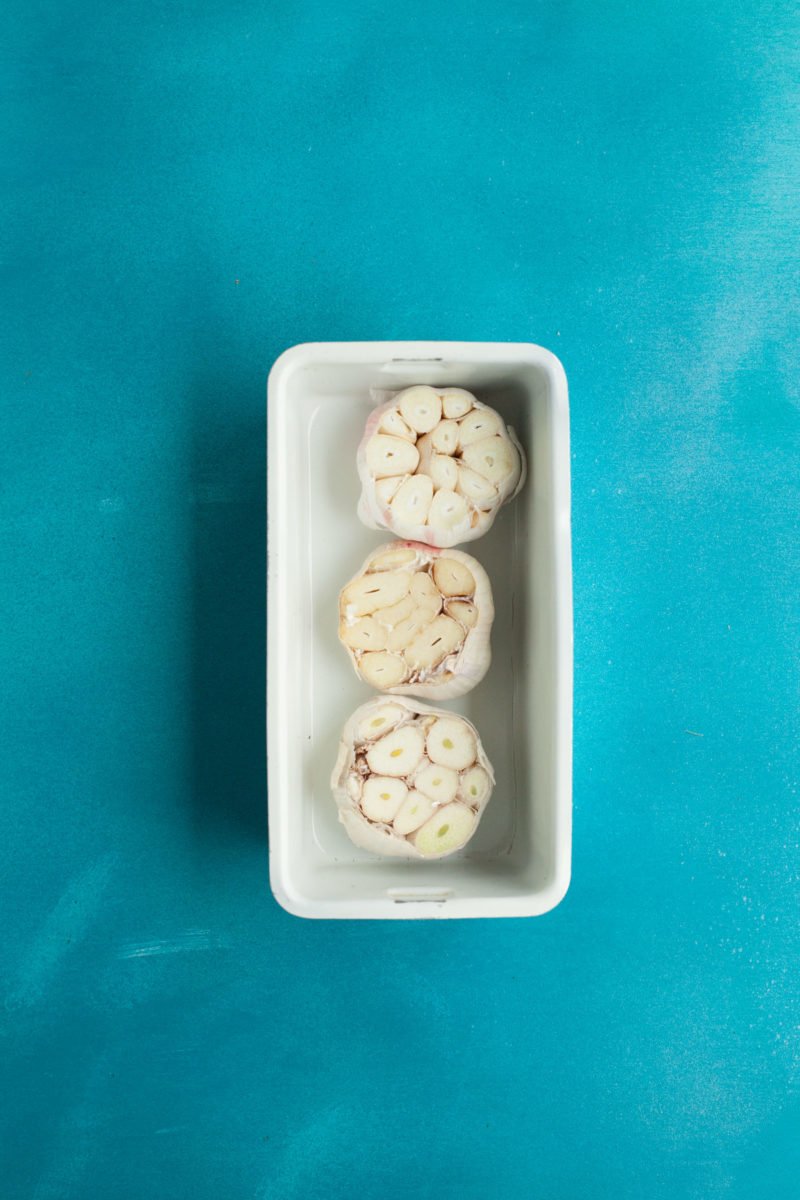
For a burst of extra flavor, I always sprinkle on some salt and pepper. No measuring here. Just give them a good seasoning.
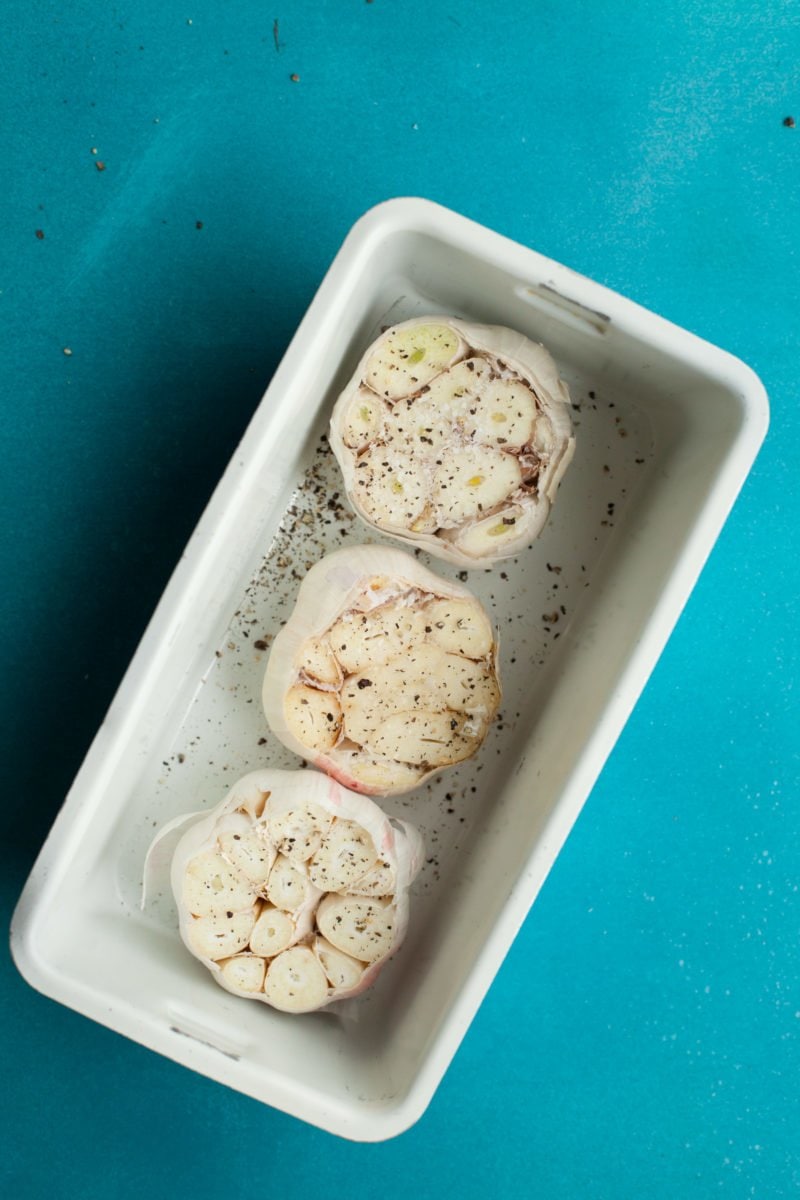
If you’re feeling particularly fancy, you can shake on some other seasonings. Oregano and basil would be great! You could also spritz it with some lime juice and cumin and then add it into some fresh salsa. Yum!
Step 3: Roast those babies.
You’re pretty much done. The only thing left to do is to cover the baking dish with aluminum foil and pop ‘er into the oven. I usually bake them at 400° for 35-40 minutes, or until the garlic is very soft when squeezed. Your house is going to smell AHHH-MAZING.
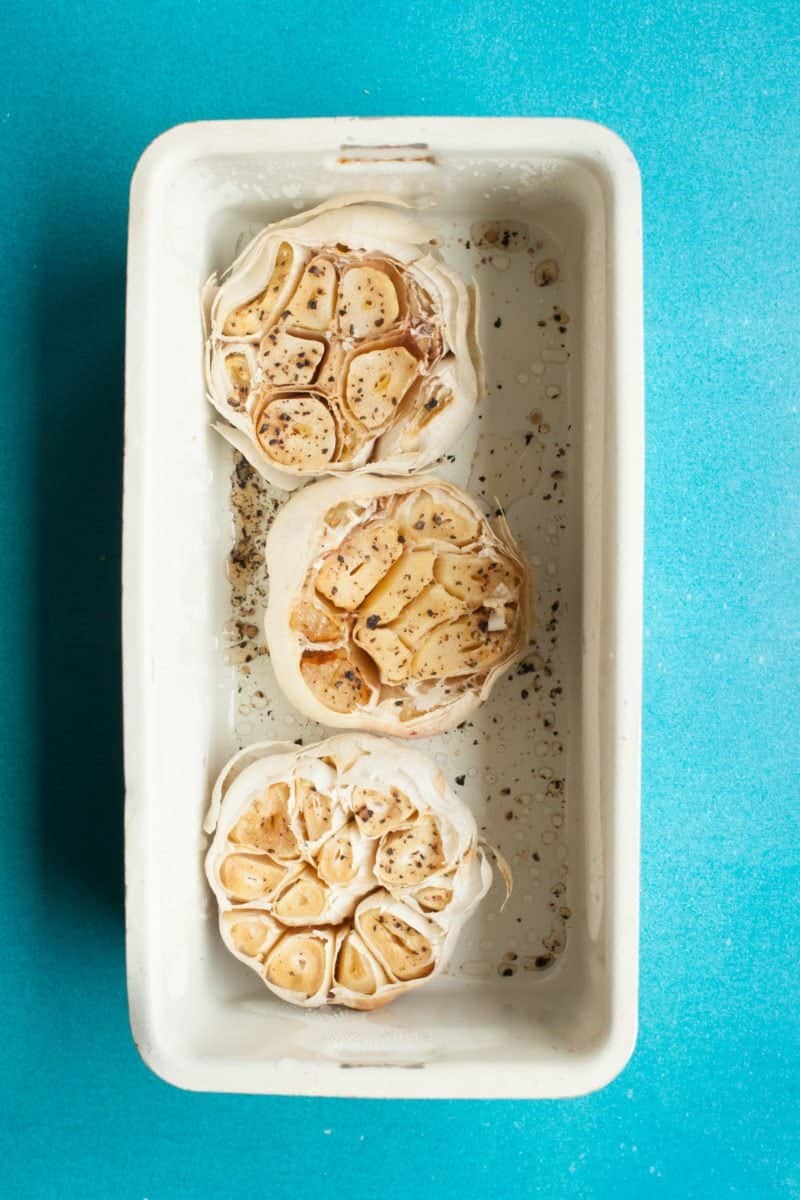
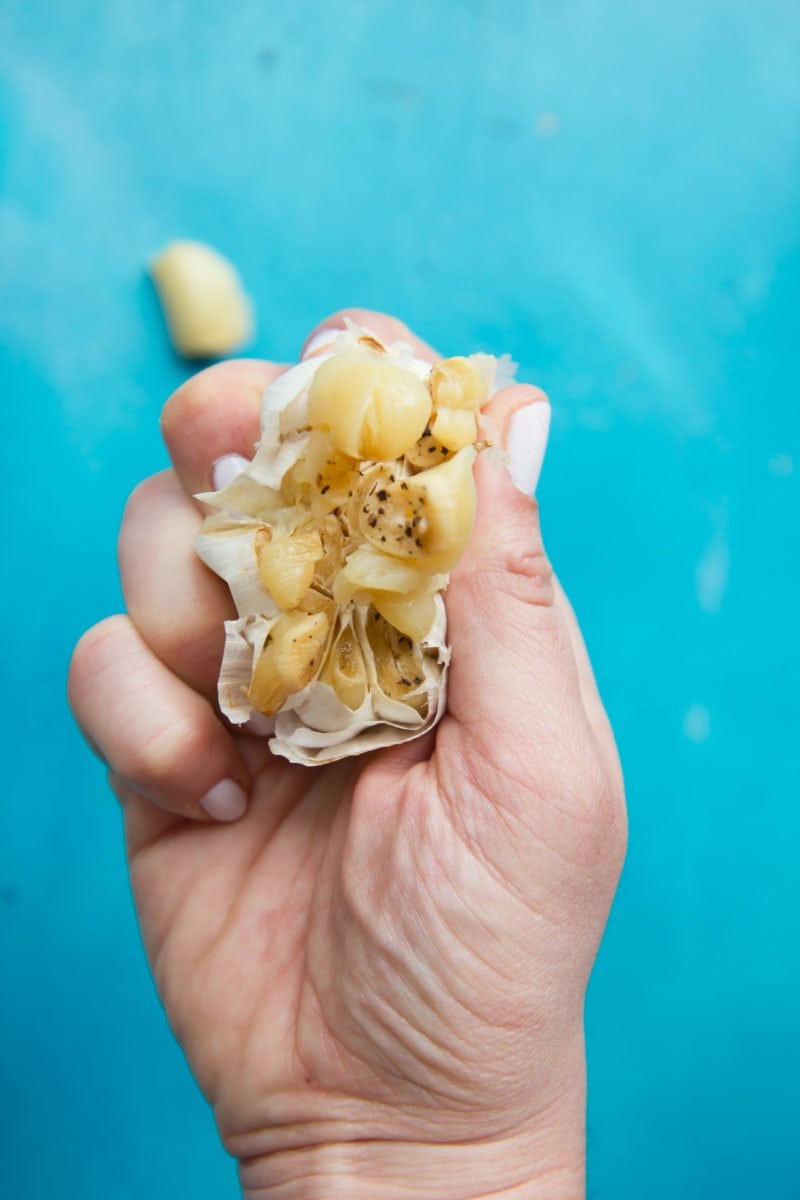
When you pull the garlic out, it will be scalding hot, so I like to let mine rest for 15-20 minutes before handling. Once it’s all cooled down, you can simply squeeze the head and all the gooey, delicious garlic bits come failing right out. Discard the remaining peel.
Step 4: Use it!
If you’ve really got your stuff together, you’ll bake a fresh loaf of bread at the exact same time as the garlic. You can then slice, spread, and revel in the deliciousness you just created.
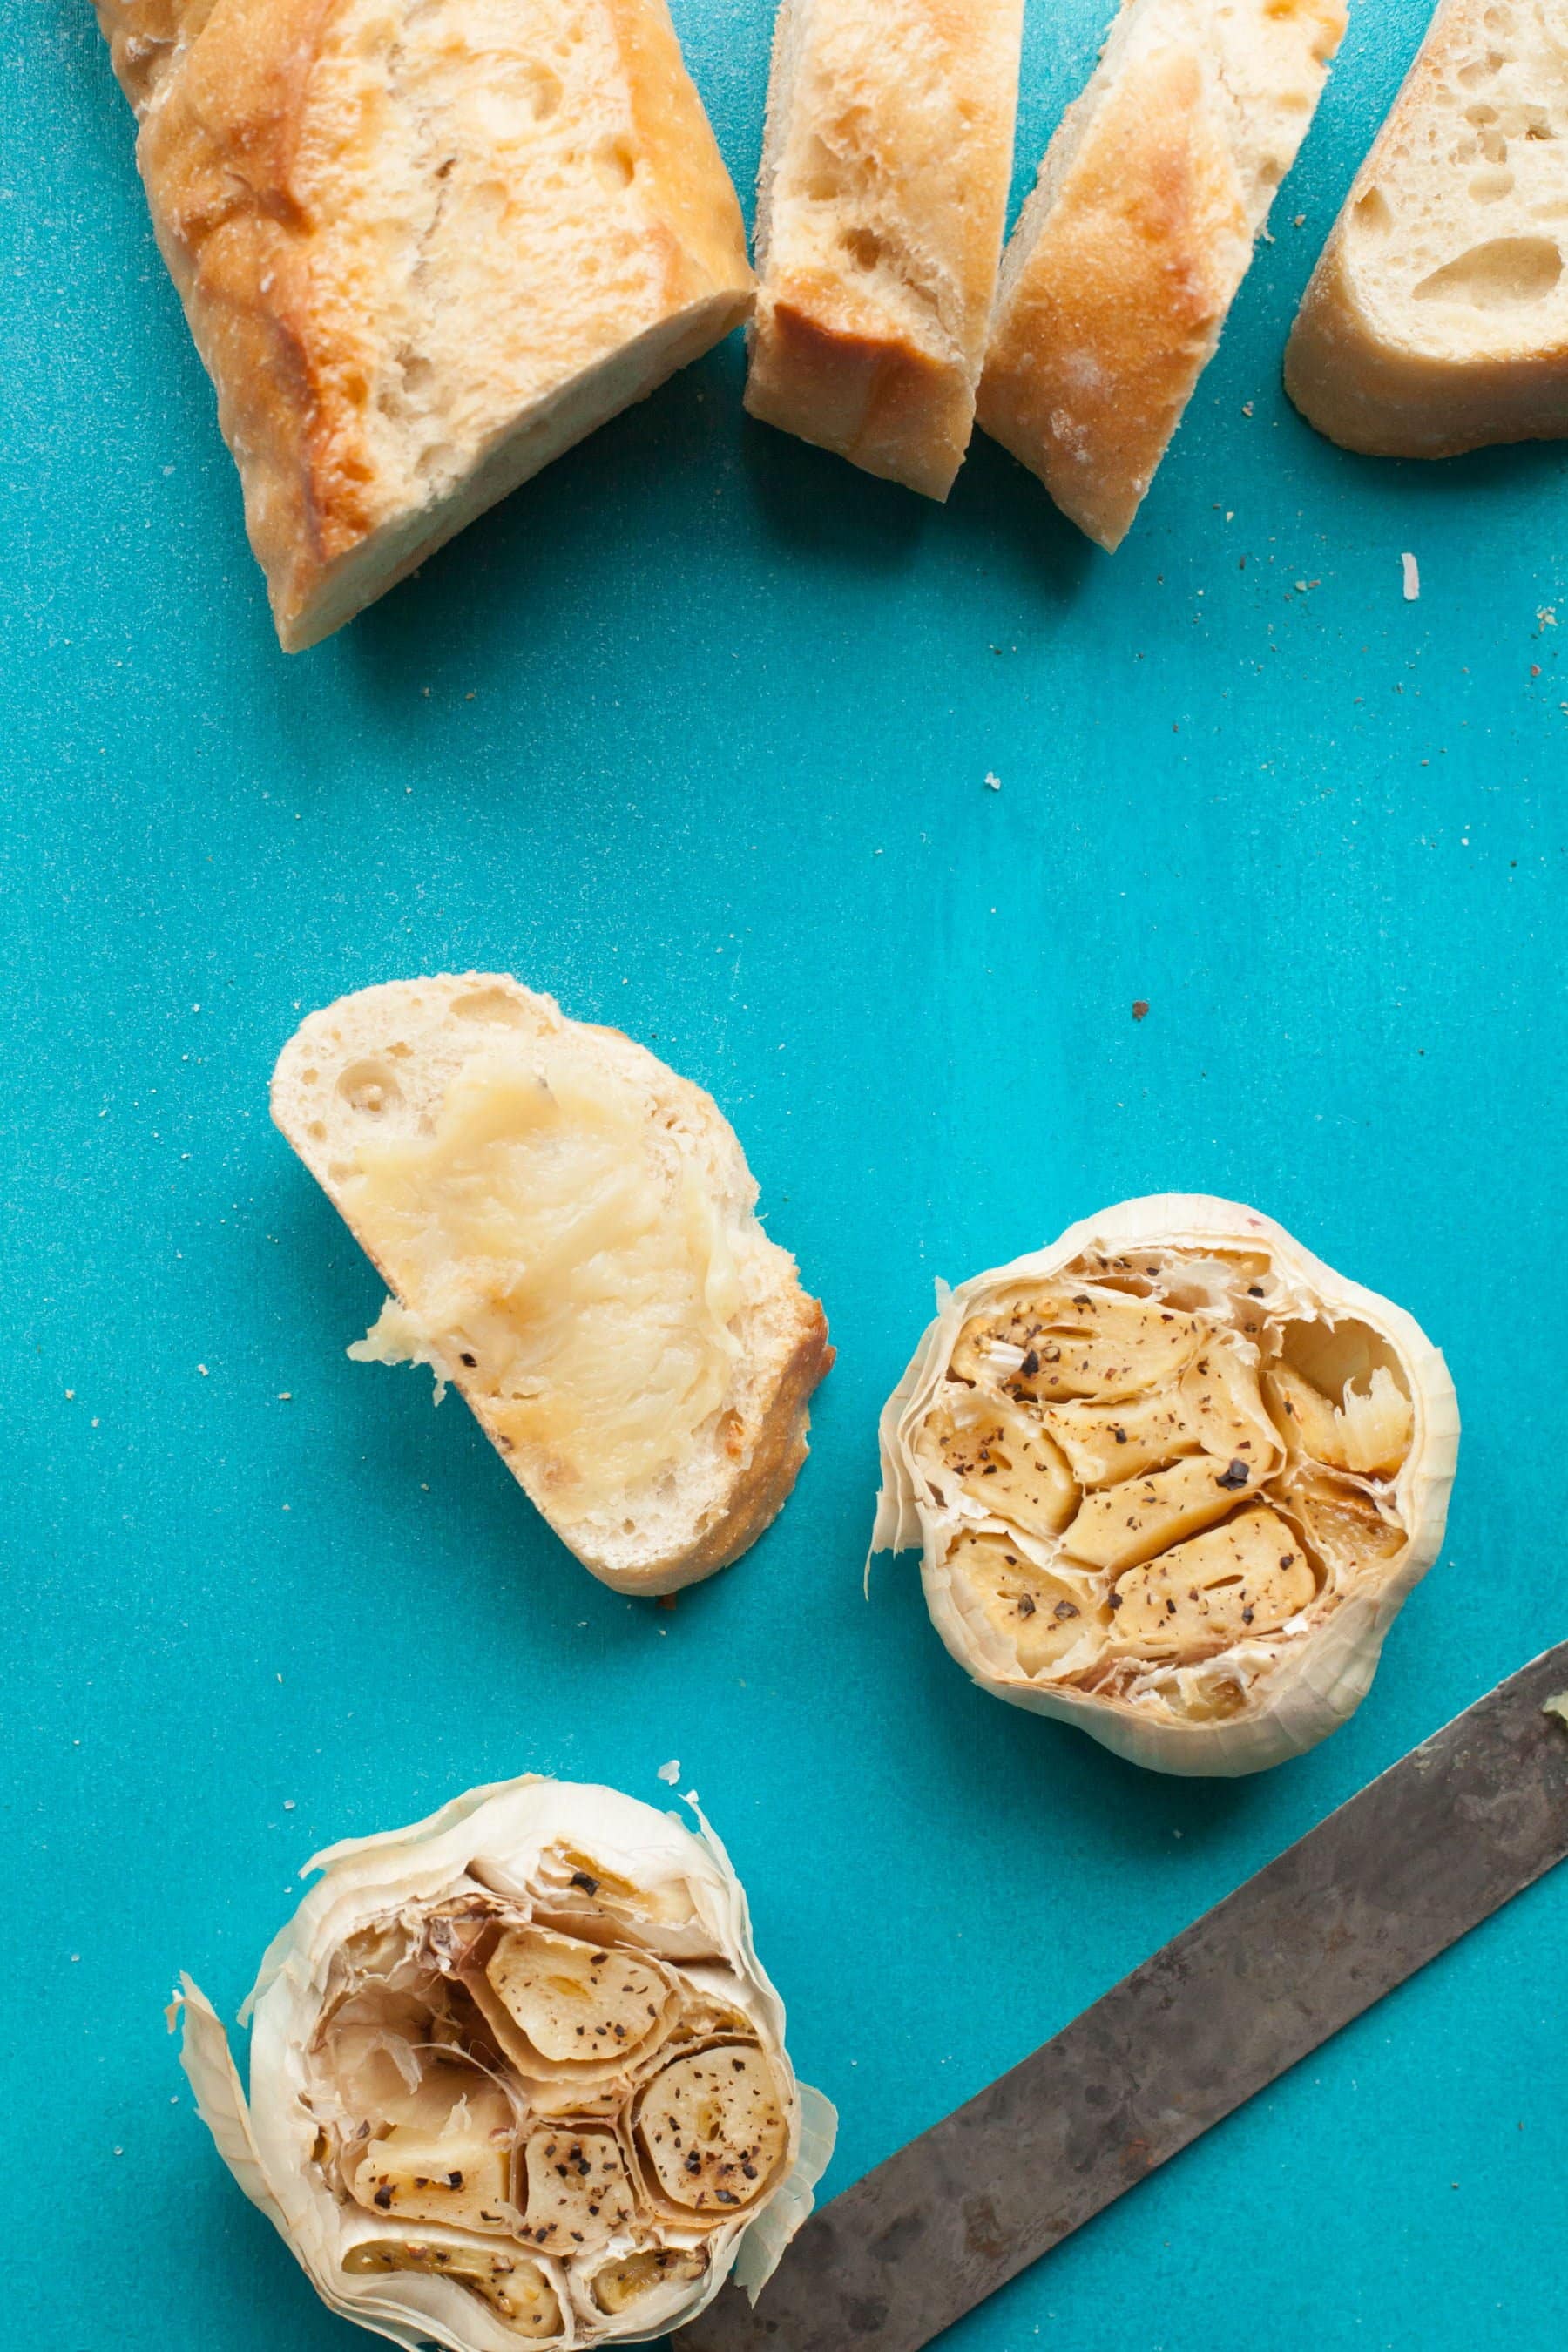
Or, if you’re looking for other options, here are a few to test out:
- Roasted Garlic Mashed Potatoes
- Roasted Garlic and Cauliflower Soup
- Roasted Garlic Cauliflower Alfredo Sauce
How to Make Roasted Garlic
If you’ve never made roasted garlic, you are seriously missing out. It is mild, nutty, and sweet - nothing like the sharp raw garlic you might expect!
Ingredients
- 4 heads of garlic
- Salt and pepper, to taste
Instructions
- Preheat oven to 400°.
- Using a very sharp knife, lop off the top 1/2” of each head of garlic—exposing most of the cloves.
- Place the head of garlic, root side down, in a shallow baking dish (a loaf pan usually does the trick). Season liberally with salt and pepper.
- Cover the dish tightly with aluminum foil, and then bake in preheated oven for 35-40 minutes, or until the garlic cloves are very soft and mushy.
- To remove the roasted garlic, wait until the heads are cool enough to handle, then squeeze the heads upside down over top of a bowl. The roasted garlic should easily squeeze out of the peel.
Nutrition Information:
Yield: 8 Serving Size: 1/2 head of garlicAmount Per Serving: Calories: 22Total Fat: 0gSaturated Fat: 0gTrans Fat: 0gUnsaturated Fat: 0gCholesterol: 0mgSodium: 39mgCarbohydrates: 5gFiber: 0gSugar: 0gProtein: 1g
At Wholefully, we believe that good nutrition is about much more than just the numbers on the nutrition facts panel. Please use the above information as only a small part of what helps you decide what foods are nourishing for you.

