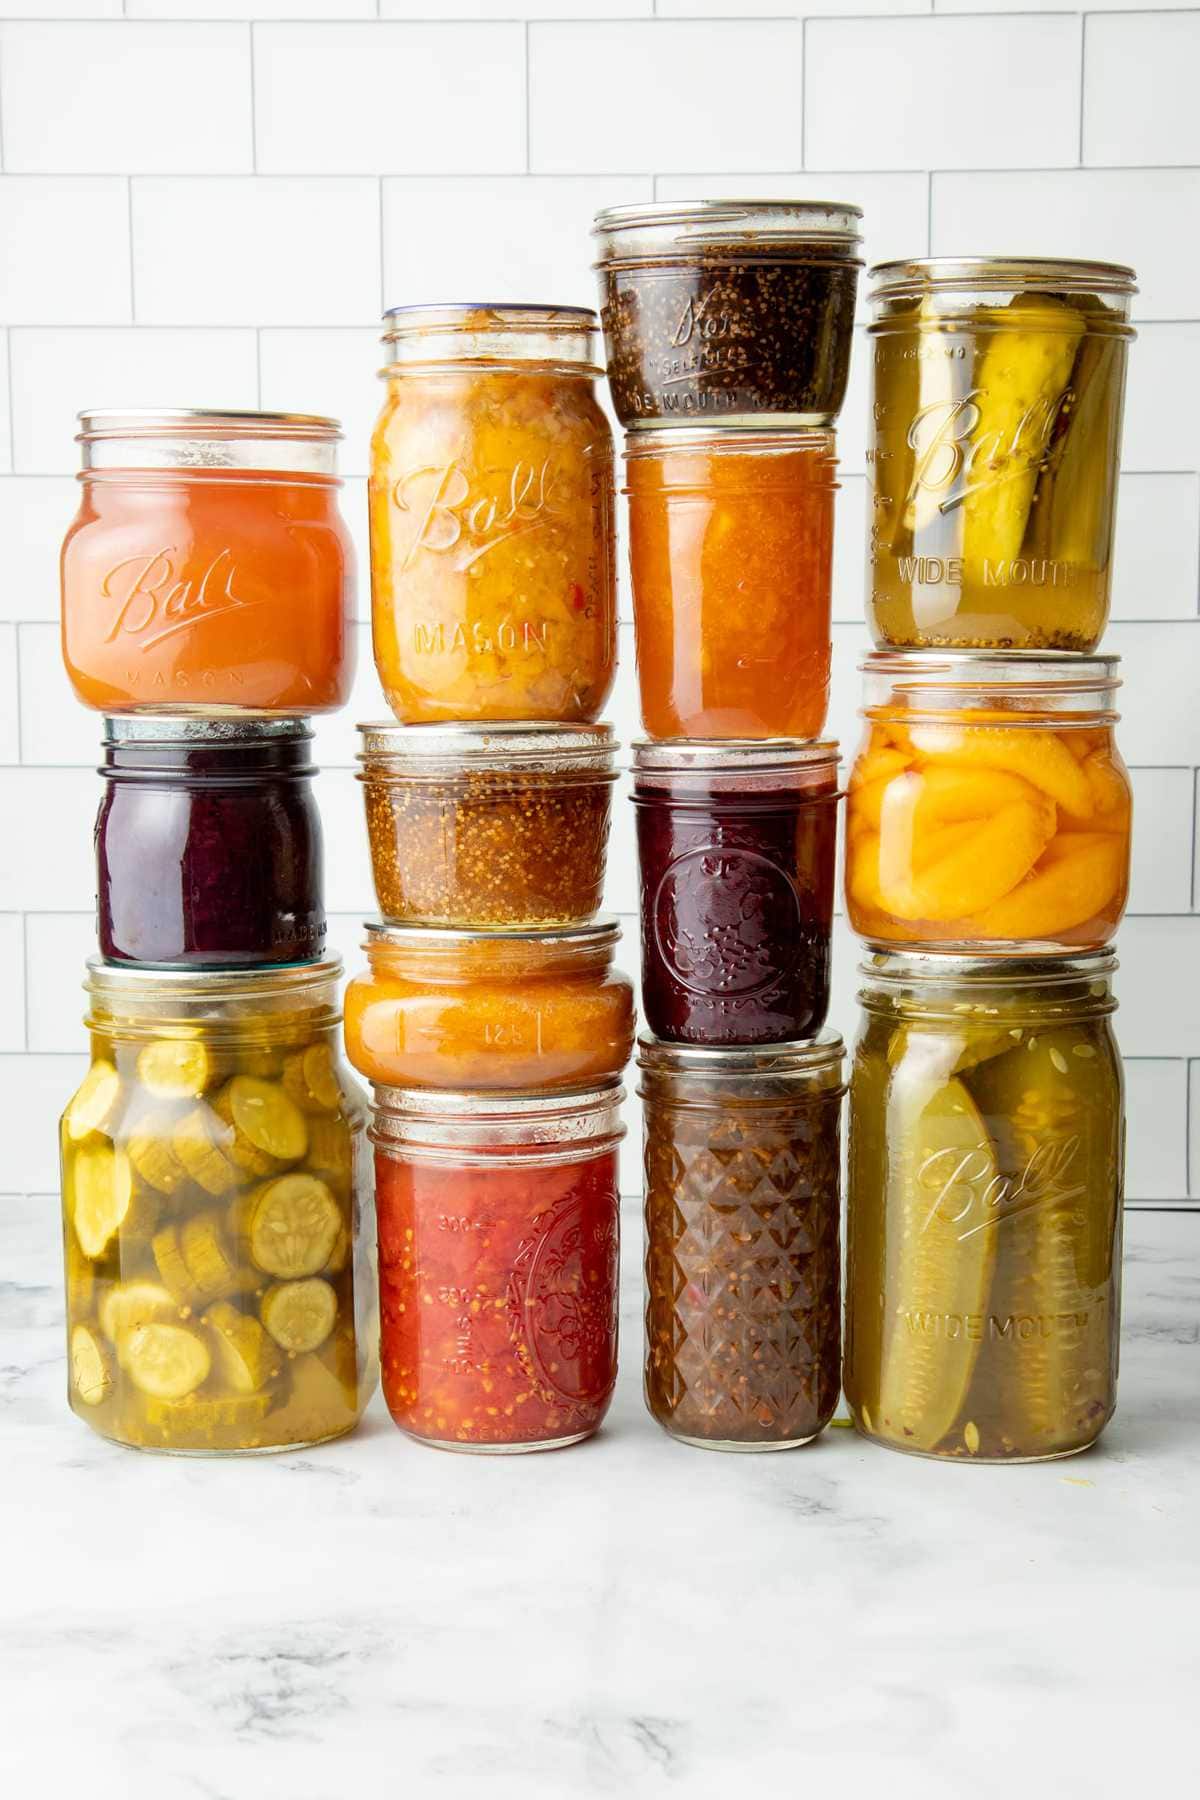
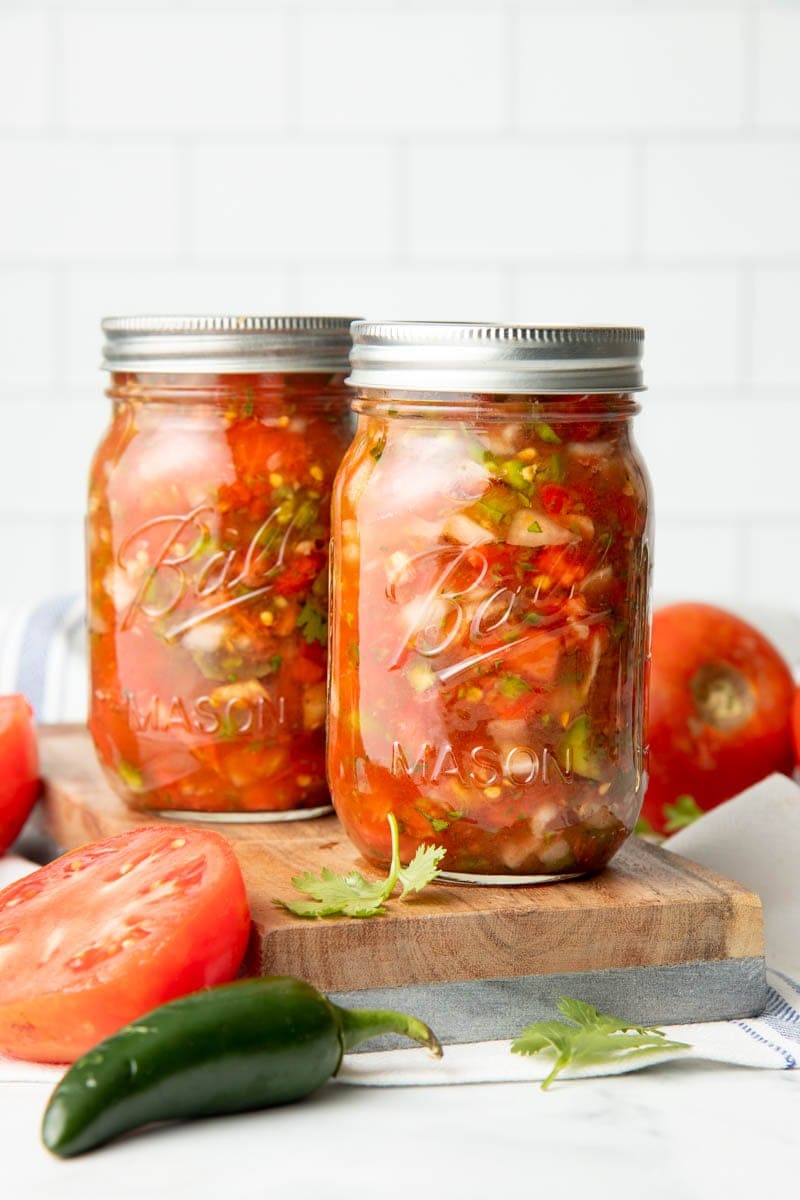
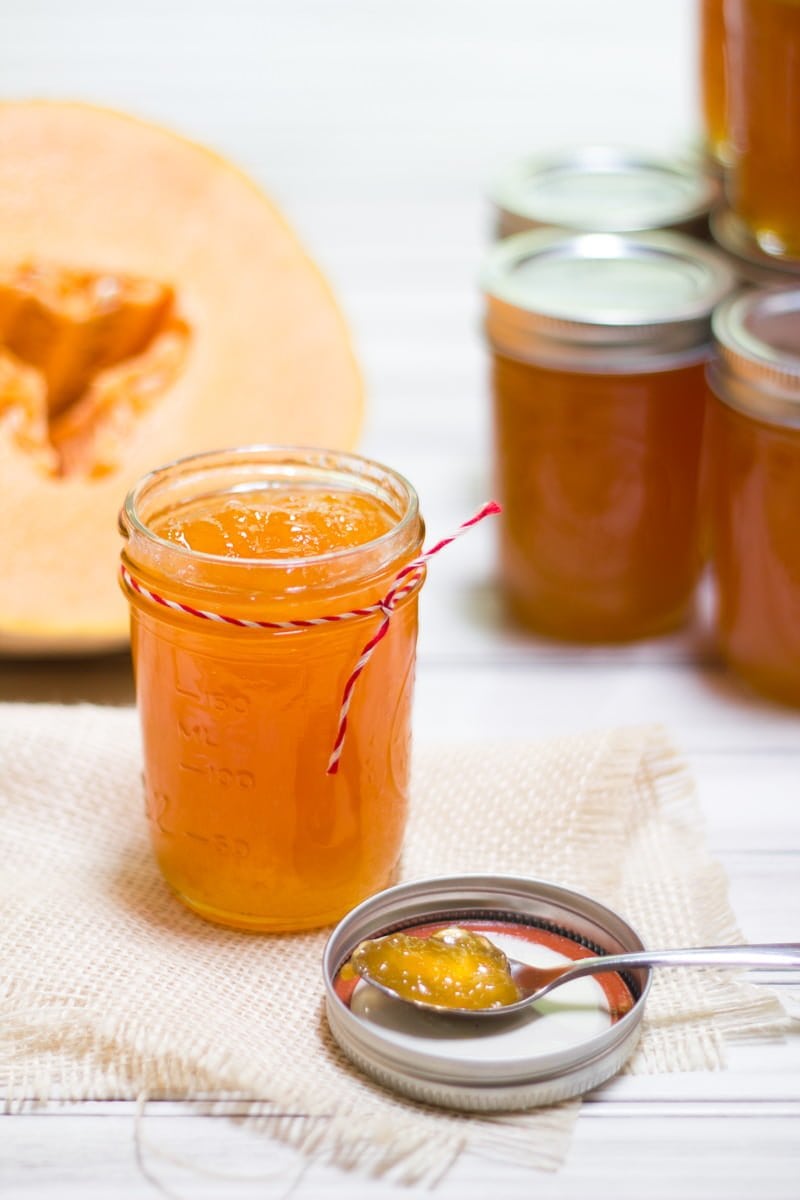
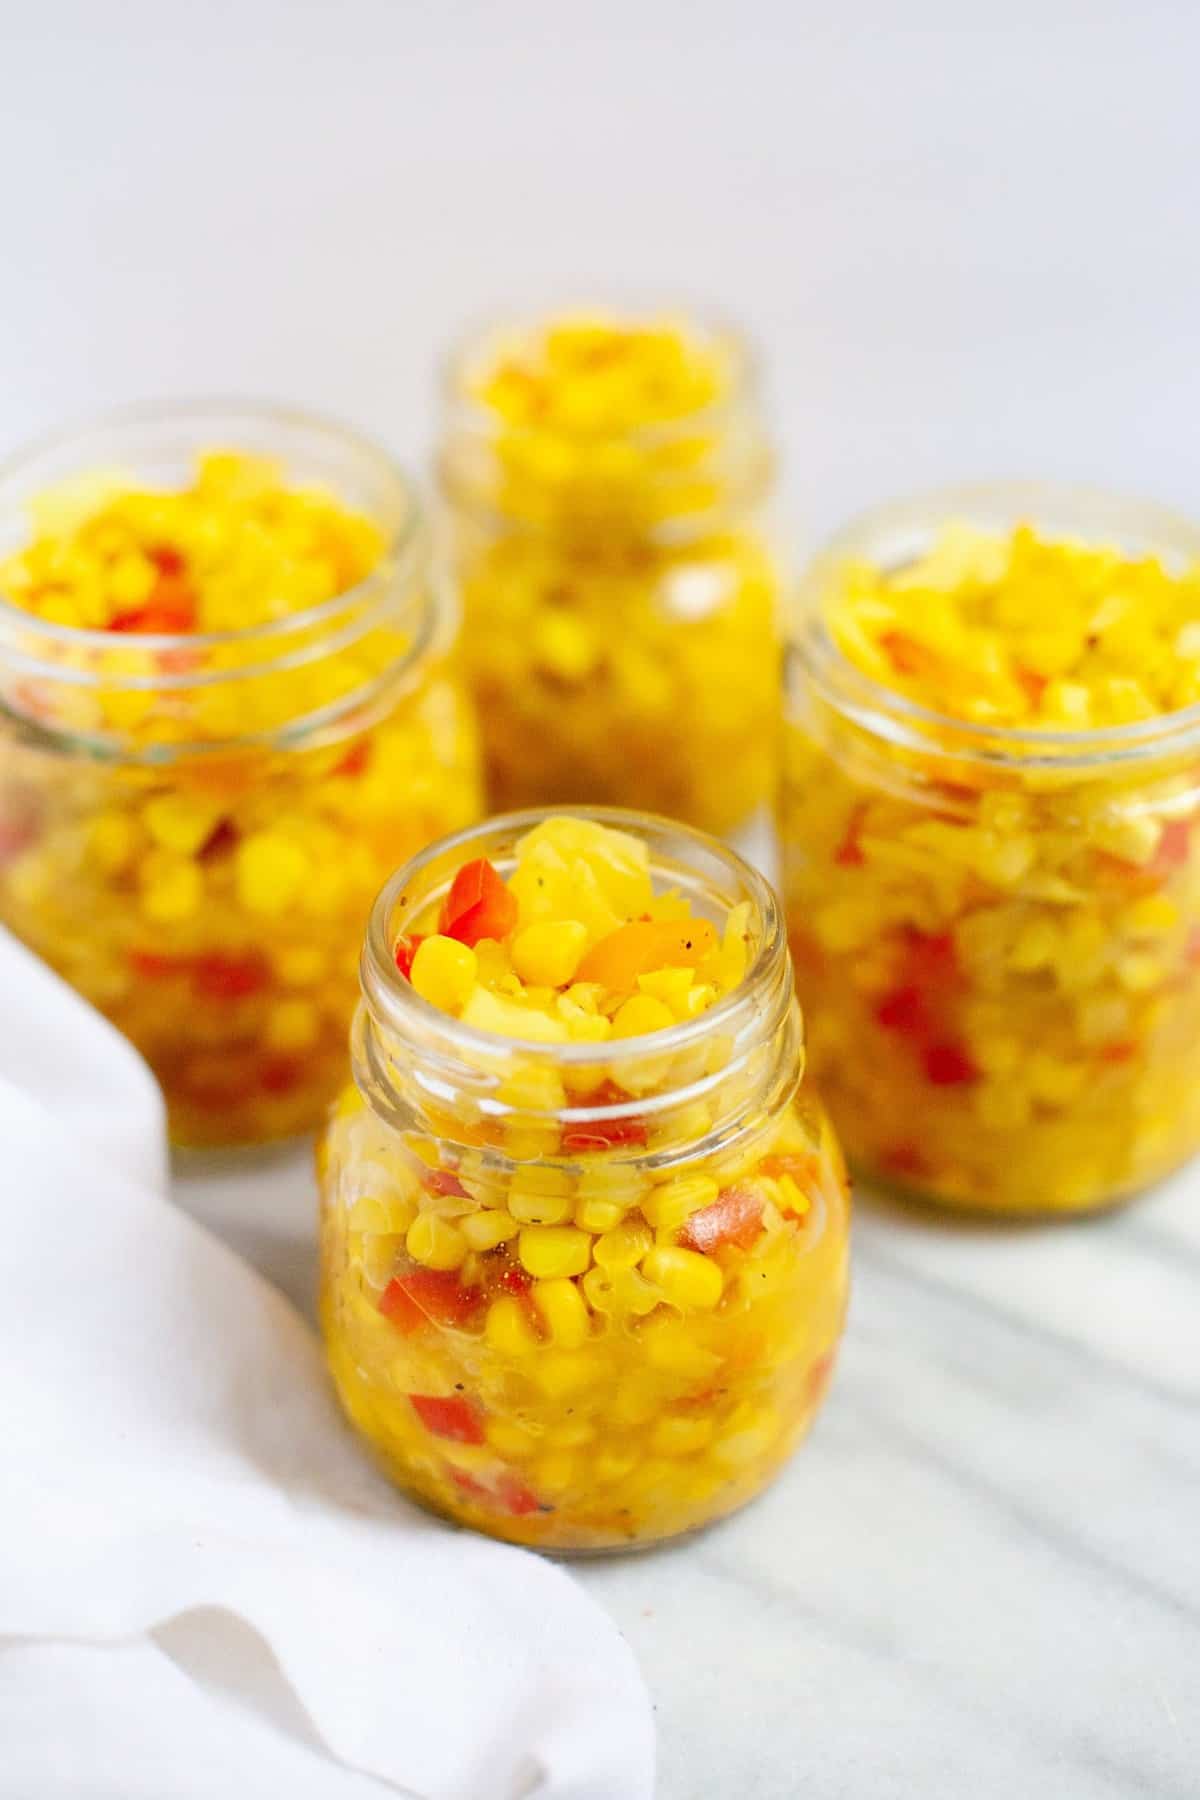
Even for those of us that are well-versed in the kitchen, water bath canning can be intimidating. Beginning canners often have a lot of questions. Is it hard? Is it messy? Am I going to mess up and make my family sick?
But I promise, once you know the basics, canning is a safe, easy, and fun way to preserve the bounty of summer (either from your own garden or from local farmers). You can can! We’re going to cover every detail of getting started with water bath canning (the type of canning you do for high-acid foods like jams and pickles—more on that in a bit), and by the end of this post, you’ll be ready to start putting up your own food.
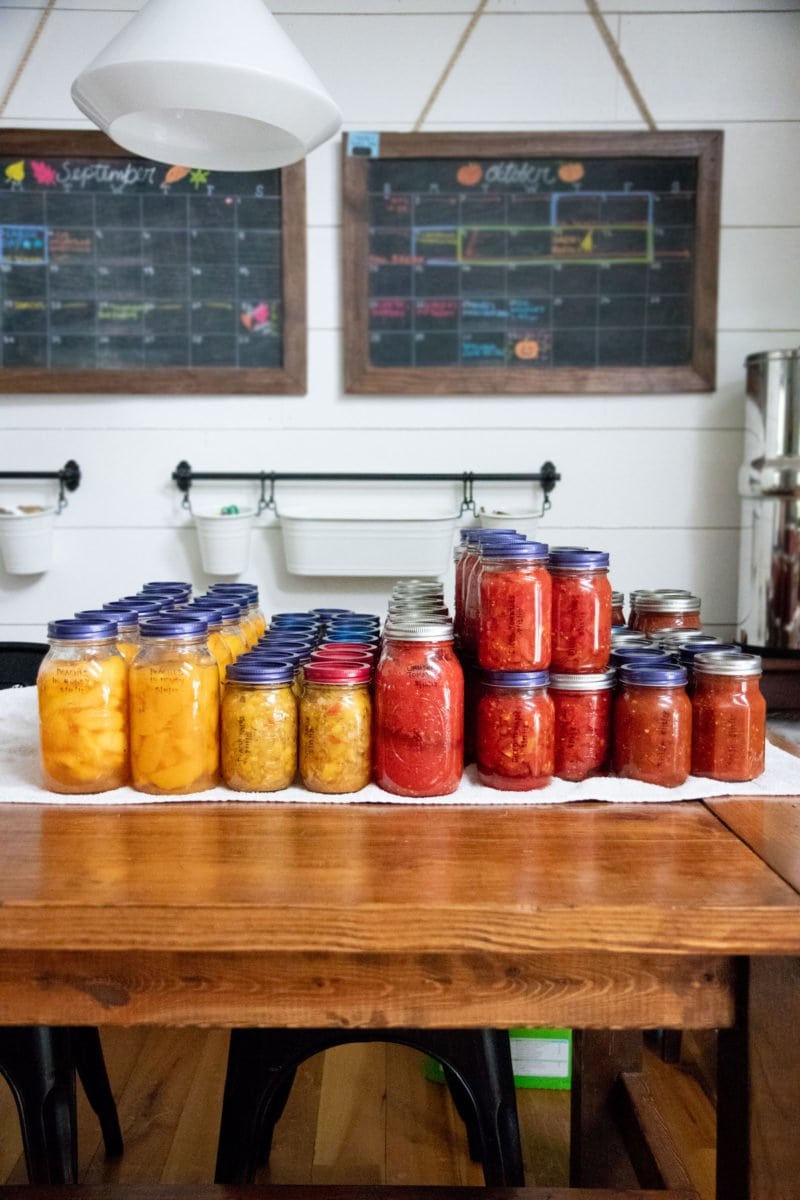
How does water bath canning work?
Canning works by placing foods in glass canning jars and then processing them at a high enough temperature, for a long enough time, to destroy any microorganisms that could make your food spoil.
This heating process (and the cooling process afterwards) also helps to seal the lids of the jars, with a tight suction similar to what you see in store-purchased shelf-stable foods. This vacuum seal prevents air from entering the canned goods, which would bring along new microorganisms that could cause spoilage. The resulting canned good is now shelf-stable!
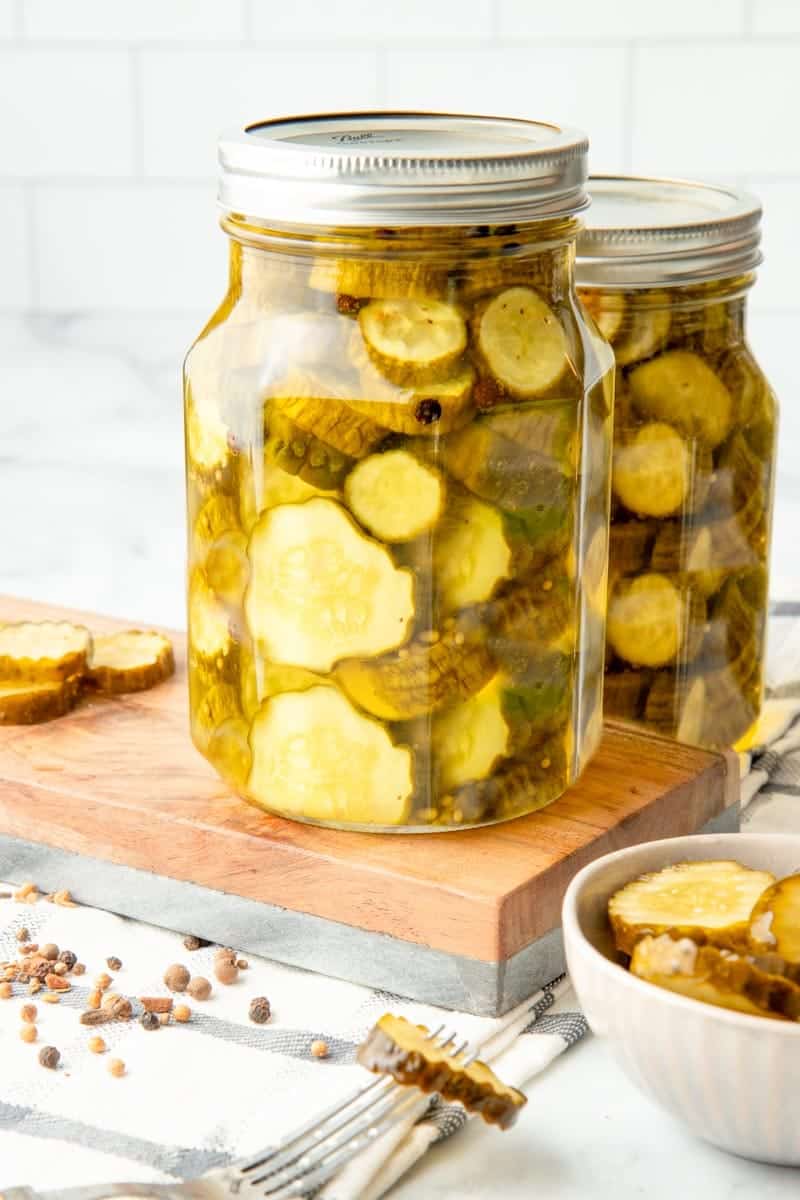
Are there different types of canning?
There are two types of canning, and which one you use depends on the acid content of the food you are preserving. In this post, we are covering water bath canning, but there is also pressure canning. Here’s the difference:
- Water bath canning for high acid foods: This is how you preserve foods that have high acid levels (a pH of 4.6 or less). This high acid level makes an environment where it is impossible for botulism spores to reproduce. Because of this, you can safely process your jars with the temperature of boiling water (212°F). This is the canning that most people start off with, because it’s the type of canning you use for jams, pickles, and tomatoes (with added acidity because tomatoes are right on the edge).
- Pressure canning for low acid foods: Any other food that has a low acid level (a pH of higher than 4.6) requires a processing temperature of at least 240°F in order to kill the botulism spores. You achieve this in a pressure canner. Meats and vegetables are examples of foods that need to be pressure canned. Many people consider pressure canning to be “advanced” canning, but that’s only because it requires a special canner purchase. The process is actually just as simple as water bath canning!
Protip: Why you need acidity for water bath canning tomatoes
Tomatoes are right on the edge of the pH requirement for water bath canning, so it’s important to acidify your jars when canning tomatoes. You can do this with an appropriate amount of citric acid or lemon juice.
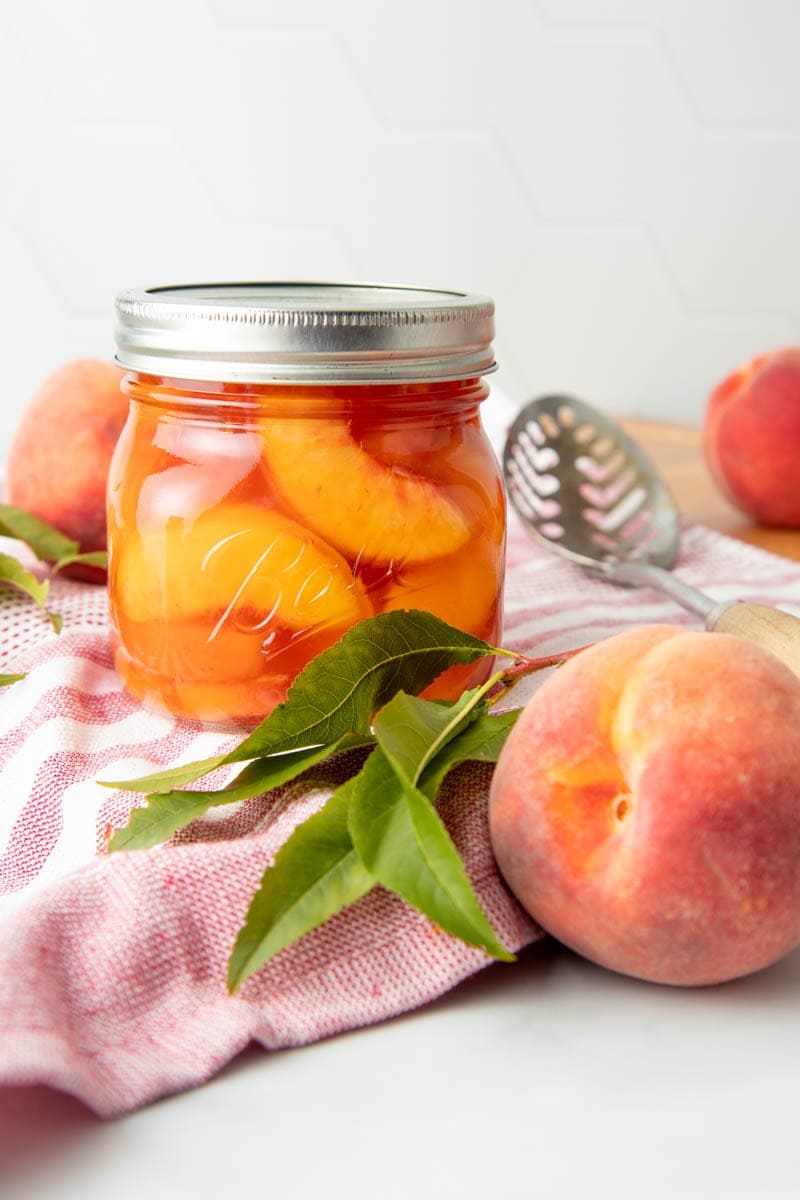
How long do homemade canned goods last?
Properly sealed canned goods are best used within 18 months. However, as long as the jar still has a good seal, canned goods can be stored almost indefinitely. The quality of the food might decrease (you might lose flavor, color, or texture), but it will still be safe to eat.
How do you know if canned goods have gone bad?
Your senses are the best way to tell if your canned goods have spoiled:
- Sight: Is the lid of the jar bulging out? This can indicate spoilage. Does the food look rotten or molded?
- Smell: Does the food smell like it should?
- Touch: Does the lid still feel solidly secured?
- Taste: If your food has passed all the other sense tests but it tastes off, trust your taste buds! It might just be that the quality has depreciated over time, but when in doubt, throw it out.
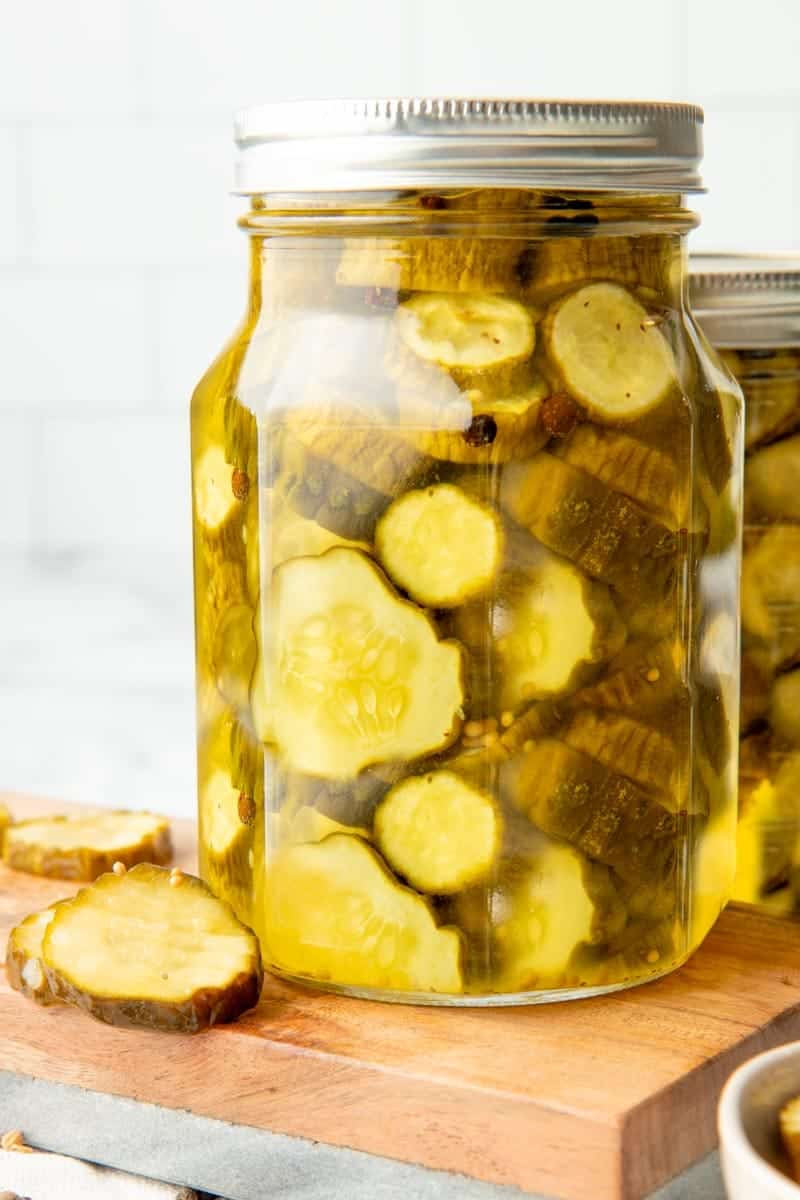
For what it’s worth, I’ve been homecanning for over 10 years and have processed thousands of jars, and I’ve never had a properly sealed jar go bad on my shelf.
What foods are good for water bath canning?
If you only water bath canned for the rest of your life, you’d still be able to do a lot of canning! Here’s what’s safe to can using water bath canning:
- Fruits—whole, sliced, sauce, syrup
- Fruit juices
- Fruit butters
- Jams and jellies
- Tomatoes—Must be acidified, which we cover in our post on canning tomatoes
- Tomato salsas and sauces—that are from a tested high acid recipe
- Pickles
- Relishes
- Chutneys
- Vinegars
- Most condiments
What can’t I can in a water bath canner?
Everything else! Meats and broths, root veggies (beets, turnips, potatoes), squash and pumpkins, carrots, green beans, leafy greens, asparagus, dried beans, peas, and corn all need to be pressure canned to safely preserve them (some of these can be pickled and then water bath canned, but be sure to use a tested recipe). Tomatoes that aren’t acidified, or tomato salsa or sauce that do not use a tested canning recipe should also be pressure canned. So no, you can’t can your grandmother’s marinara recipe.
There are also certain foods that cannot be home canned at all (water bath or pressure canner) because of their density. Pumpkin puree is a good example of a food that is simply too dense to safely can at home—the heat does not reach all the way to the center of the food to sterilize it, no matter which canning method you use.
Okay, so what do I need for water bath canning?
Canning does require a few (very affordable) specialty tools to make the process safer and easier. Other than those, you probably already have everything else you’ll need! Here’s what you need: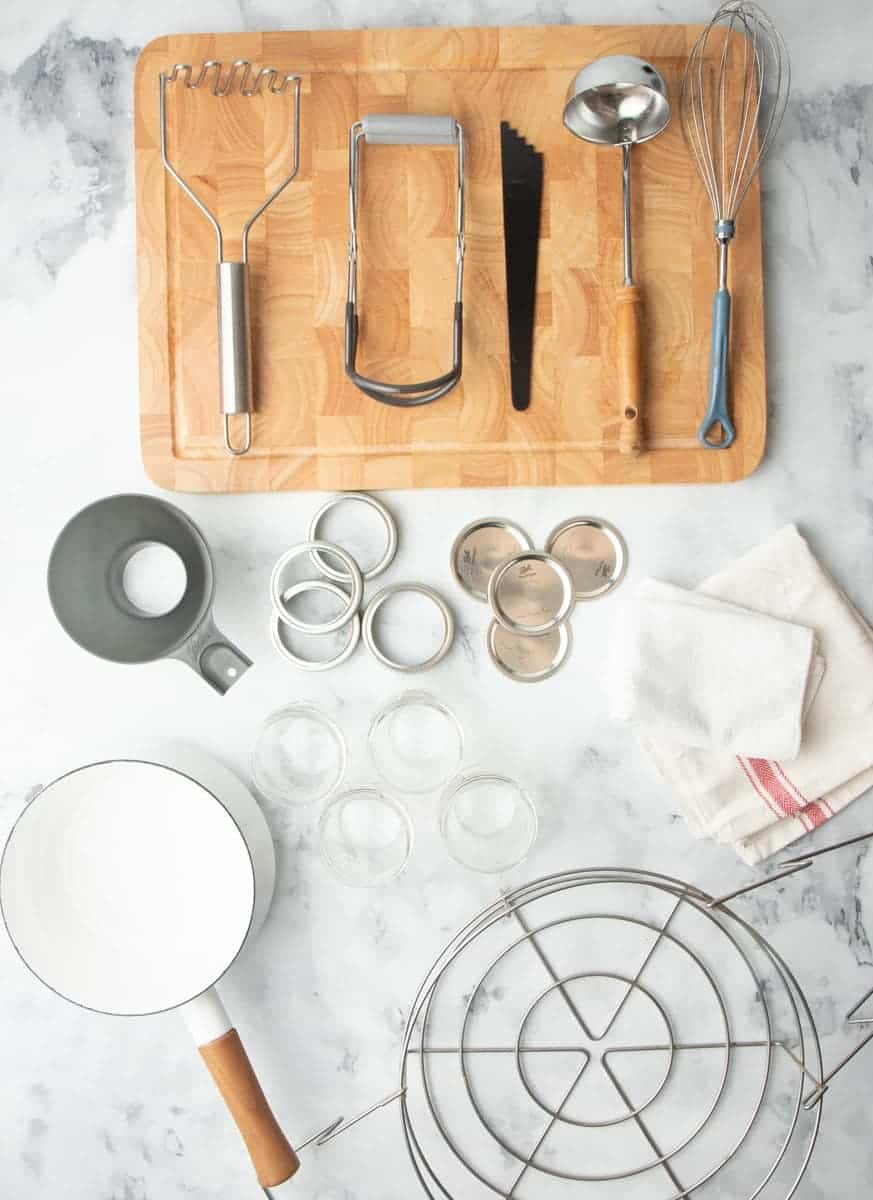
Canning rack or trivet: This is a must-have for canning safely, for two reasons: it lets the hot water circulate all around the jar so it heats evenly, and it protects the jars from bouncing against the canner and breaking. There are two main options— a big metal rack or a small silicone trivet. I typically prefer the trivet for smaller jars and small batches, and the big metal rack for larger jars, but either will work!
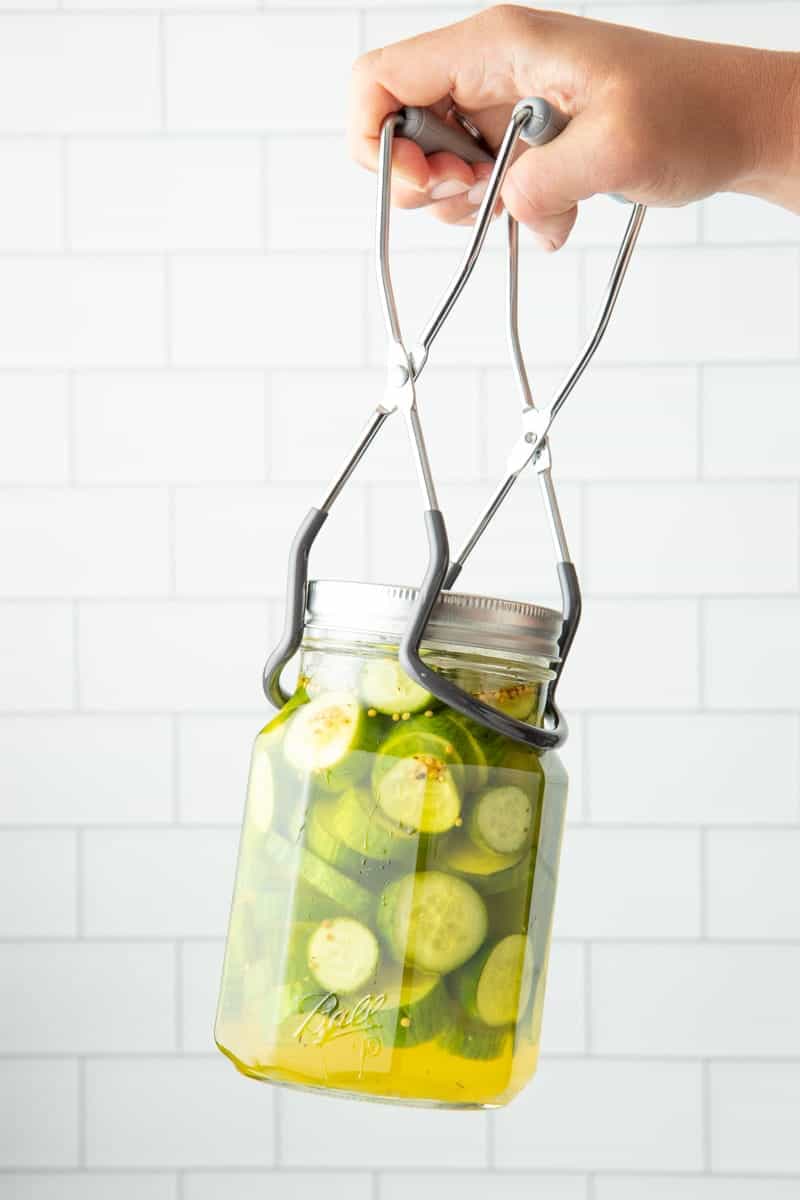
Jar lifter: There is no better way to get hot, wet glass jars out of a bath of hot water. Promise me you won’t try to fish out those slippery jars without a jar lifter.
Headspace tool or plastic ruler: Every canning recipe will tell you to leave a certain amount of “headspace,” or empty space, at the top of your jar. It is important to leave that exact amount of space so that the jars seal properly, and a headspace tool makes this part easy. You can also use a plastic ruler that you dedicate to canning for the same job.
Ladle: You need something to move your preserves to your jars! A long-handled measuring cup will also do the trick.
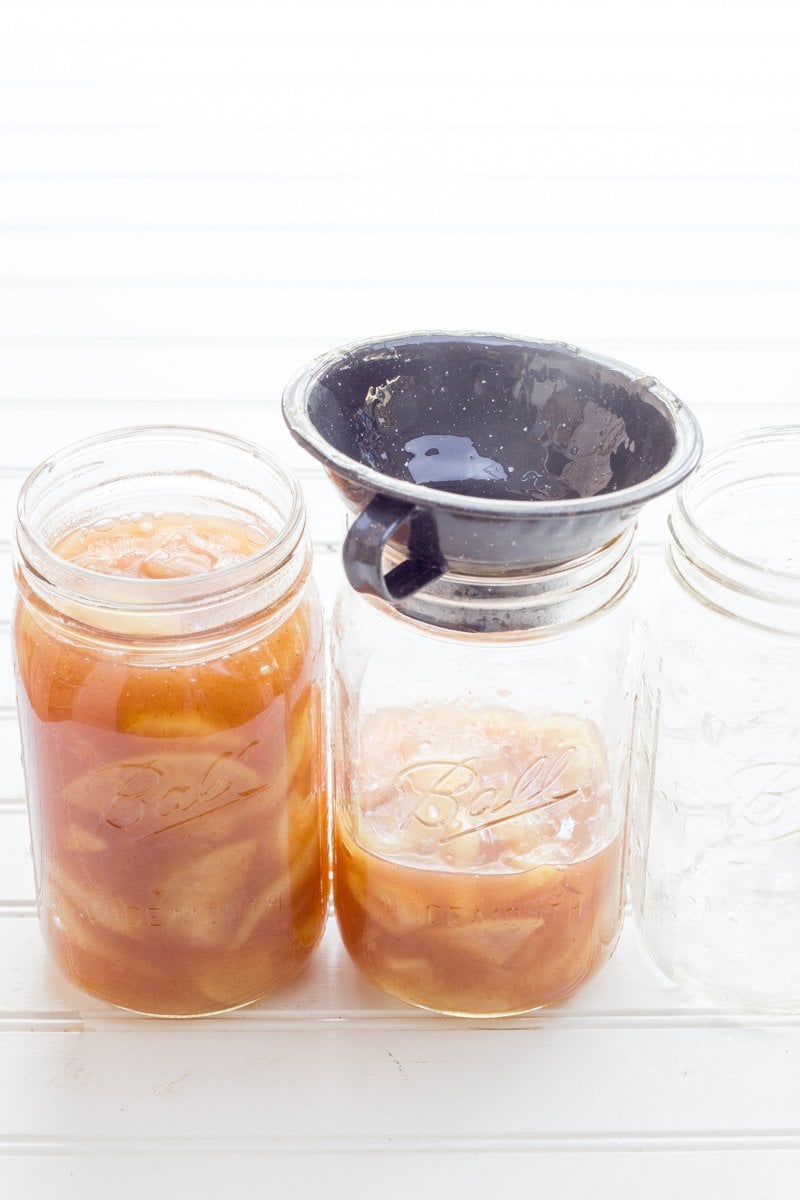
Canning funnel: This special funnel has a wide end that is just the right size for fitting a jar, which makes filling your jars a less messy endeavor.
Wooden cutting board or thick towel: Hot glass jars + cold countertops are a recipe for broken jars. A cutting board or towel will help keep everything intact.
Jars: There are numerous types of canning jars, but for the sake of simplicity, we’ll stick to the standard Ball® canning jars in this post. These jars can be purchased at almost any big box or hardware store. They are affordable, durable, and easy-to-use for beginners. Different recipes will call for different sizes of jars, but a safe place to start is with half pint and pint jars. You can always use a smaller jar than the recipe calls for, but never bigger—otherwise, your canned goods may not be safe.
Two-piece canning lids (lids and rings): Your jars will come with the two-piece lids and rings (but you can buy them separately if you need new ones, too).
Protip: Can I reuse the lids?
When it comes to canning jar lids, the metal rings can be reused, but the flat lids are one-use only for preserving. You can buy just the flat lids on their own for when you are ready to do more canning!
Towels: Canning is pretty much guaranteed to get messy, and you’ll need to wipe the rim of your jars before fitting the lids to get a proper seal.
Pot for cooking your preserves: Any medium-to-large size saucepan is usually all you need. Sometimes your recipe will be “raw pack” (which just means you don’t heat the food before putting it in the jar), so you won’t always need this pot.
Kitchen prep items (cutting board, knife, bowls, spoons, etc.): To prep your canning recipe.
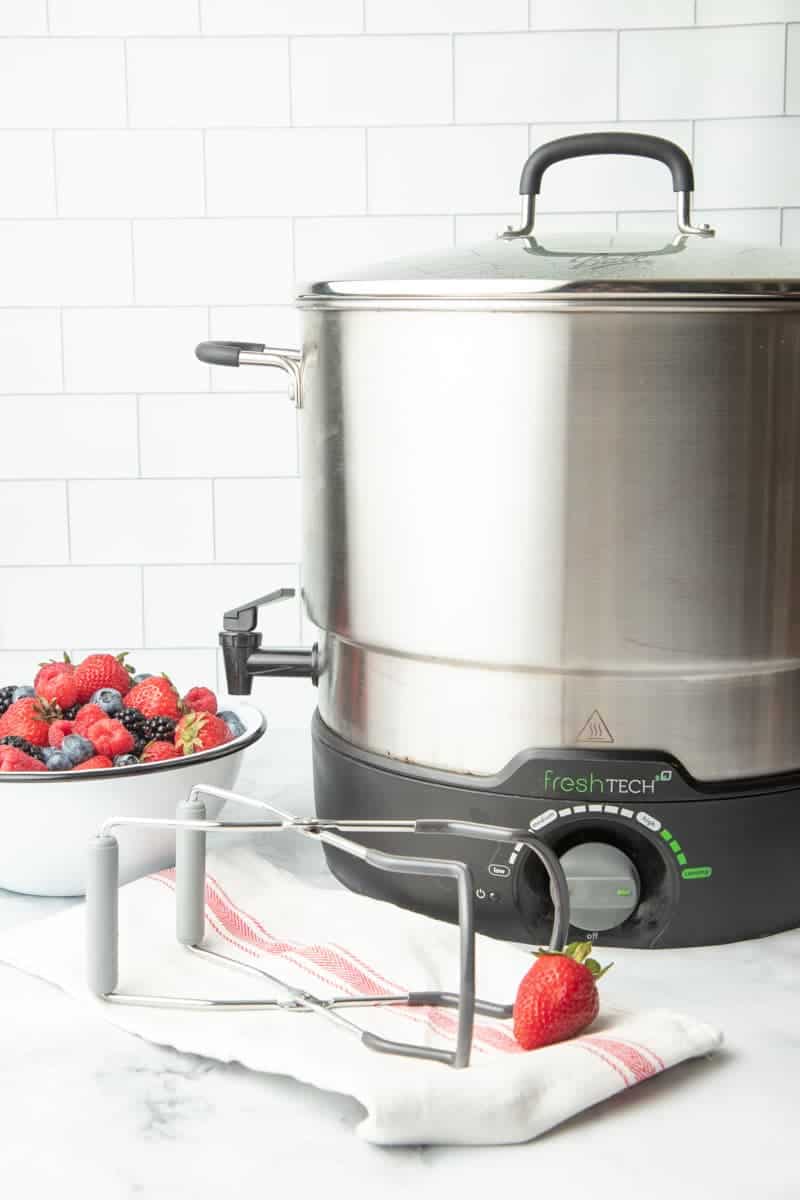
Water Bath Canner: A water bath canner is really just a very large pot. For small batches and small jars, you can easily use any large stockpot you have around your house, as long as your canning rack and jars can fit inside.
Protip: You can go electric!
If you get into canning and want to do larger batches or multiple recipes in one day, it’s worth investing in a large canner pot or an electric canner—which is what I use. I have a Ball® freshTECH Electric Water Bath Canner, and I love it because it leaves my stove open while I can.
Water Bath Canning Tutorial, Step-by-Step
The canning process will vary slightly depending on what you are canning and the recipe you are using, but we’re going to give you an overview here so you know what to expect. Make sure to double check the recipe you are using for exact instructions.
Step 1: Prep your work space.
Make sure all your equipment—the canner, the jar lifter, the canning funnel, and everything else we just talked about—is clean and in good condition. Get everything out and have it easy to access.
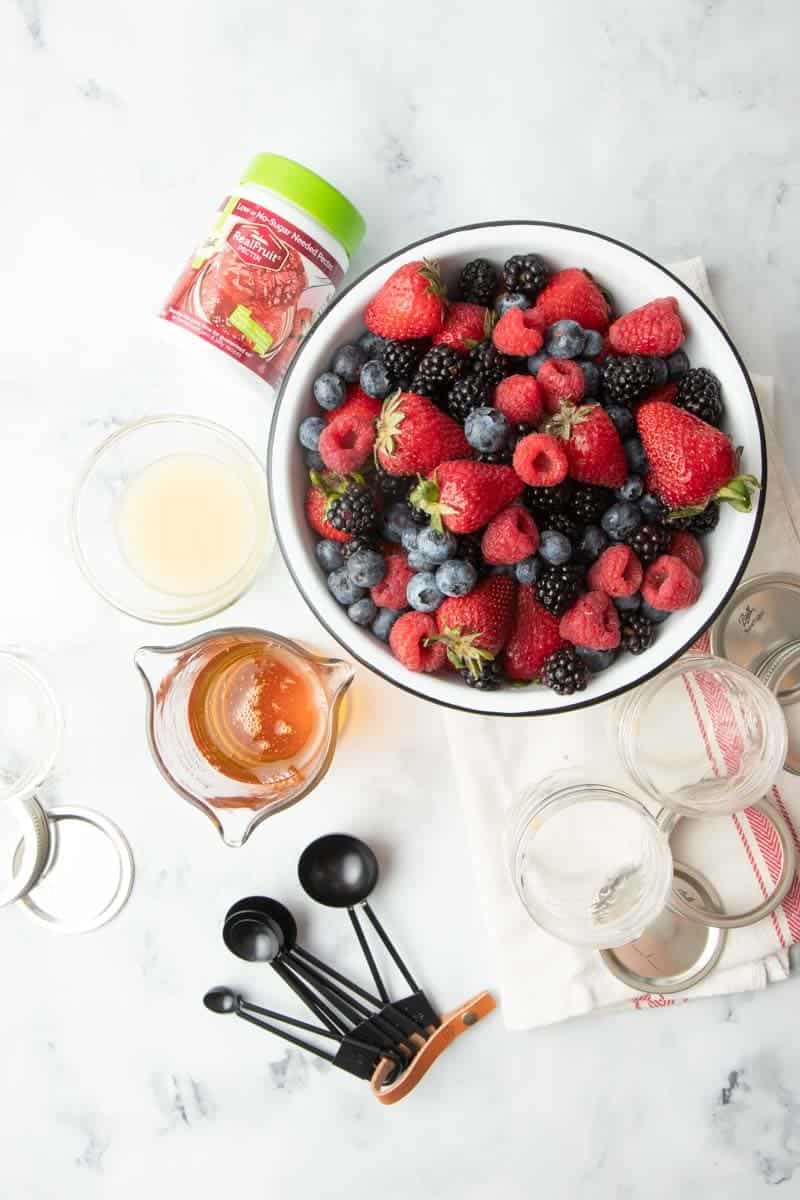
Step 2: Prep your jars
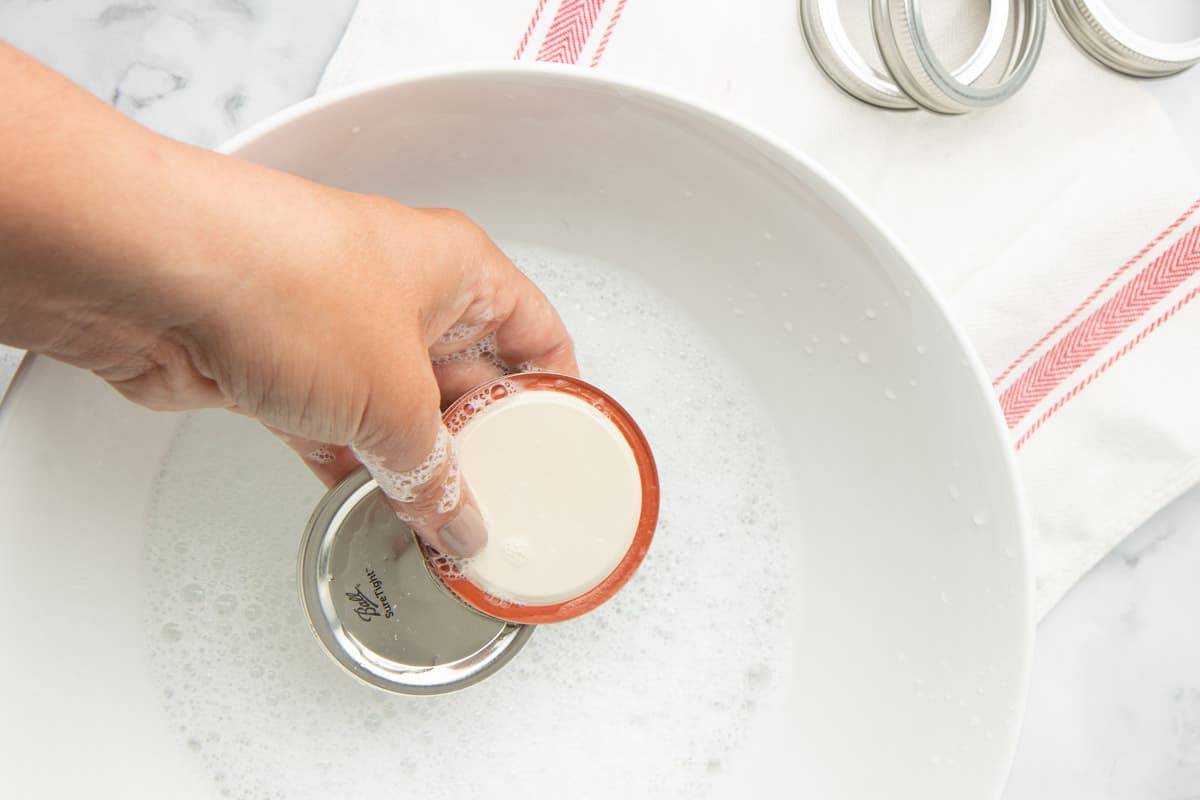
First, wash all your jars, even if they are brand new. Safe canning requires super clean jars! The jars themselves can go in the dishwasher, but the lids and rings must be cleaned by hand in warm, soapy water.
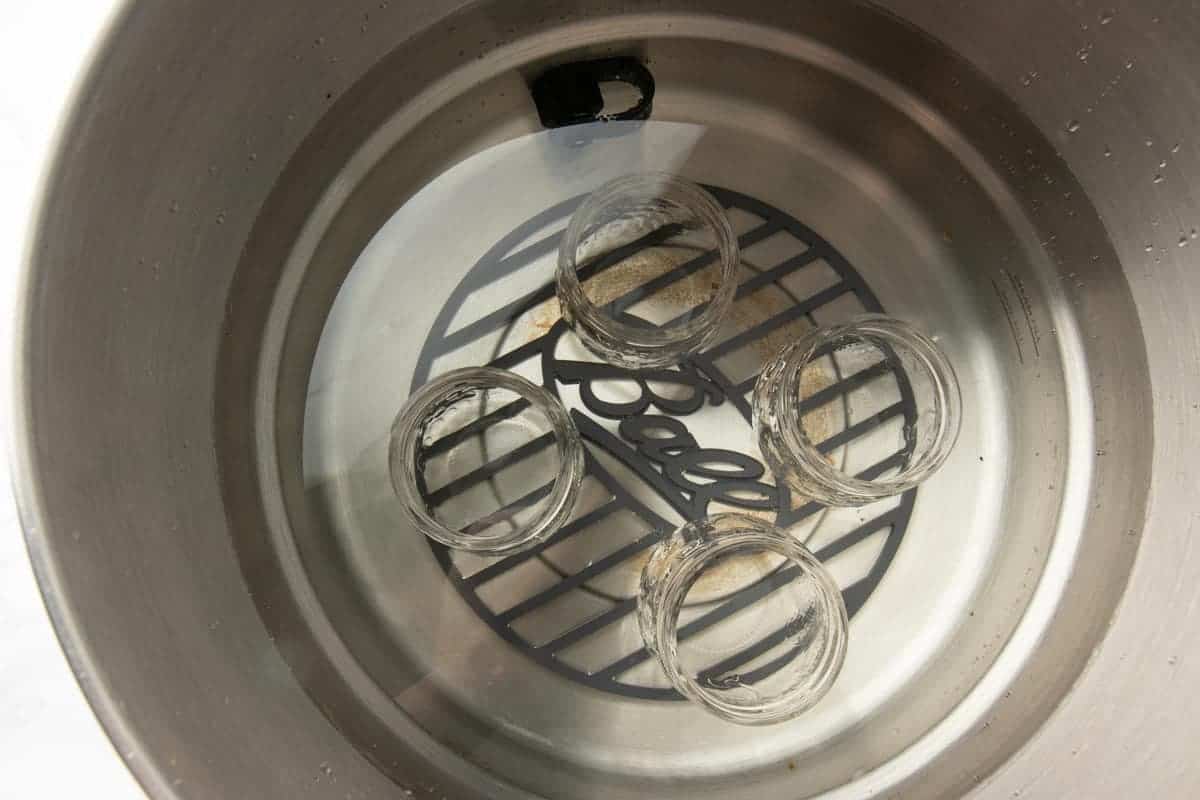
Then, to sterilize and warm your jars, fill your canning pot (or large stockpot) with water, and fit with your canning rack or trivet. Fill with enough water to cover the jars by at least an inch. Lower the jars into the water, and turn on the heat. Bring the canner to just a simmer while you prepare your canning recipe to keep the jars warm—don’t let it come to a full boil just yet!
Protip: Prep extra jars when water bath canning!
Wash and simmer more jars than you think you’ll need. It is a lot easier to put away already-clean jars than it is to wash and heat more jars when your preserves are ready to go!
Step 3: Prepare your canning recipe.
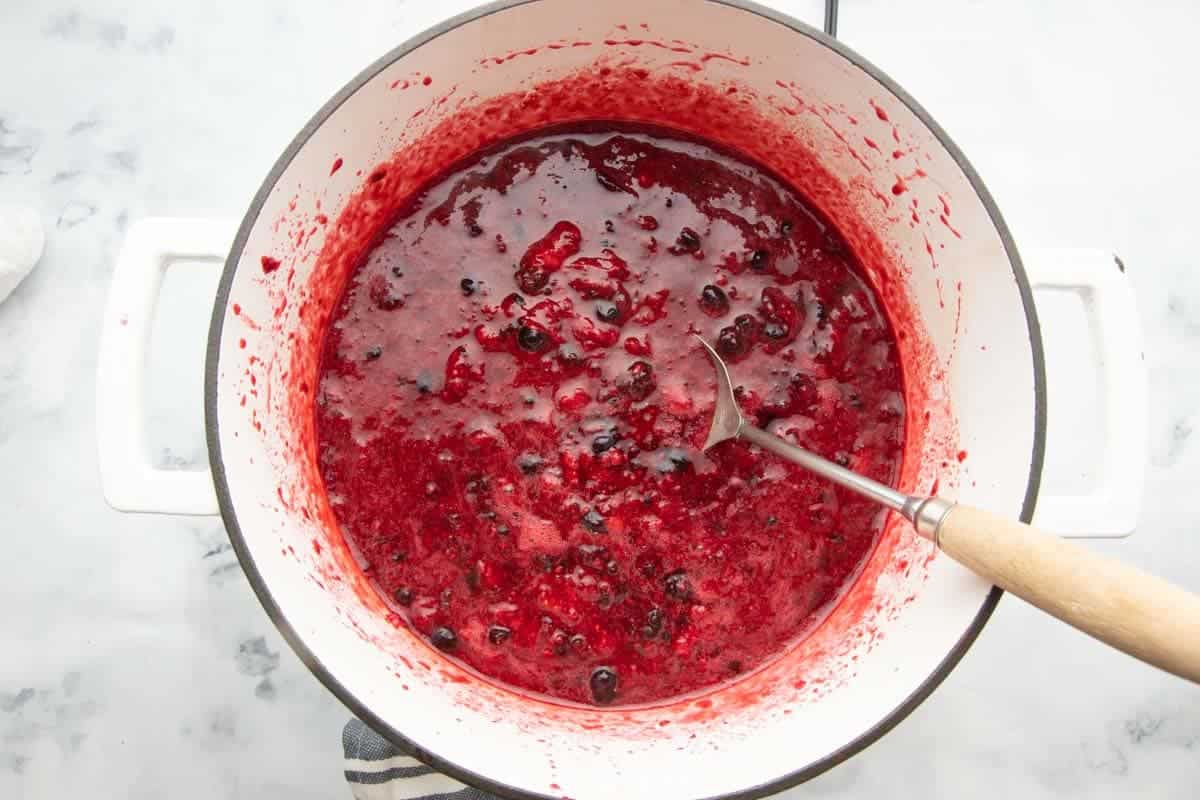
While the canner warms up, start prepping whatever you are canning. Sometimes, this will be as simple as mashing some berries for jam. Other times, it will be more involved, and you’ll need to do something like peel, core, and dice tomatoes.
Step 4: Fill your jars.
Especially if you are new to canning, I recommend working one jar at a time. If you take out and fill all the jars at once, by the time you get to the last one, it could be cool enough to shatter when filled with hot food. Nobody wants broken glass!
Protip: Watch your temps!
Glass shatters when it goes rapidly from hot to cold or vice versa.
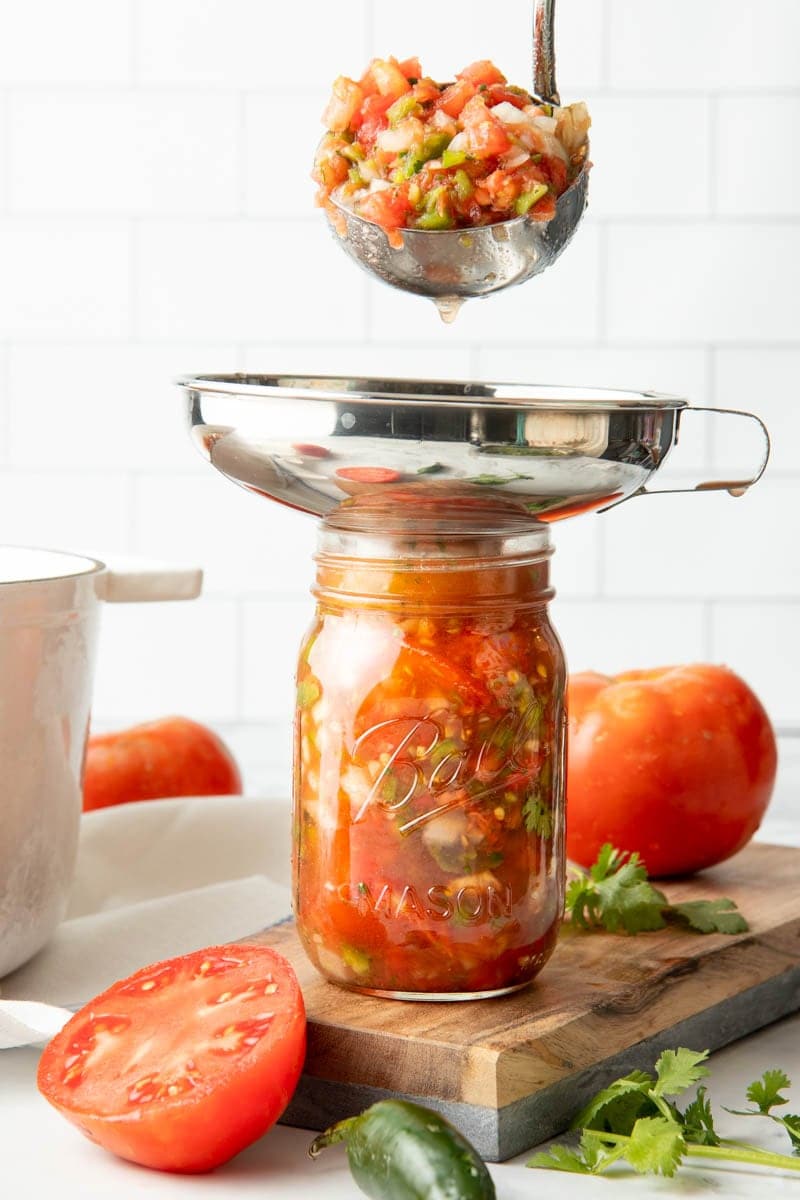
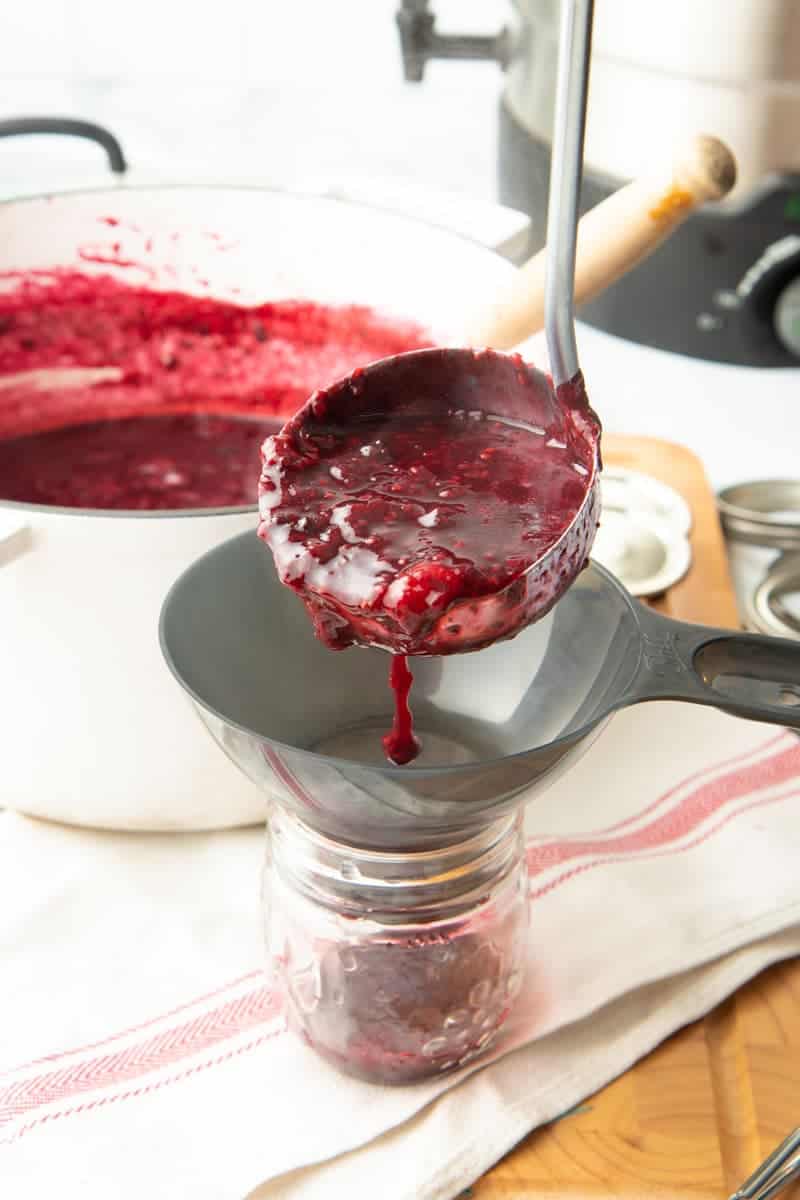
Using your jar lifter, bring one jar out of the water, and drain it back into the canning pot. Place the jar on your laid out towel, and fit it with your canning funnel. Ladle your jam, salsa, or whatever you’re canning into the jar.
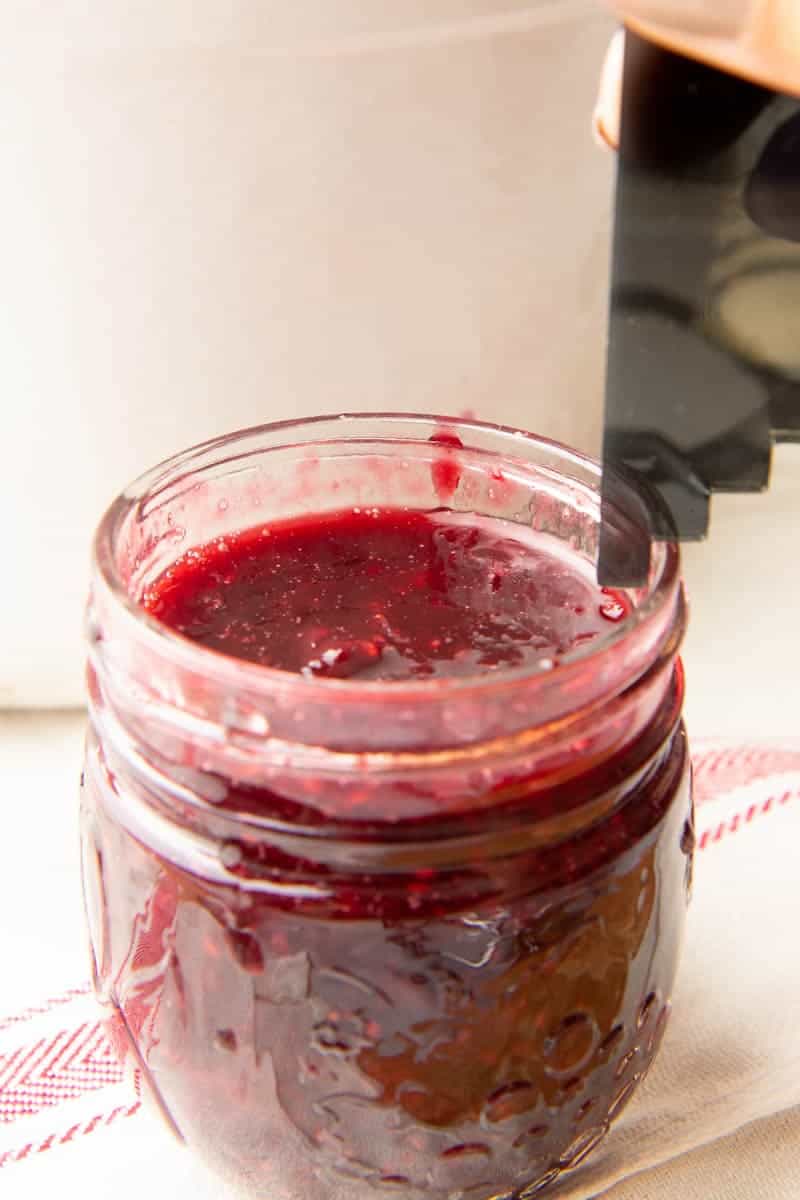
Remove the funnel to check the headspace. The amount of empty space you need at the top of the jar will vary based on the recipe, but it is usually ¼” or ½”—do whatever your recipe calls for. Check the headspace with your headspace checker or plastic ruler, and adjust the level as needed.
Protip: What is headspace in water bath canning?
Headspace is the distance from the top of your food to the top of your jar. The correct amount of headspace is important for proper preserving. It will vary depending on the recipe you’re using.
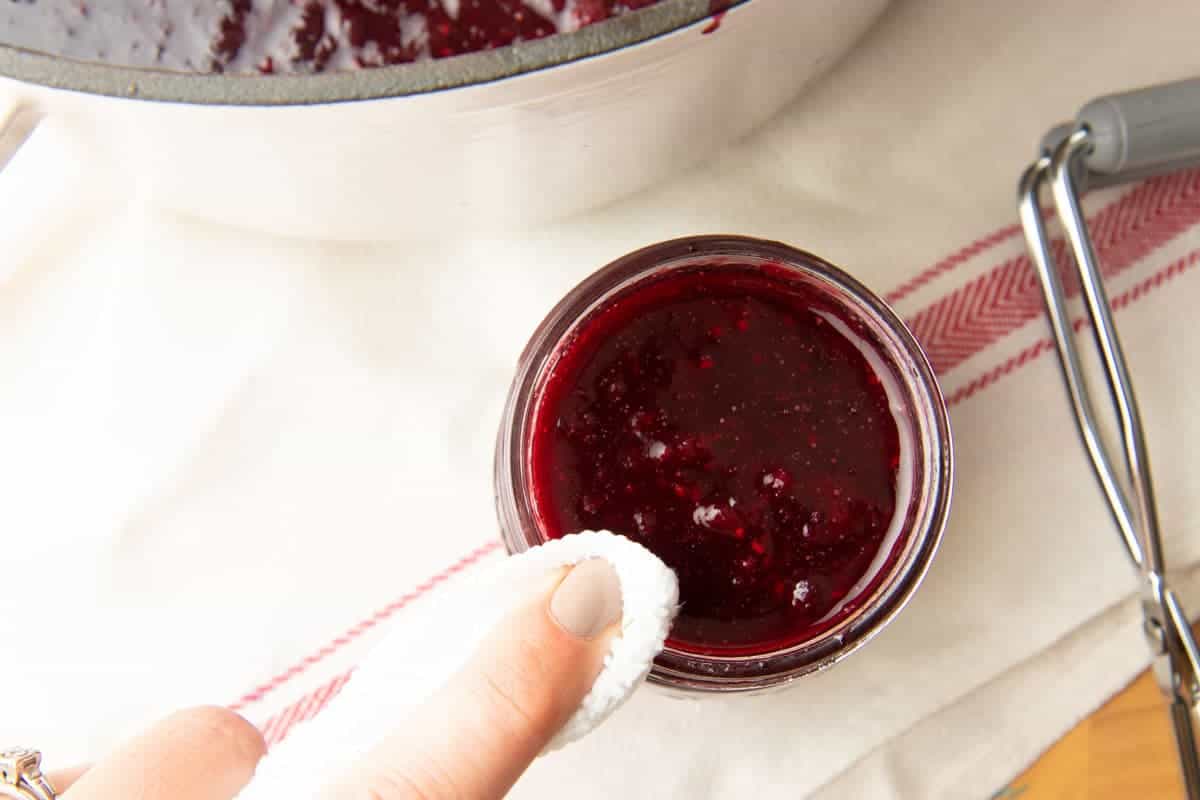
Wipe down the rim of your jar with a damp cloth or paper towel. If there is any food left where the lid meets the jar, it could interfere with getting a good seal.
Center a flat lid on top of the jar, and then screw on the ring. Tighten to just fingertip tight. Over-tightening your lids can make it so they cannot seal properly, and the lids may buckle and warp during processing.
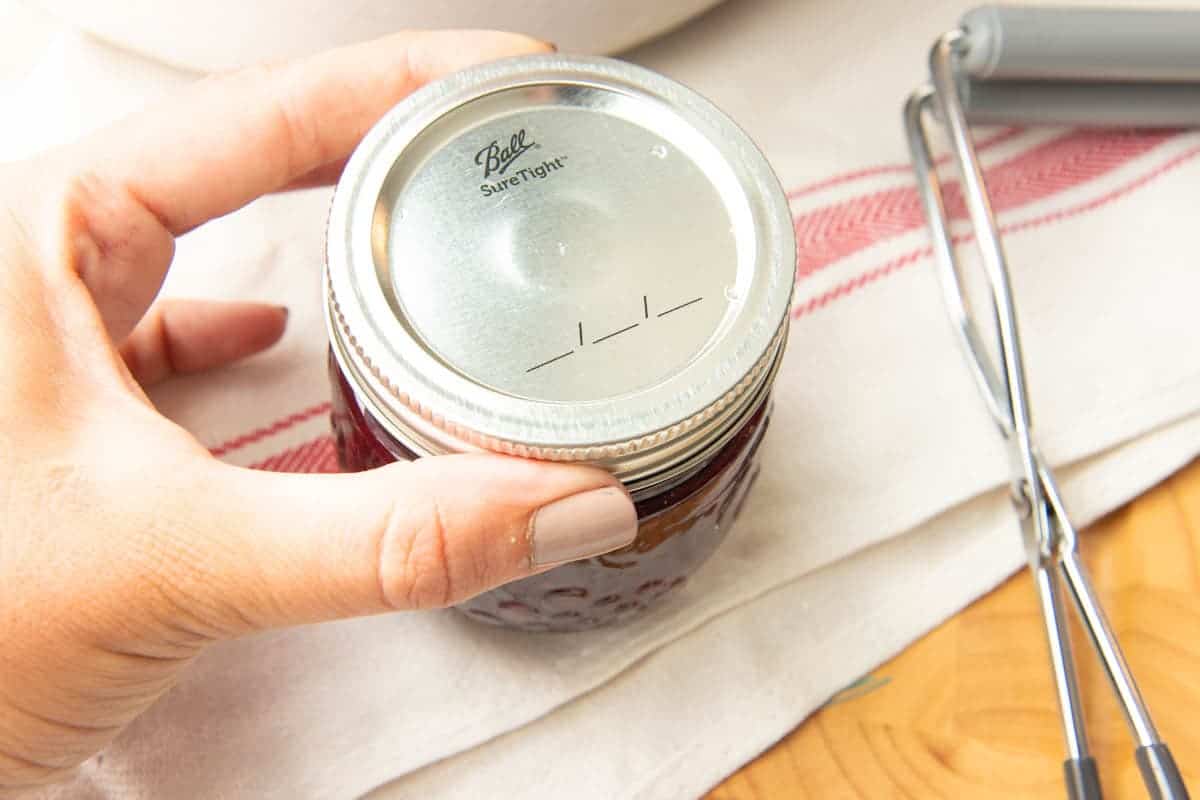
Use the jar lifter to put your filled jar back in the canning pot, and repeat with your remaining jars until you’ve used all of your preserves.
Protip: Refrigerate the extras
If you have any extra after filling your jars, you can stash whatever doesn’t fully fill the last jar in the fridge and use immediately. Do not try to process a partially full jar.
Step 5: Process to preserve.
Once all your jars are filled and back in the canner, put the lid back on the canning pot, and bring the water to a boil. Your recipe will tell you what the processing time needs to be—don’t start that timer until the water is at a full boil. If you are at a high altitude, you’ll want to check out this High Altitude Canning Adjustments Guide.
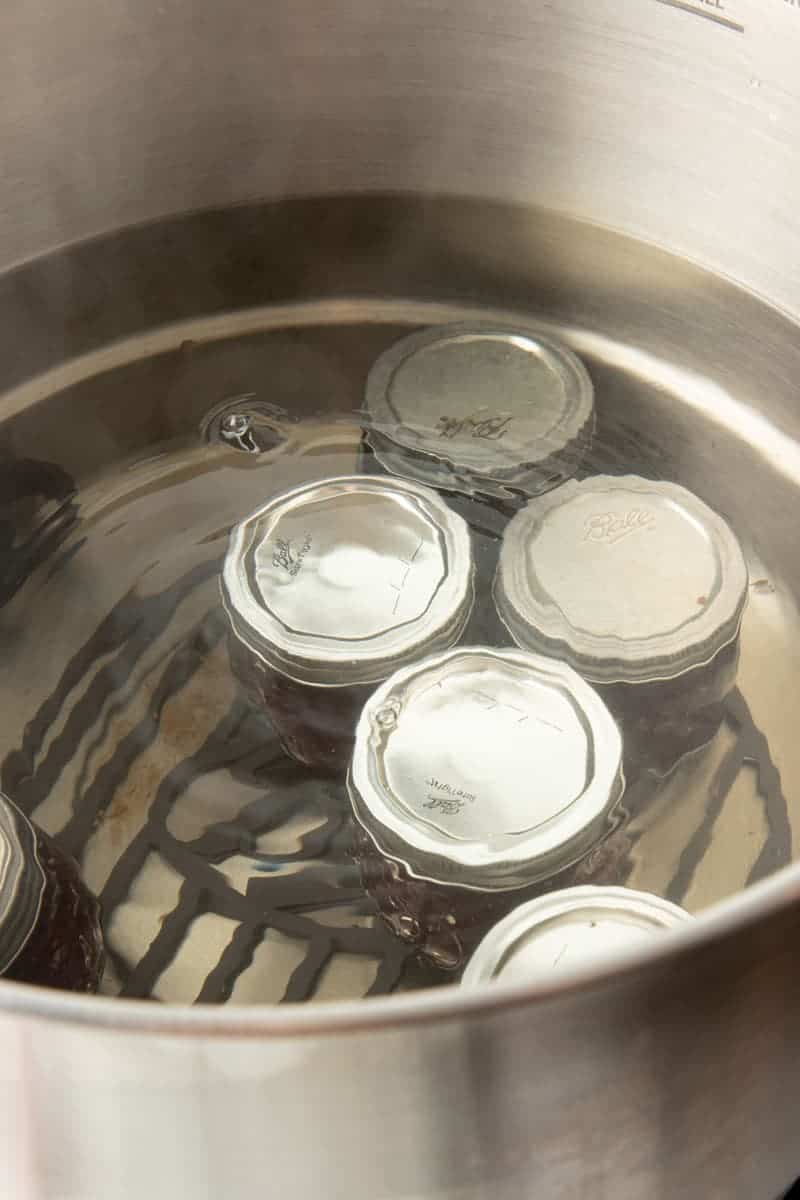
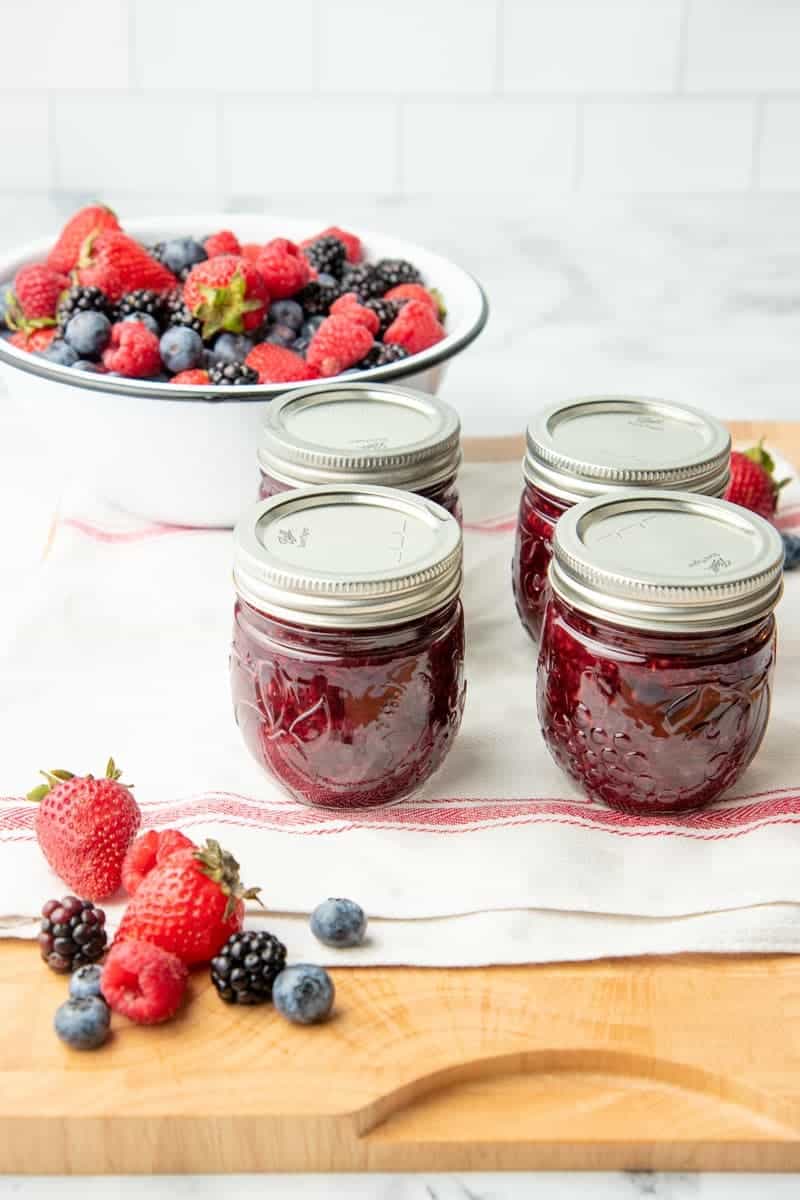
When the time is up, turn off the heat and remove the lid from the canning pot. Leave the jars there for five minutes, and then move them to a thick towel or wooden cutting board to cool. Be sure to leave an inch or two between the jars so that they cool evenly.
Protip: Don’t retighten!
The rings on the jars will likely have loosened by now, but don’t retighten them.
Step 5: Cool and check the seals.
As the jars cool, you’ll hopefully hear some satisfying *pops*—that means the canning worked and the suction of the vacuum is pulling the lids closed!
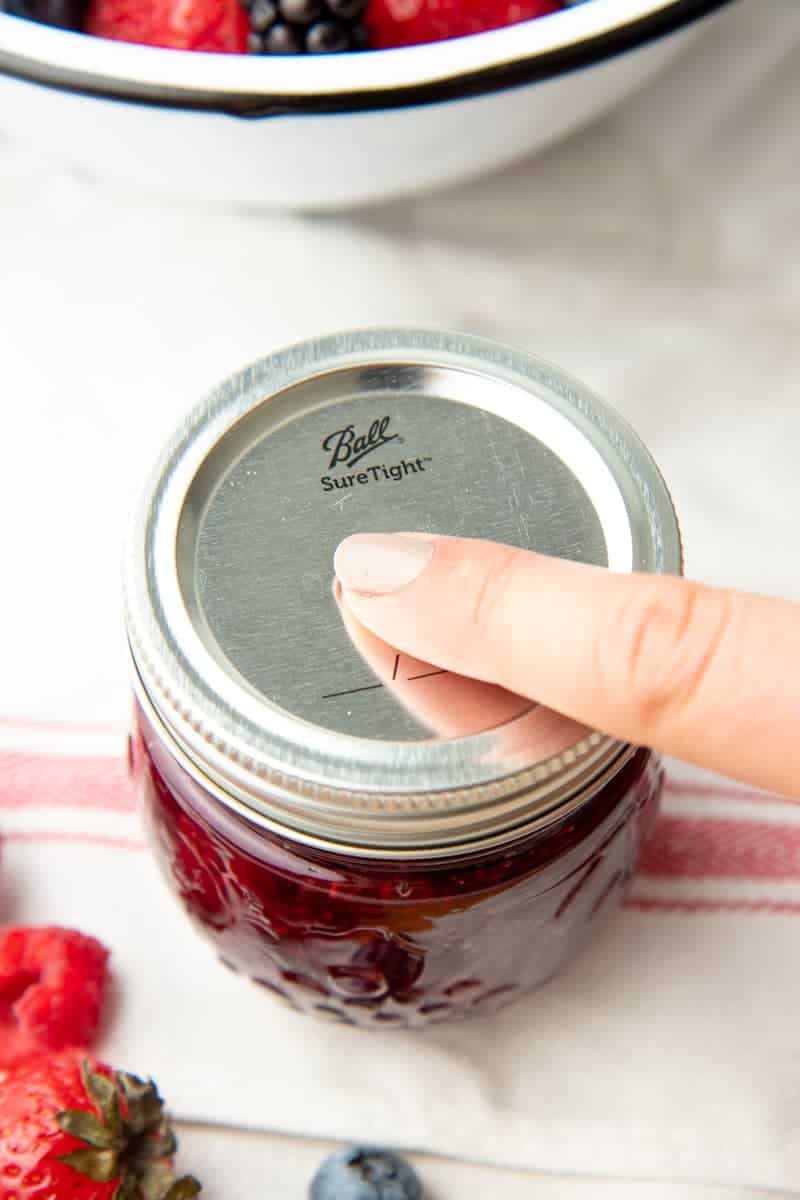
After 12-24 hours, the jars should be fully cooled down. At that point, you can confirm that all the jars are sealed properly by pressing a finger into the middle of each lid. If the lid flexes, the jar didn’t fully seal, and that particular jar won’t be shelf-stable. It is still safe to eat if you put it right into the fridge, though. If the lid stays put when you press the top, the jar is sealed and shelf-stable. You did it!
Step 6: Store your jars.
Remove the rings, wipe down the jars with a damp towel, and label and date your preserves. They are ready for long-term storage! Store in a cool, dark location.
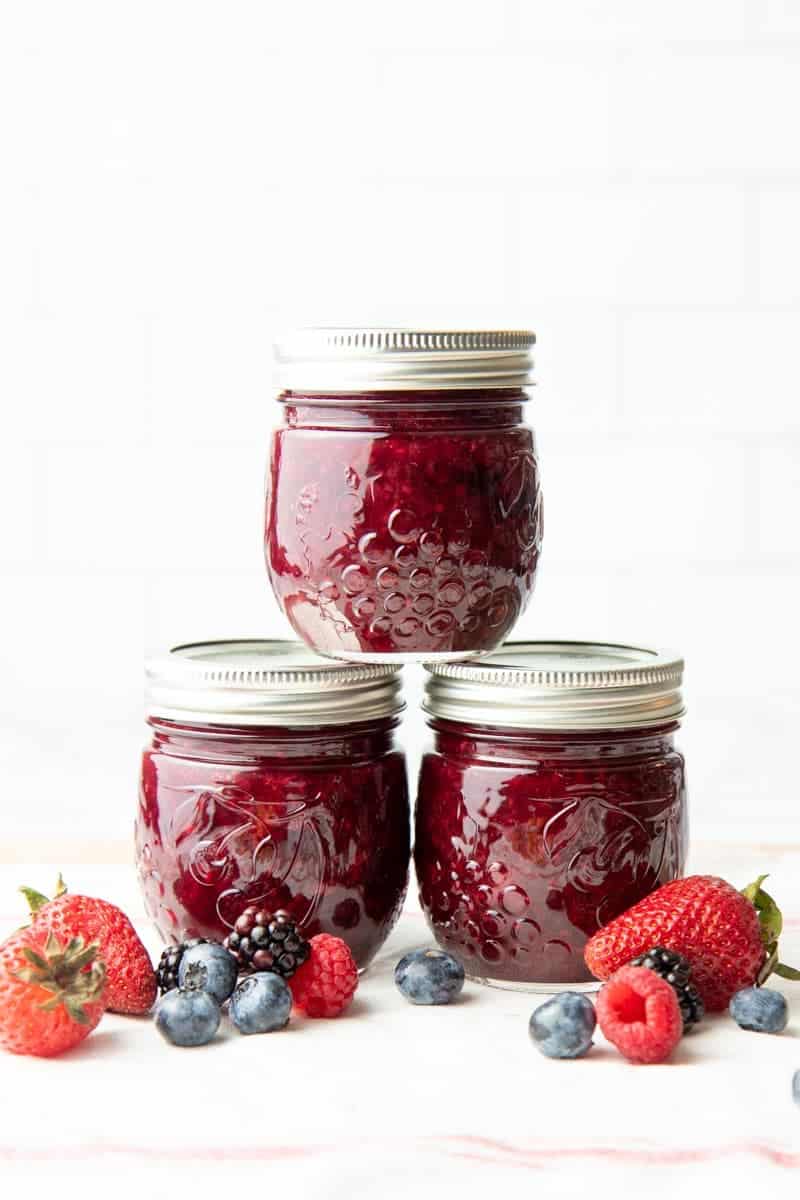
Let’s start water bath canning!
You did it! You learned how to can. Woohoo! Now it’s time for you to find a tested canning recipe and actually get to preserving in your kitchen. Ready to get going? Here are some of our favorite canning recipes for beginners:
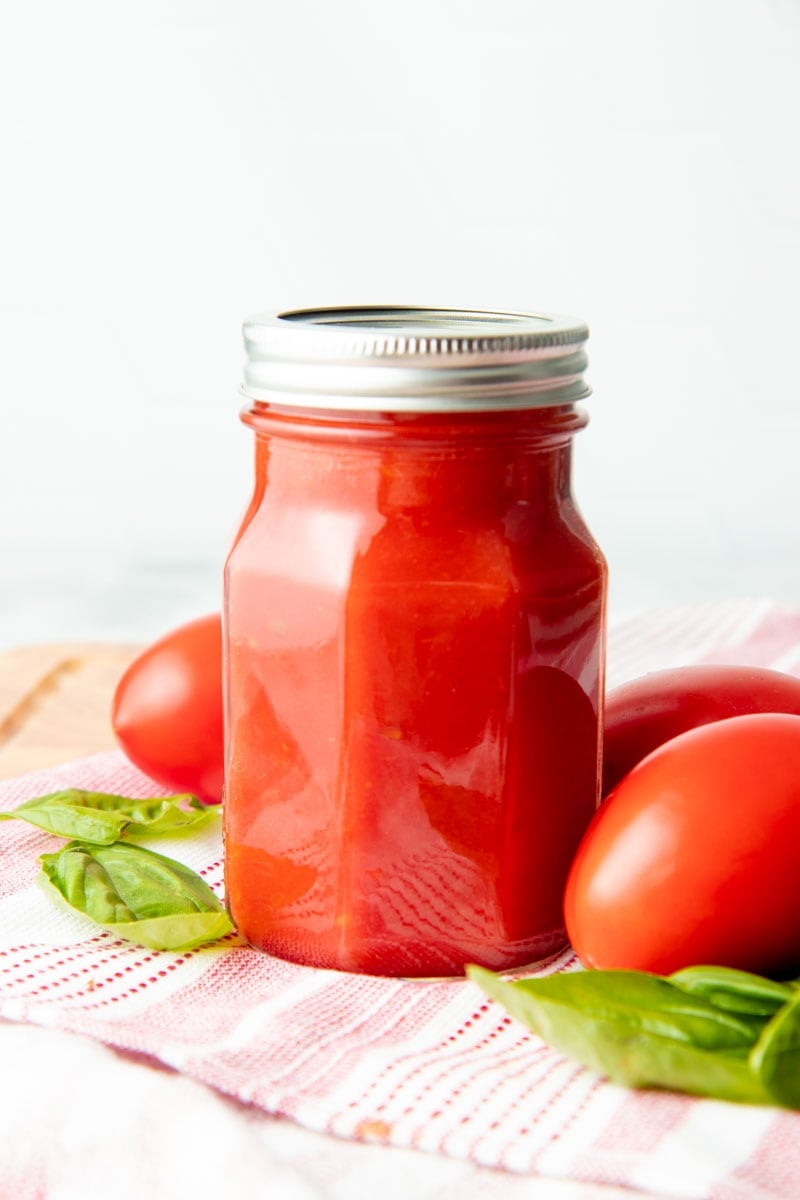
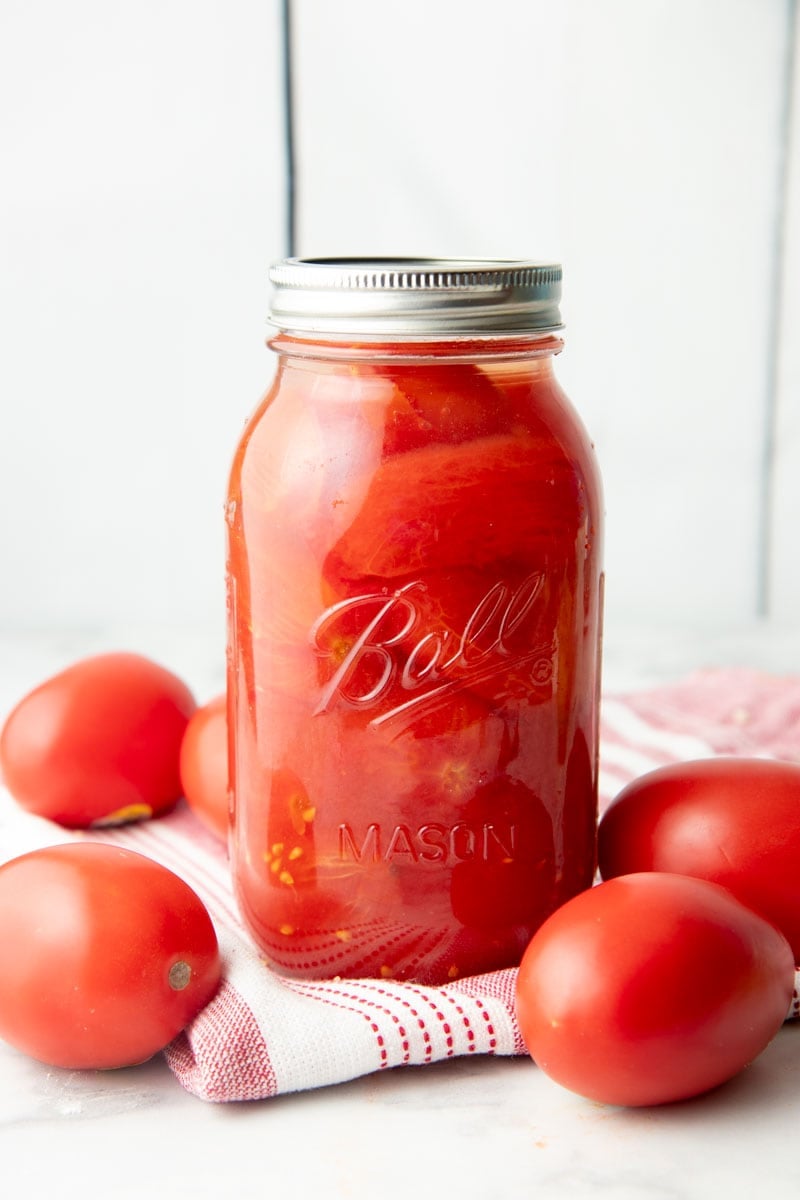
- Diced Tomatoes are endlessly versatile year-round.
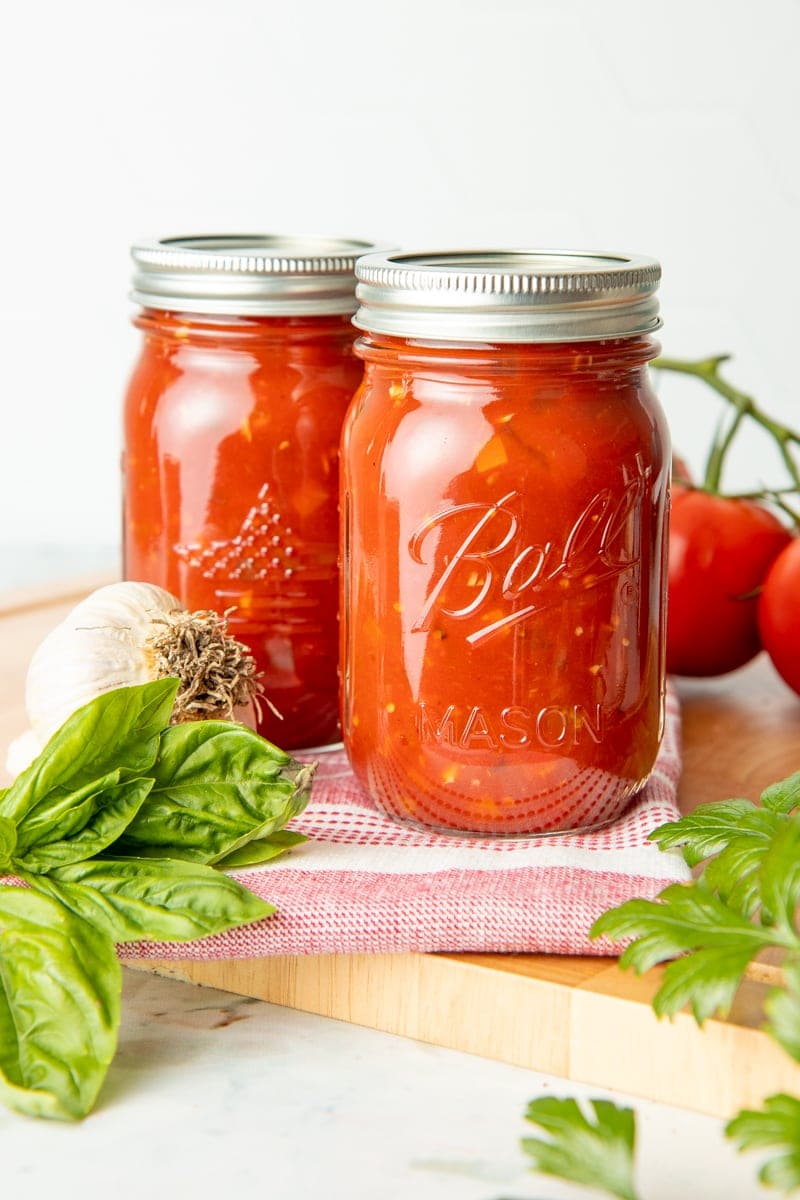
- Zesty Salsa is always a go-to.
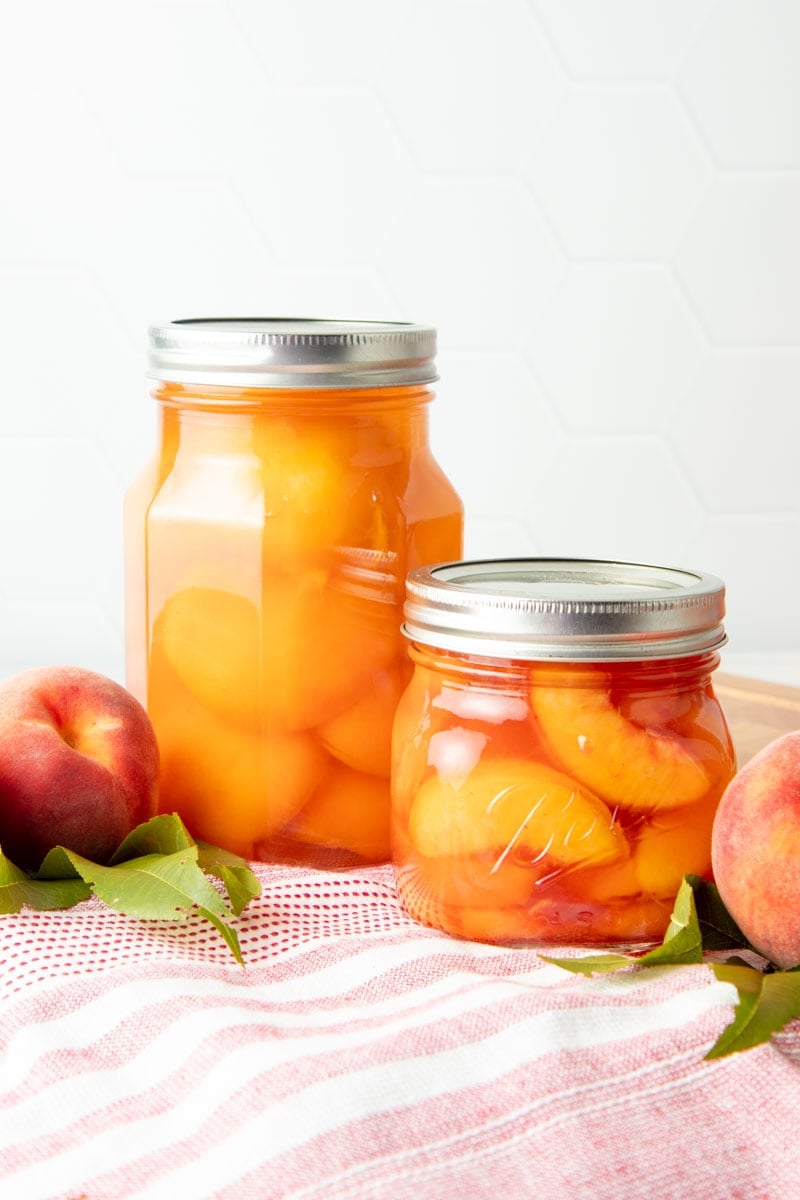
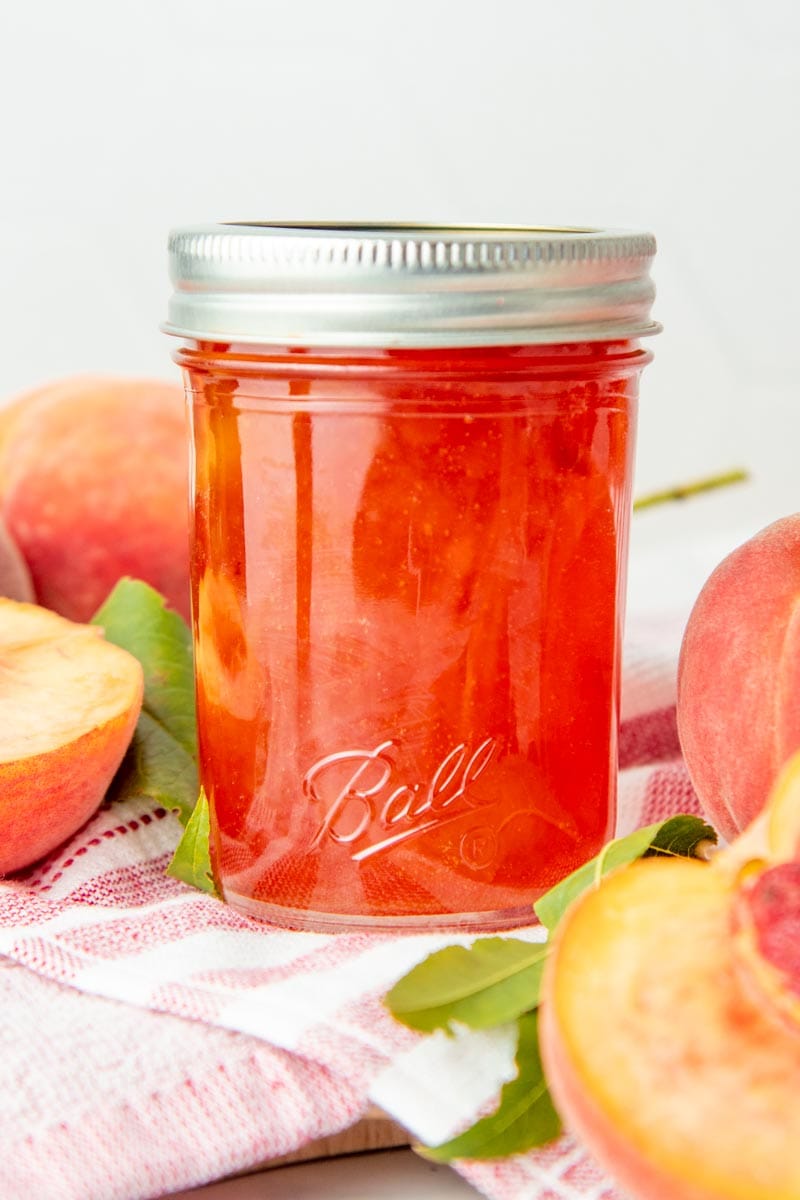
- Peach Jam is an easy first jam.
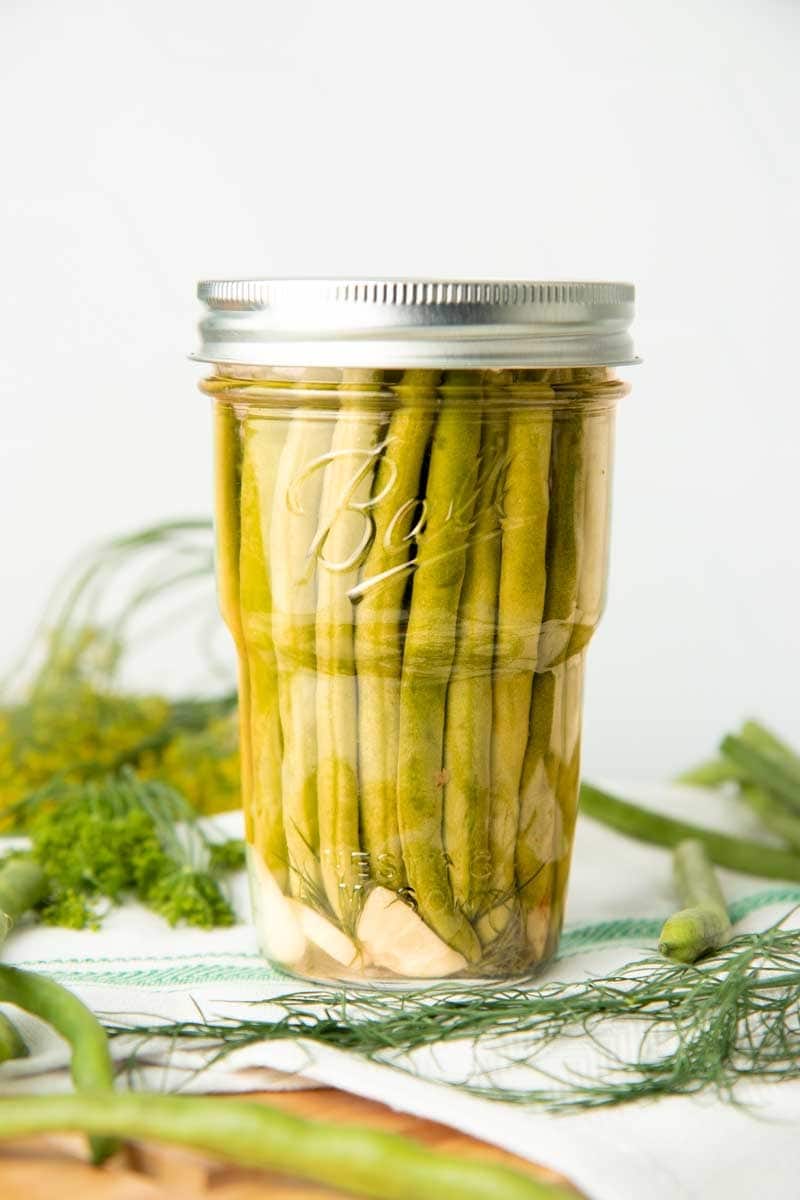
- Dilly Beans are a great starting point for pickling.

