I’m gonna go ahead and do a little dance, because now that September is here, it is socially acceptable to love pumpkin again. *dances*
I don’t care how overused, overmarketed, and oversaturated the world of pumpkin is. I love her, and true love lasts a lifetime. My love for pumpkin will not be tarnished by hipsters declaring it’s too mainstream for them. I love pumpkin like I love Britney Spears, with total disregard for how uncool it makes me. I’m actually an equal-opportunity winter squash lover—butternut is my homegirl, too—just like I can get down with some Christina Aguilera from time to time. But pumpkin, man, there is something special about pumpkin.
I love pumpkin so much that I’ve been secretly using it for a while now in my kitchen, and I have created a lot of serious deliciousness for you to enjoy. So much so, I am hereby declaring it Pumpkinpalooza (Pumpkinocalypse?) on this here blog of mine.
I have a this nifty tutorial for you today that teaches you how to make pumpkin puree at home, and then starting on Sunday, I have seven (!) straight days of pumpkin-tastic recipes to share with you. You really don’t want to miss out. The first one alone is worth setting an alarm on your phone for (8am EDT, Sunday, September 6, 2015). I promise there will be 100% fewer Britney Spears references (although, I really do love her—now and always).
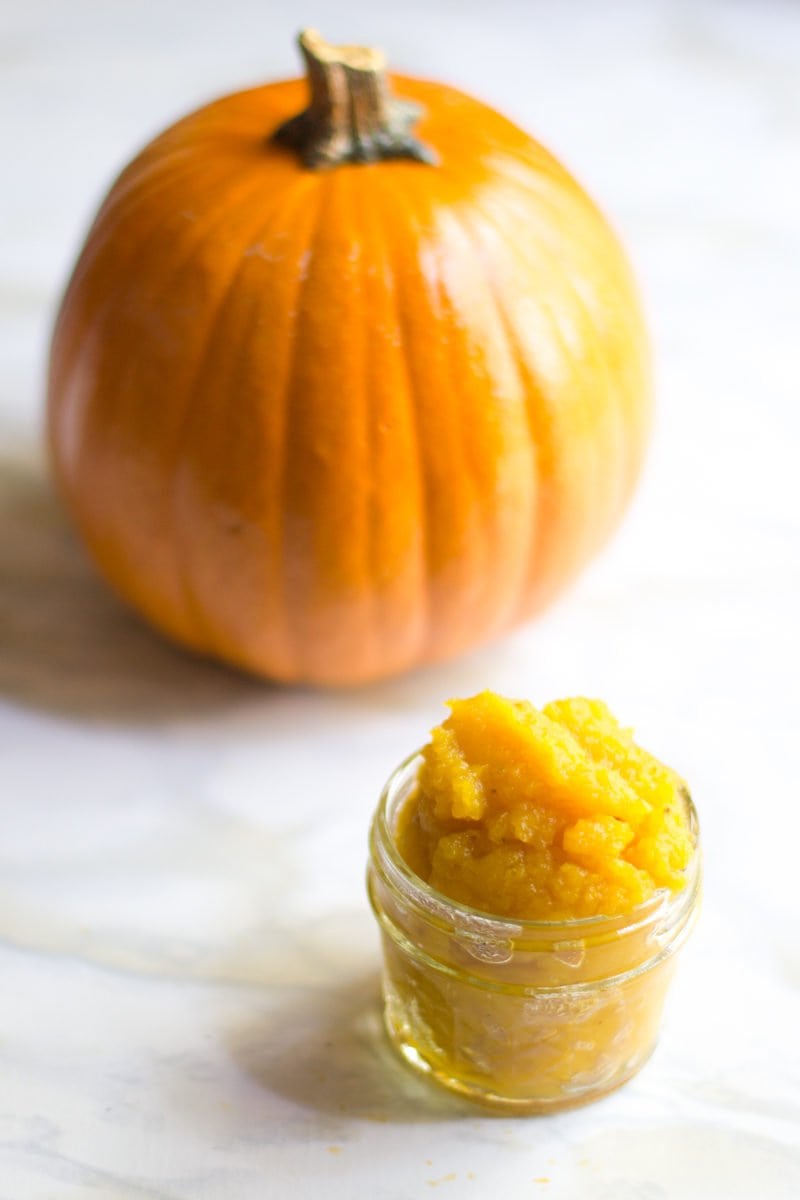
Okay, onto the reason of this post—how to make pumpkin puree. Before we dig into the steps, you’re probably asking, “Um, WHY should I bother making pumpkin puree if I can get it for a whopping $1 a can in the store?”
Well, I’m glad you asked! There are a number of reasons why you should make your own pumpkin puree at home. First of all, the flavor is out-of-this-world. The stuff in the can is so bland and boring compared to home roasted pumpkin. It’s bursting with sweetness and flavor! I actually find I can use a bunch less sugar in recipes that call for pumpkin puree when I use homemade. It tastes like candy!
But the biggest reason you should make your own? Chances are, the stuff you are buying in the can isn’t even actually pumpkin. Yes, yes, I know, it probably says “100% pumpkin” in the ingredients right? LIES. Or, at the very least, a murky retelling of the truth. The USDA has a very loose definition of “pumpkin” and basically they accept any winter squash as a “pumpkin.” Your “100% pumpkin puree” could actually be 100% butternut squash puree. Or 100% hubbard square puree. Or 100% puree of a proprietary squash that a company has created to be easy to process that doesn’t look much like a pumpkin at all.
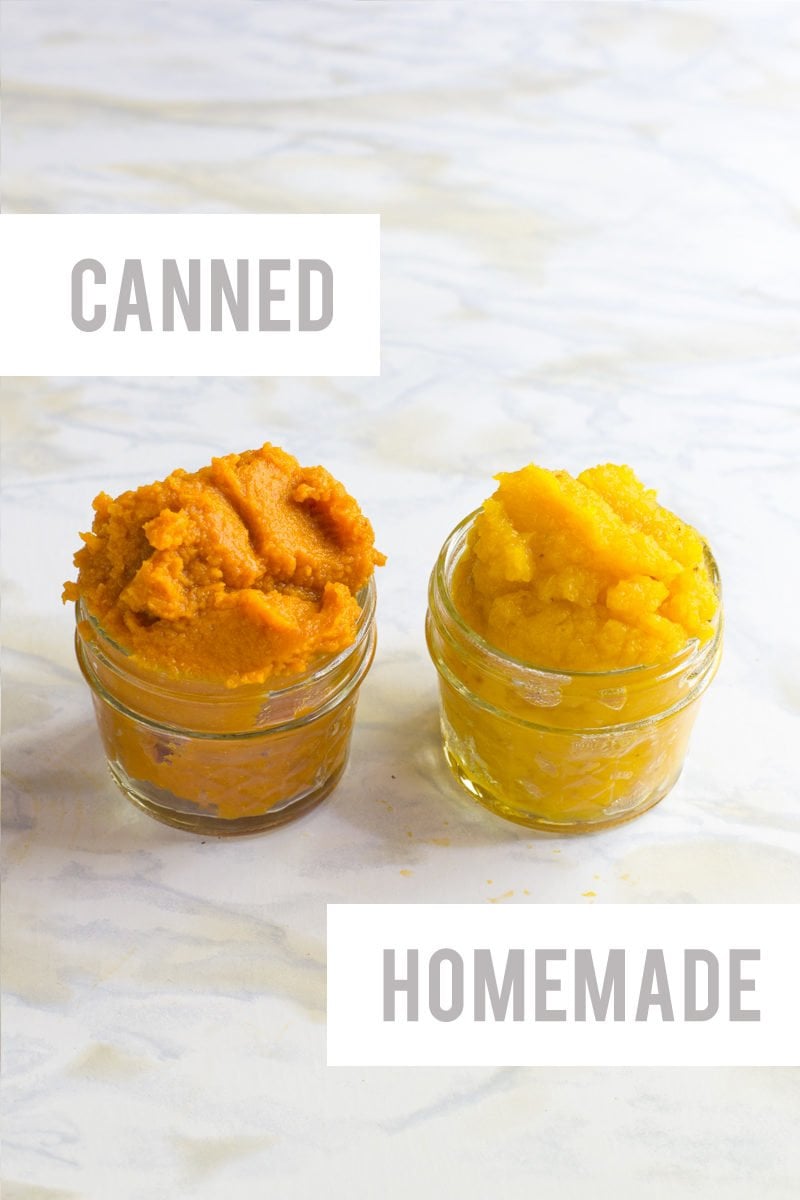
That’s all well and good, and if you like the canned stuff, that’s fine, but if you want real pumpkin in your pumpkin spice latte, you better be roasting your own pie pumpkins.
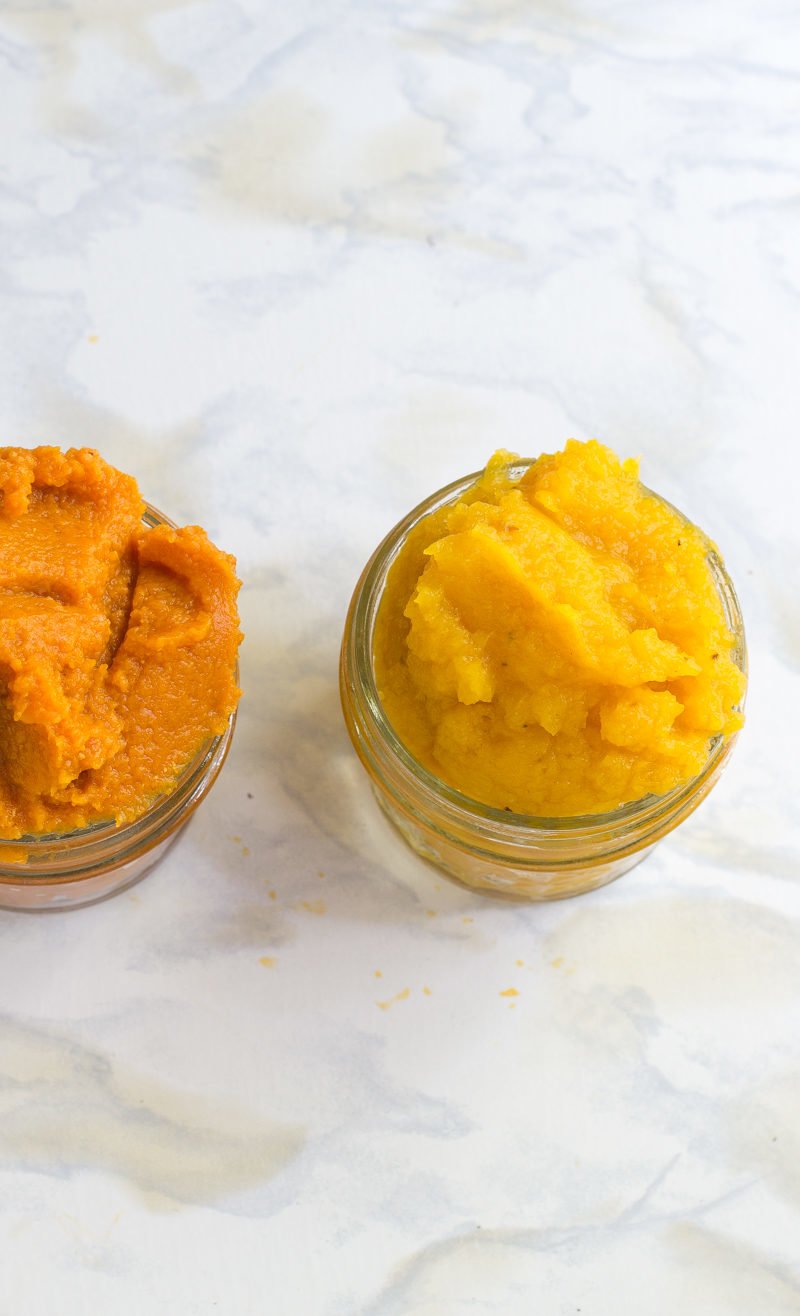
Real pumpkin puree is actually pretty light in color (not dark orange!) and is very sweet and a bit watery. You’ll need to strain your puree through a cheesecloth to remove excess water if you are going to bake it into a pie—I actually recommend sticking with the canned stuff for pies. Pumpkin pies are so sweet and spiced, they mask any flavor differences between the canned stuff and homemade. And it’ll save you the step of straining. And the step of explaining to people why your pumpkin pie isn’t orange. But for almost any other use, the homemade stuff can’t be beat.
Okay, so now that I’ve bored you with a history of pumpkin puree, how about I actually show you how to make it? It’s a breeze! First up, find some pie pumpkins. You can’t use run-of-the-mill Halloween pumpkins that are intended for jack-o-lanterns—those are bred to be big in size, not big in flavor.
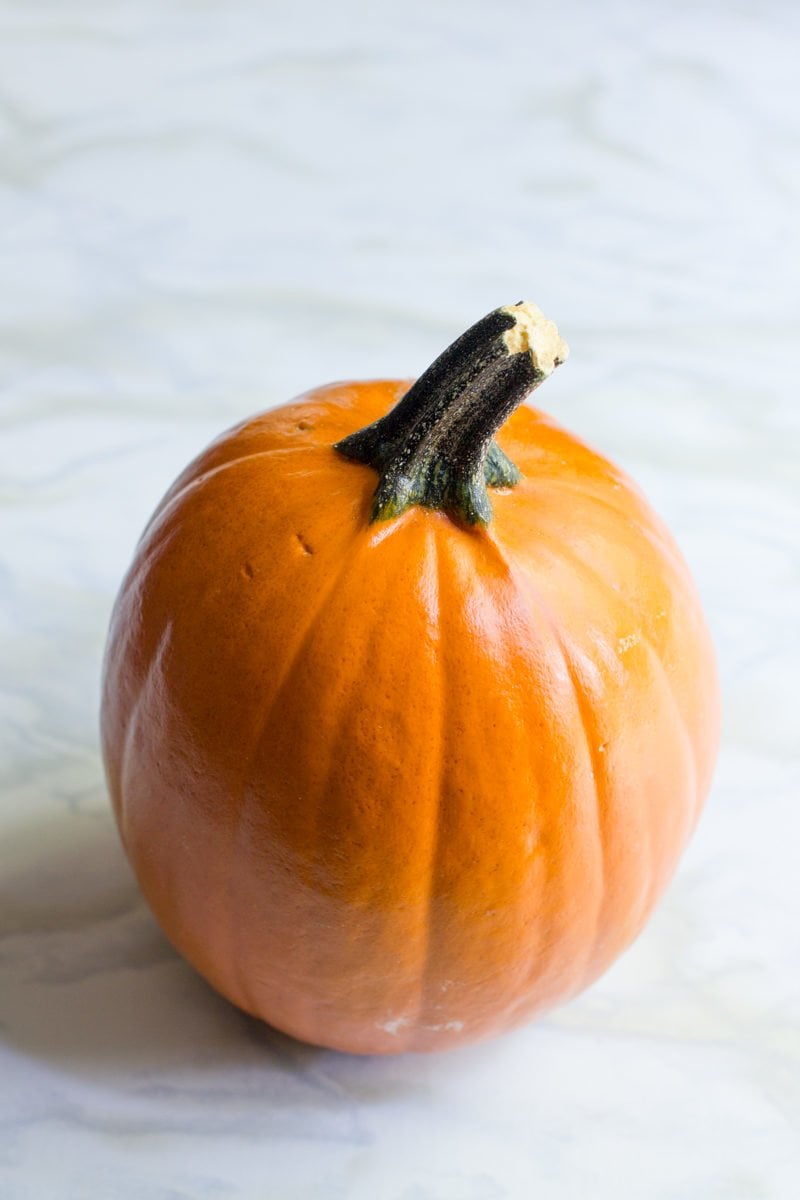
You’re looking for small, pie-specific pumpkins. Many grocery stores and farmer’s markets will have them right around now. And if you’re a gardener, I highly recommend growing your own. They are super easy to grow and can be very prolific—we have about eight pie pumpkins on each of our plants this year! Ours aren’t quite ready to be roasted yet, so I nabbed a few perfectly shiny store-bought ones to get me started with pumpkin season this year. Store-bought pie pumpkins are often coated in a food-grade wax to help protect them from bumps and bruises. That’s why they look so shiny and, well, perfect. The more you know.
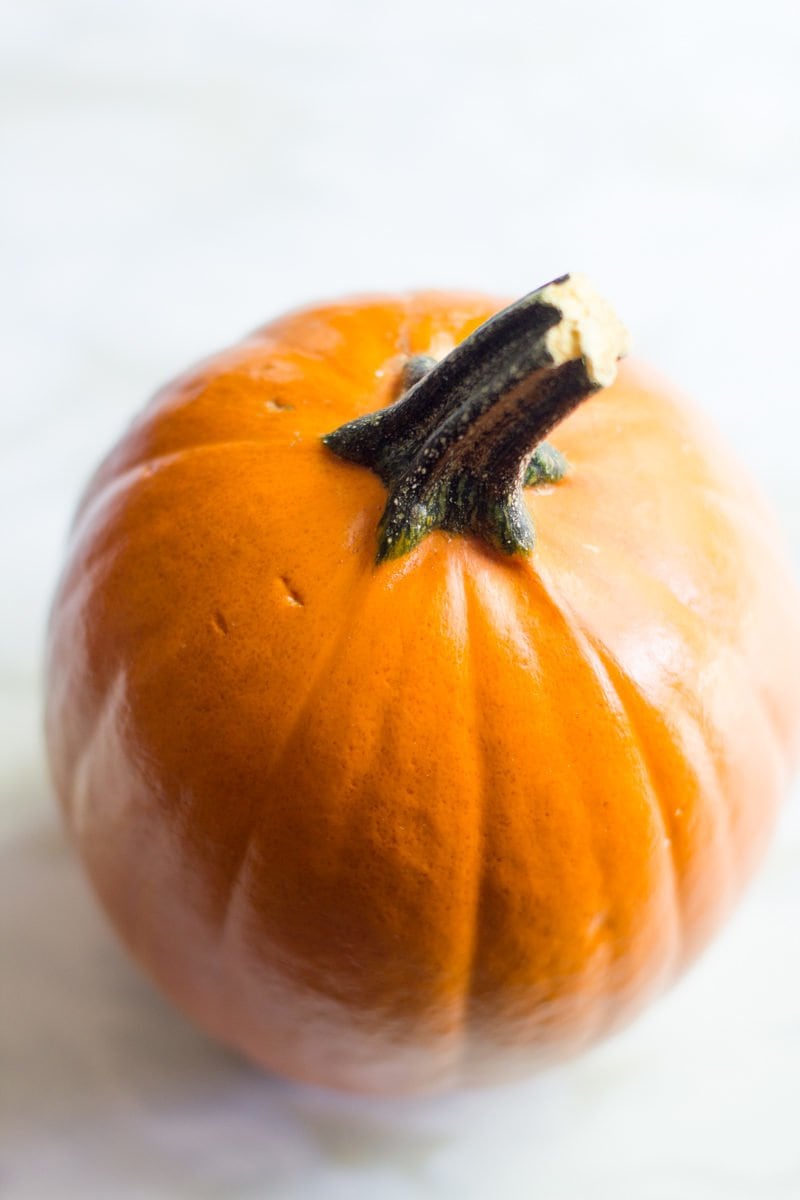
Look for pumpkins that have nice, clean skins without bruising or marks. And a nice green stem means they are relatively fresh.
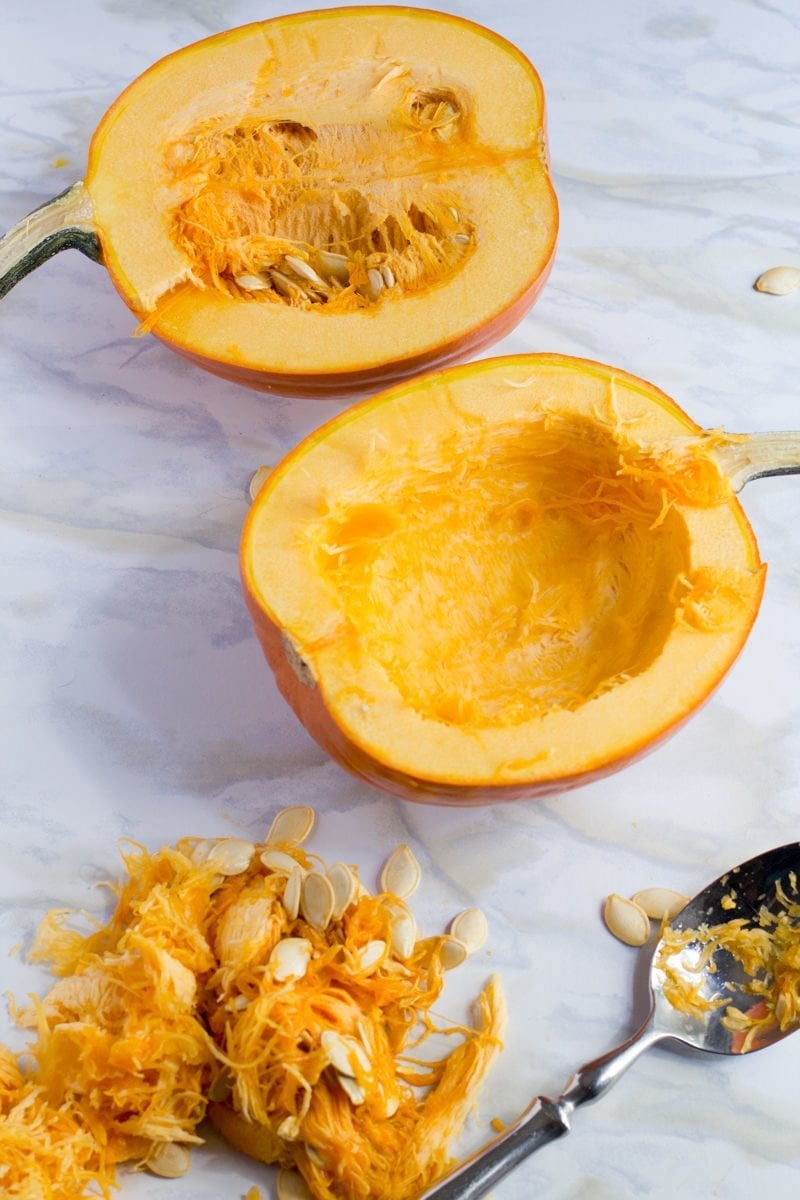
Next up, you hack into it. Take a sharp knife, and cut the pumpkin in half lengthwise. It’ll take some elbow grease, but you can do it! Once you’ve got the pumpkin open, take a spoon and scrape out all of the inside guts. Set those aside so you can roast the seeds later (more on that next week). Make sure to clean out as much of the strings as you can get. You want a smoothish inside. Don’t be obsessive about it, but do give it a good scraping.
Now, preheat your oven to 400° and place a baking mat on a baking sheet (this is the one I use) or line a baking sheet with parchment paper. Place the two halves, cut side down, onto the baking mat and then pop it in the oven.
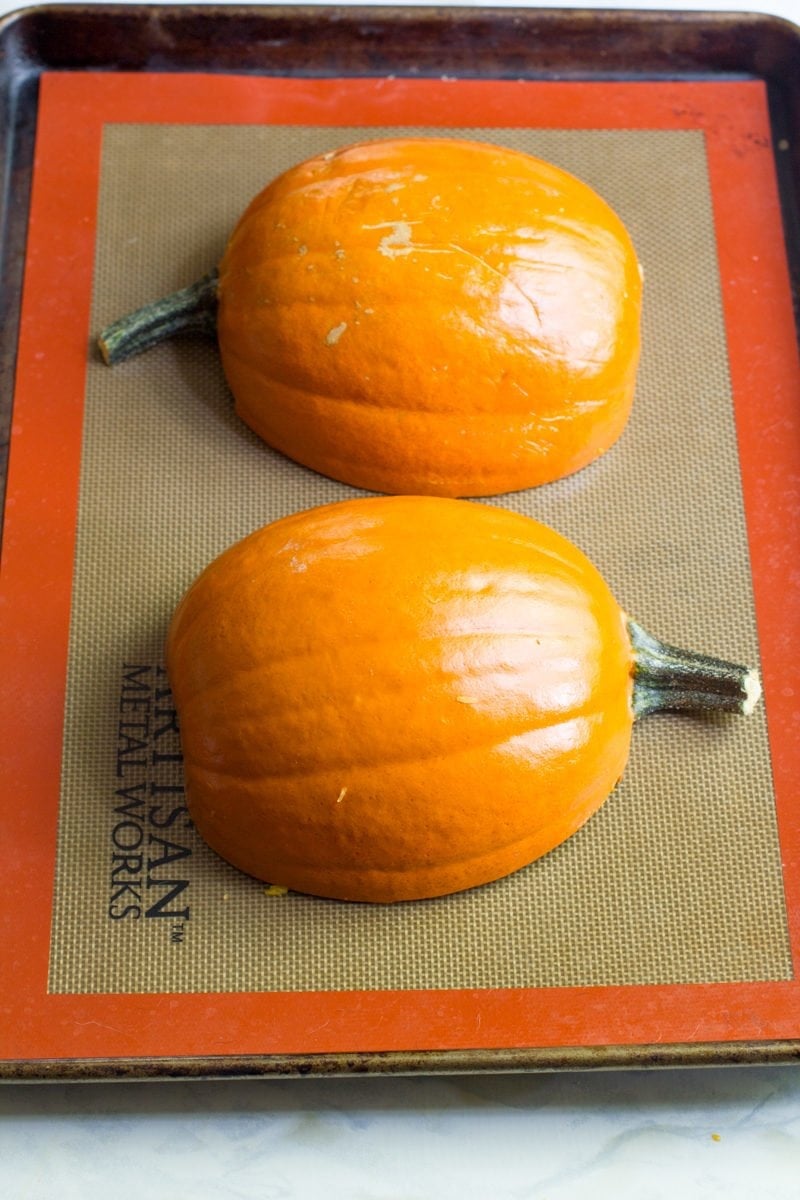
And then you wait. The amount of time the pumpkin needs to bake depends on the size of your squash, but a good average is between 30-45 minutes.
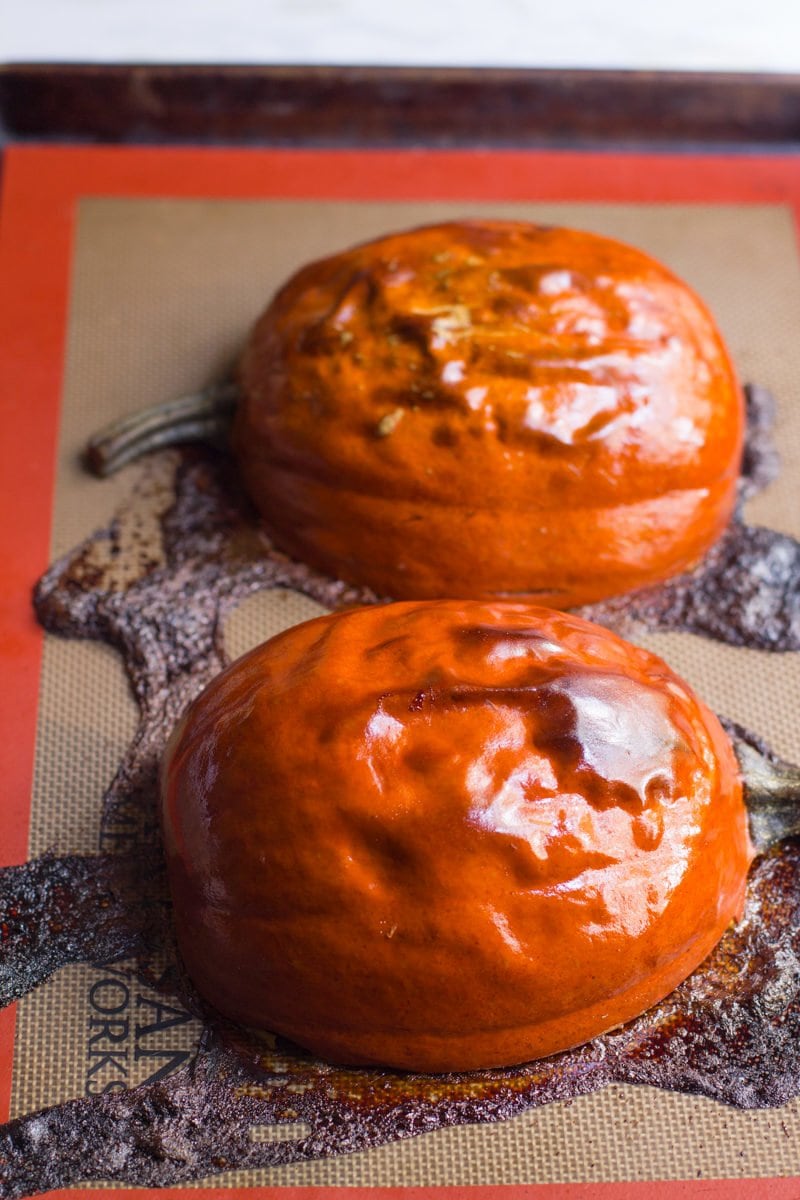
My medium-sized pumpkins took right around 35 minutes. How do you know when they are ready? Well, the flesh will be fork tender, and the skin will start to pucker and brown. Like so. Ain’t it beautiful?
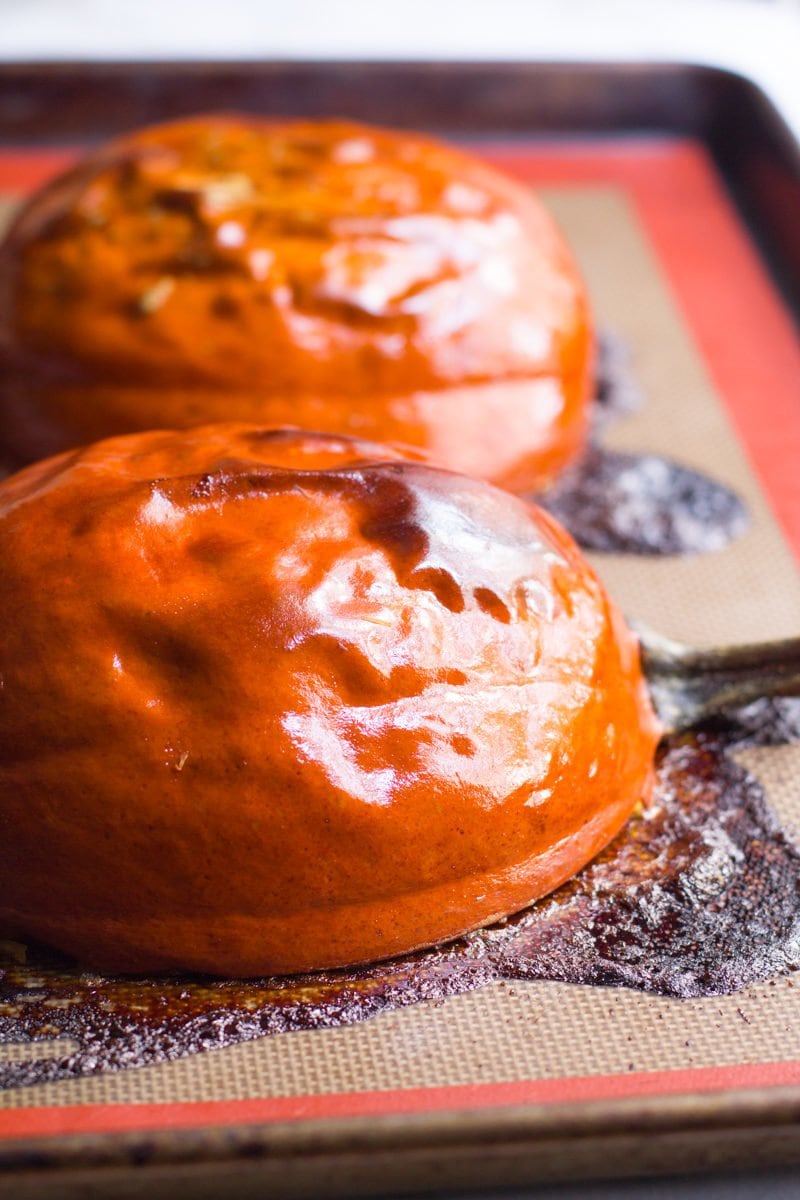
Go ahead and let those pumpkin halves cool for a bit (just until you can handle them), and then find a corner of the skin and peel. It should peel back super easily and in big chunks. If it doesn’t, then the pumpkin needs to go back in the oven for a few more minutes.
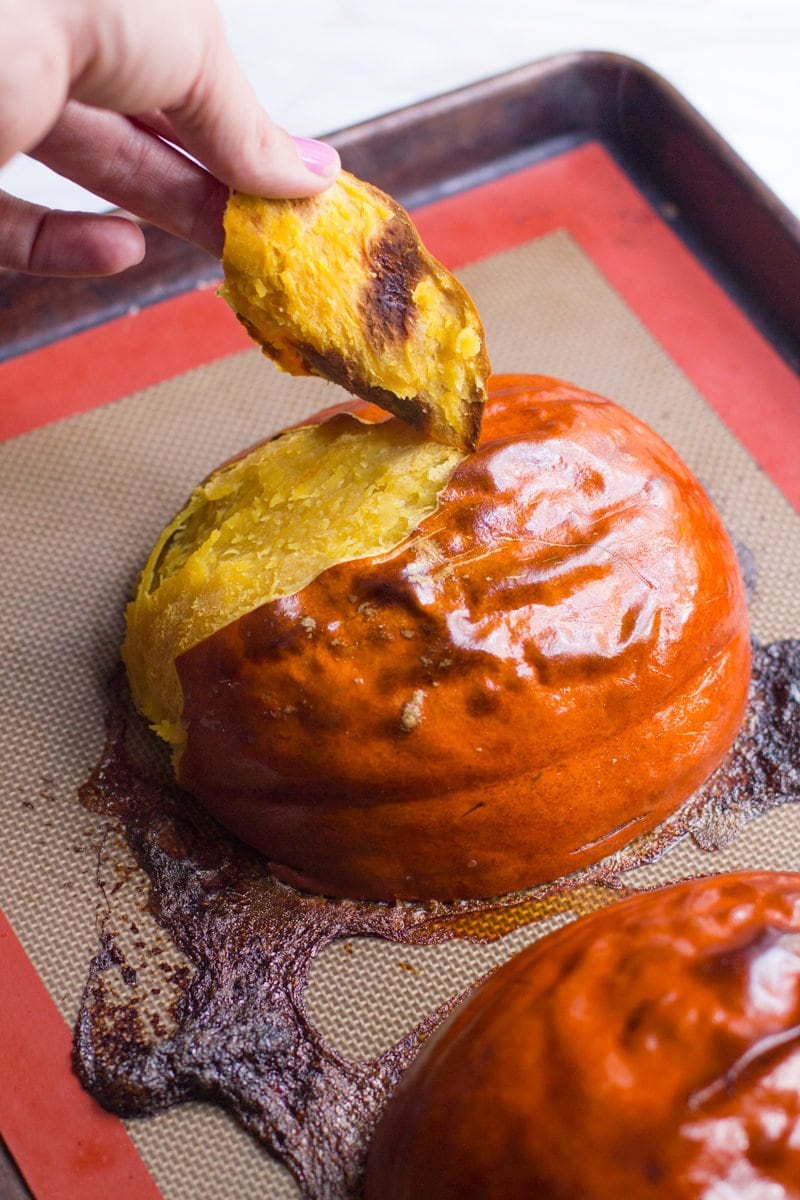
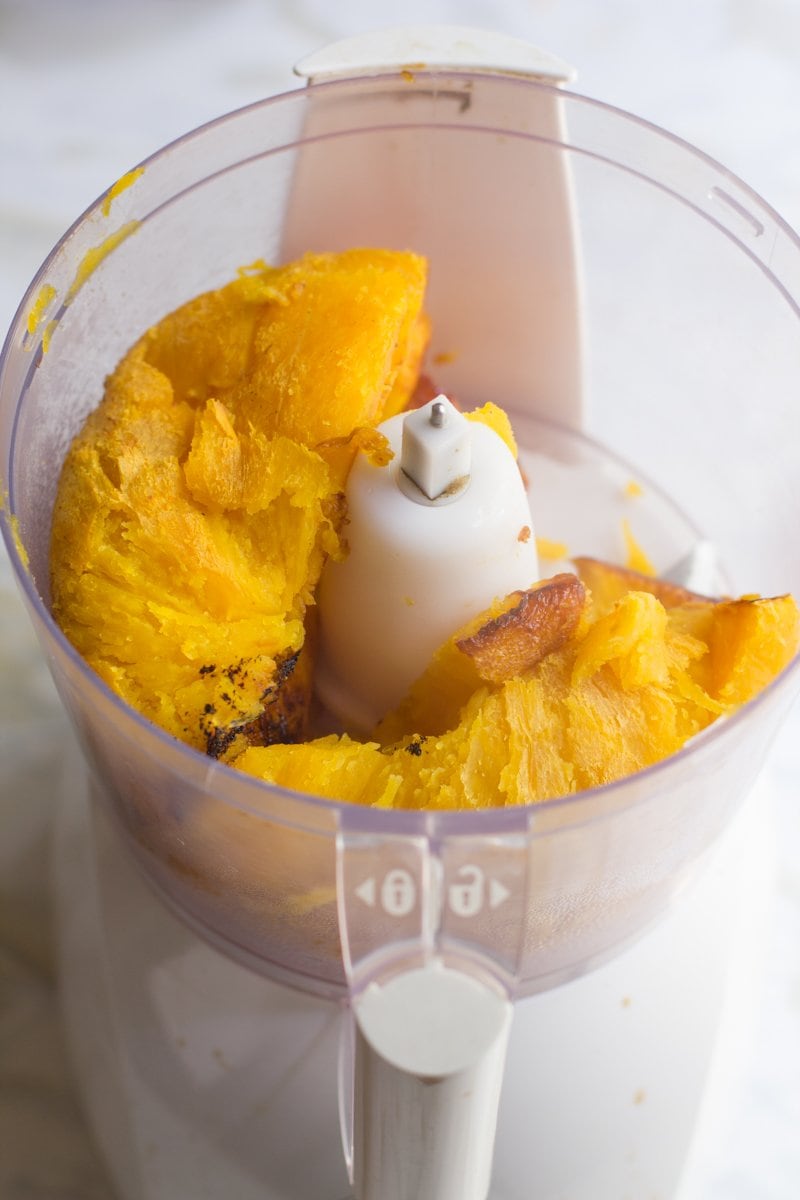
Discard the skins, and now all you are left with is beautiful, glorious, delicious roasted pumpkin! Avoid the desire to eat it as is, and instead grab your food processor or blender. Throw the soft chunks in.
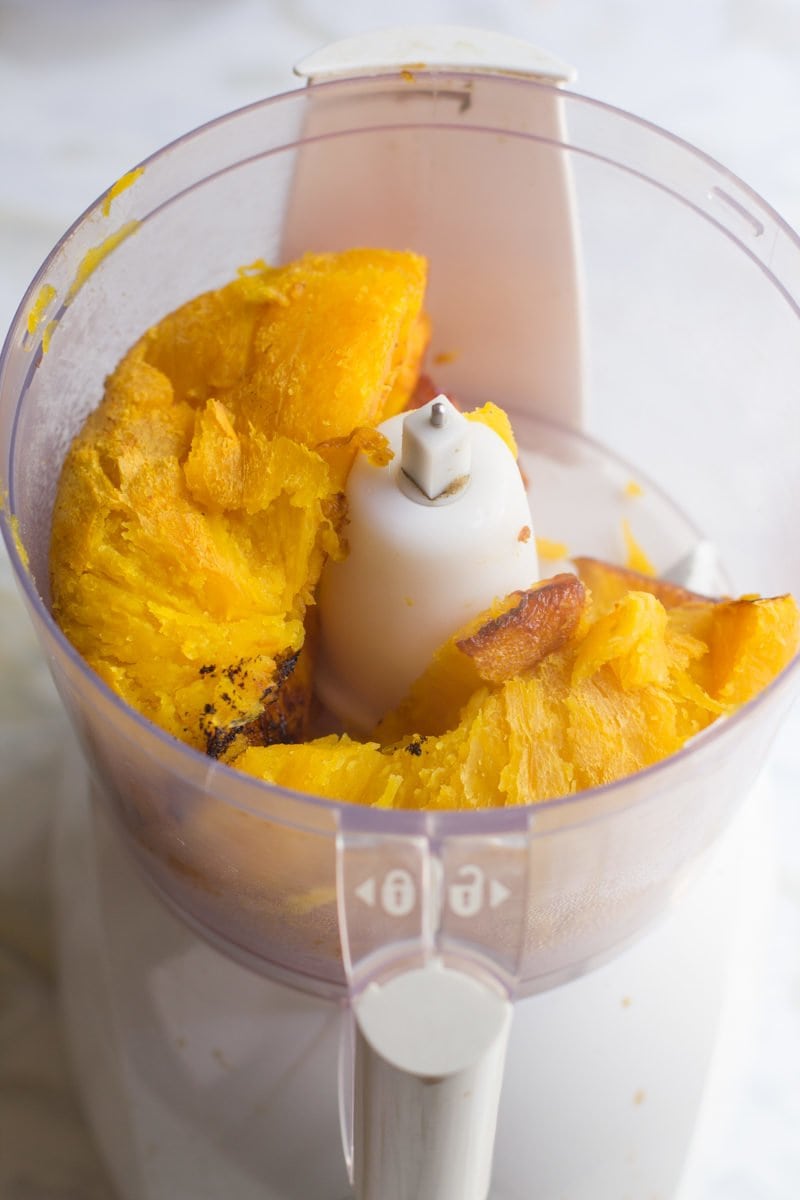
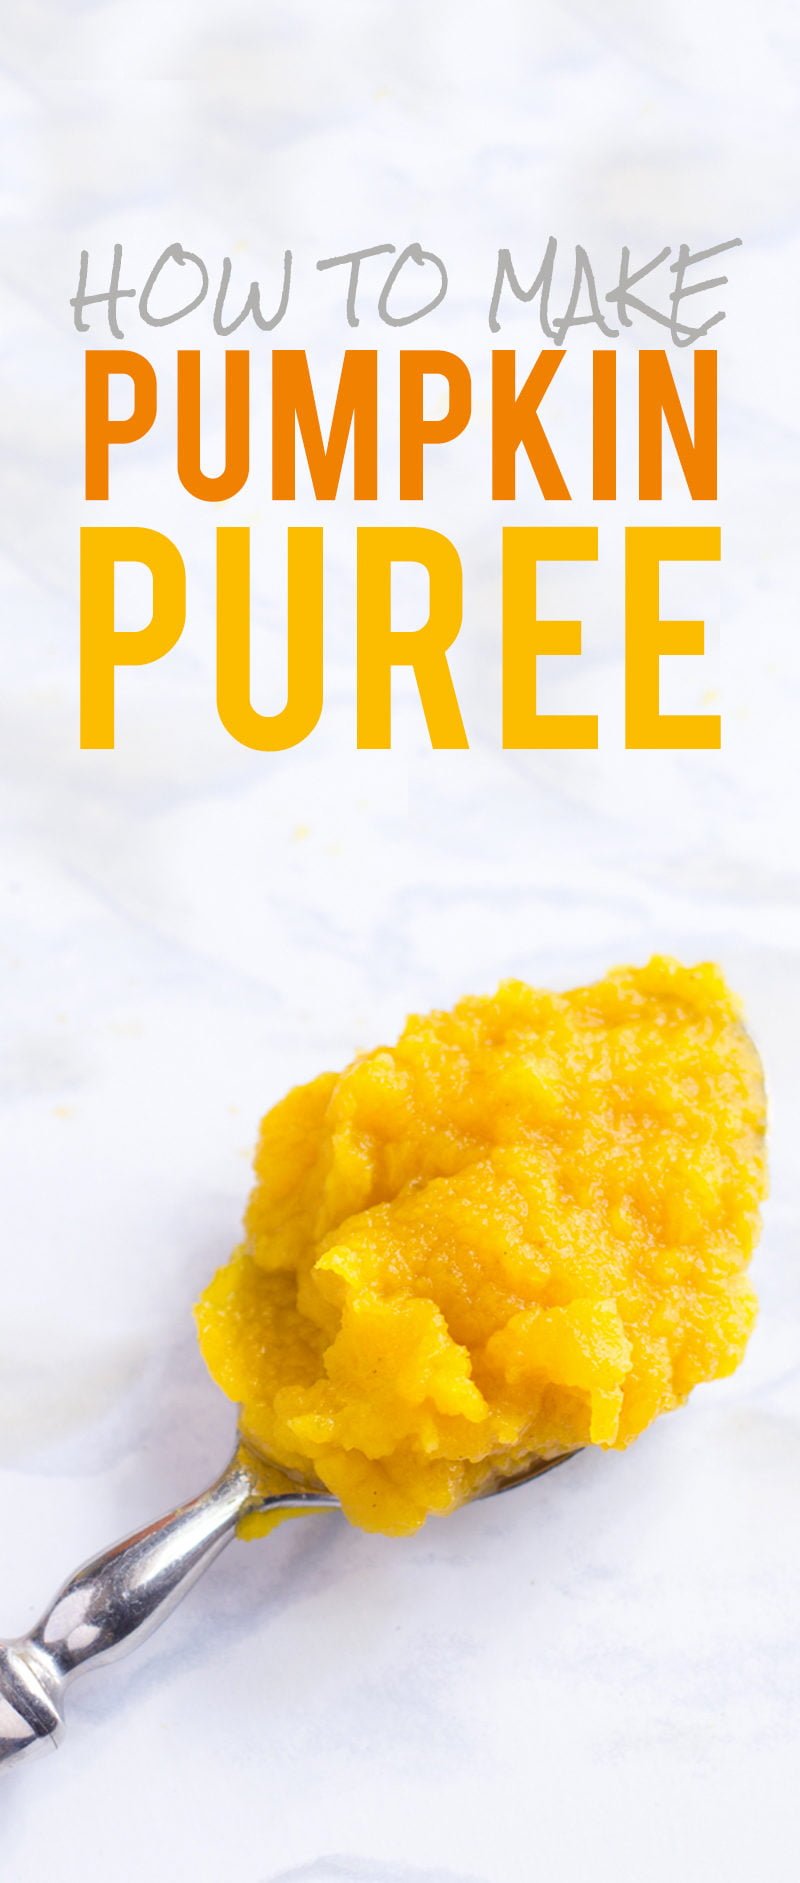
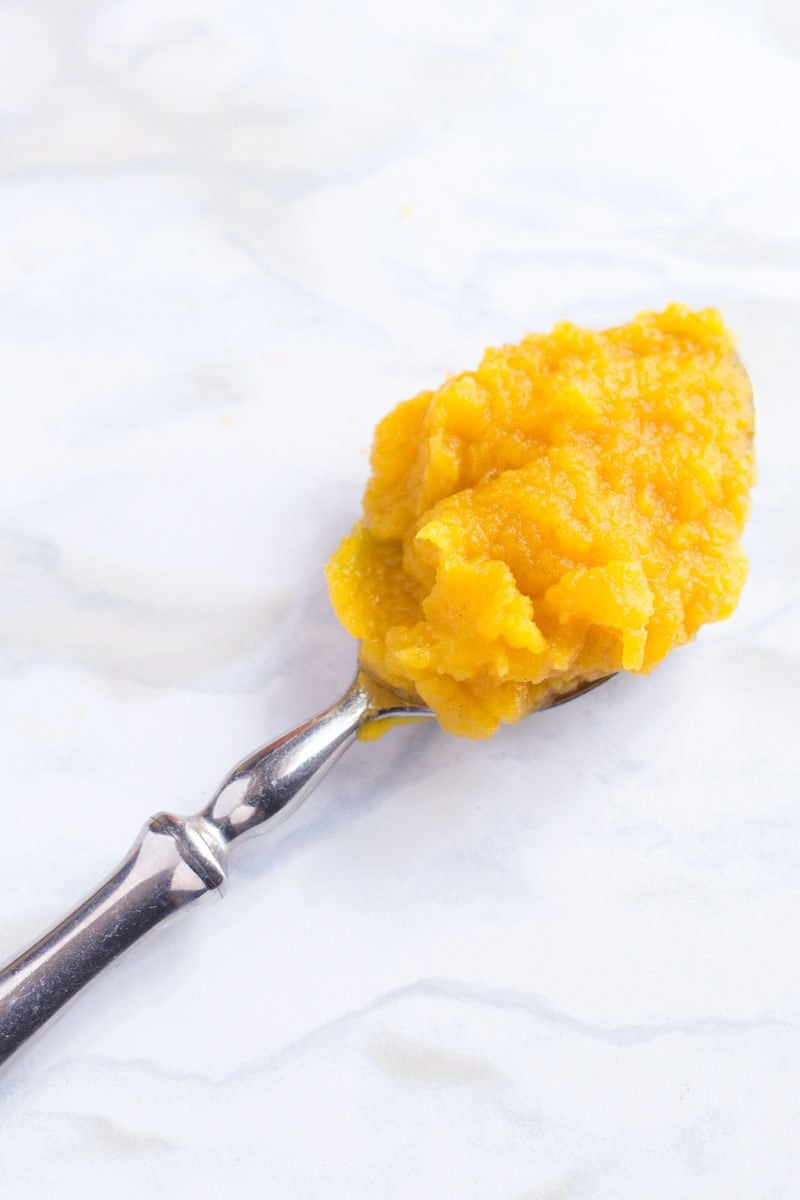
Process on high until the pumpkin turns into a beautiful golden puree that looks a little more like the stuff you are used to seeing in the can (just a much yellower version).
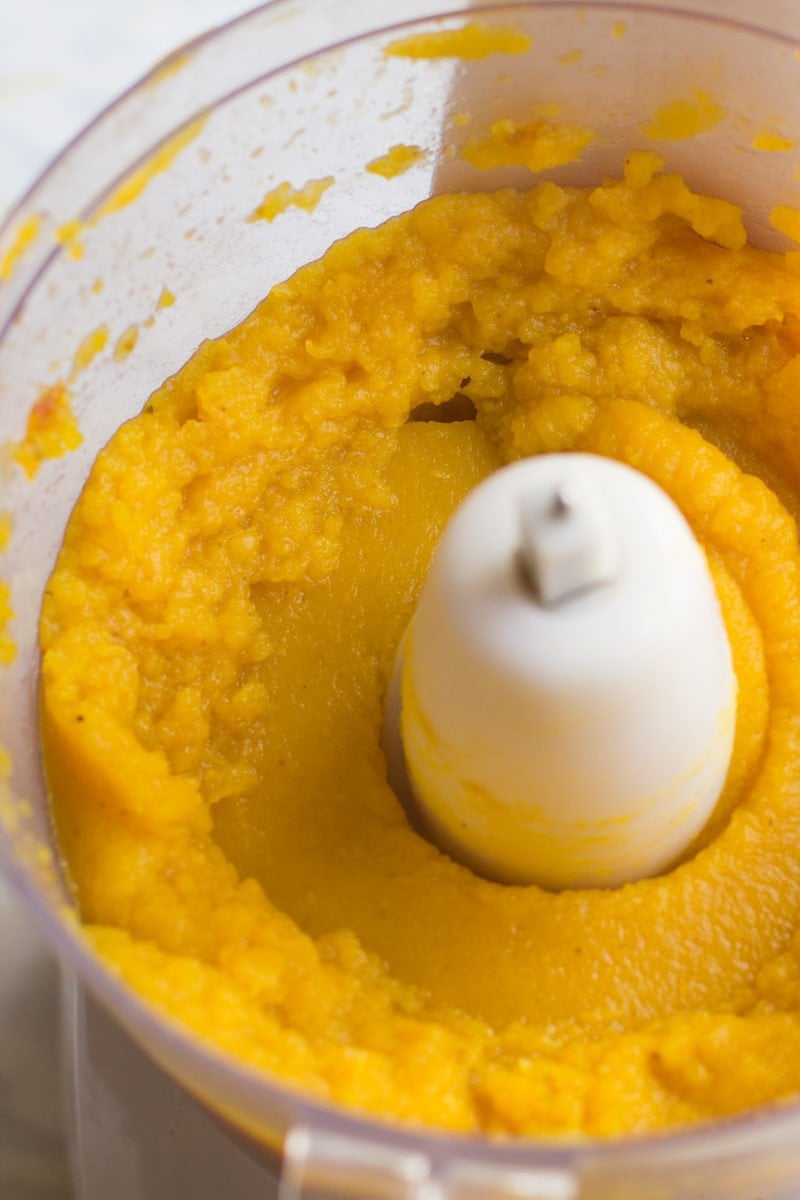
If your puree seems watery, now would be the time to run it through a cheese cloth, or a Greek yogurt strainer (this is mine, and I use it for everything—juice for jelly, straining broth, making Greek yogurt).
My puree I was making in these photos was just fine and dandy, though. So I put it straight into a freezer bag. I flattened it, froze it, and now it’s stashed in my freezer ready for the onslaught of pumpkin deliciousness over the next few weeks. You can also keep it in the fridge for a few days before it starts to go “off.”
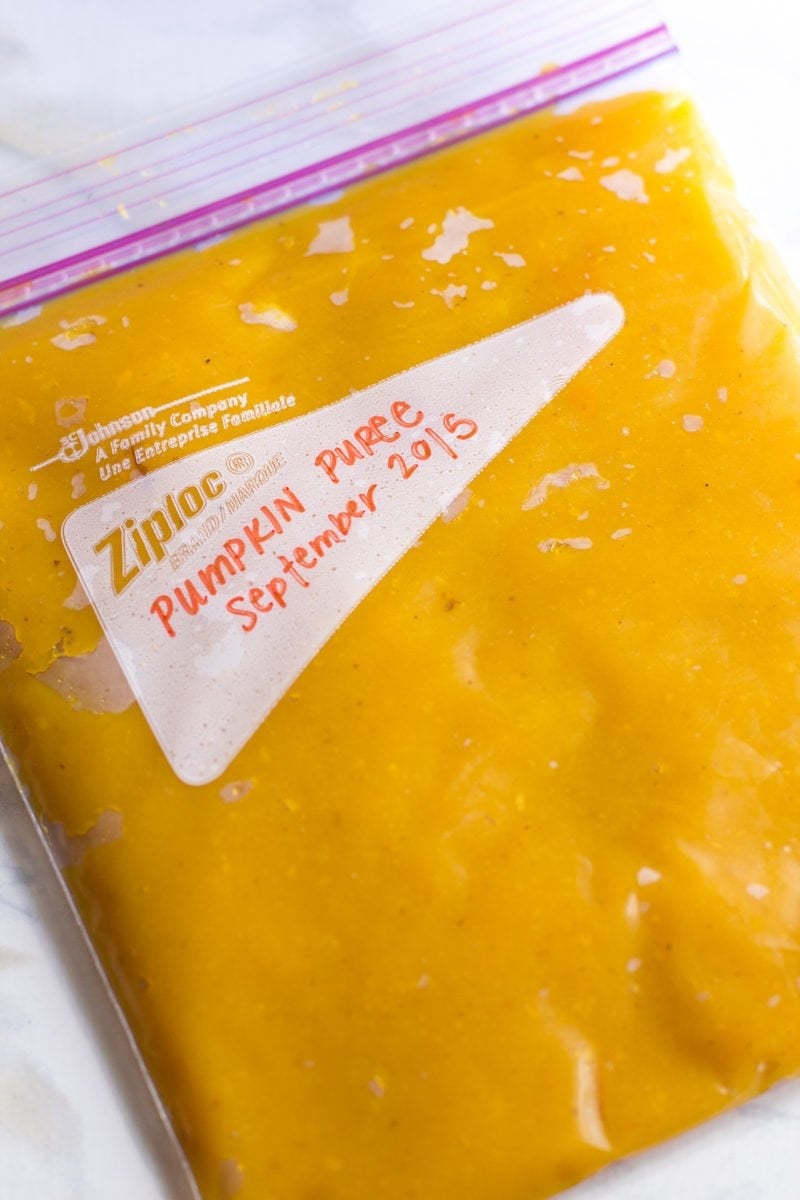
You cannot can pumpkin puree safely in a home kitchen. It is too thick for the heat to properly penetrate and sanitize using a home pressure canner. Most folks recommend canning pumpkin chunks, and then just blending them up right before you need to use the puree, if you still want to can.
I’d venture a guess that part of the delicious flavor of homemade pumpkin puree comes from slow roasting the pumpkins in the oven, which can’t be replicated with a pressure canner. But I’ve never done it, so what do I know? Let me know if you have and how it turned out!
Now, I’m going to give you exactly three days to make as much pumpkin puree as you can before I start bombarding you with pumpkin recipes. I want you to be prepared. Happy pumpkin season, friends!

