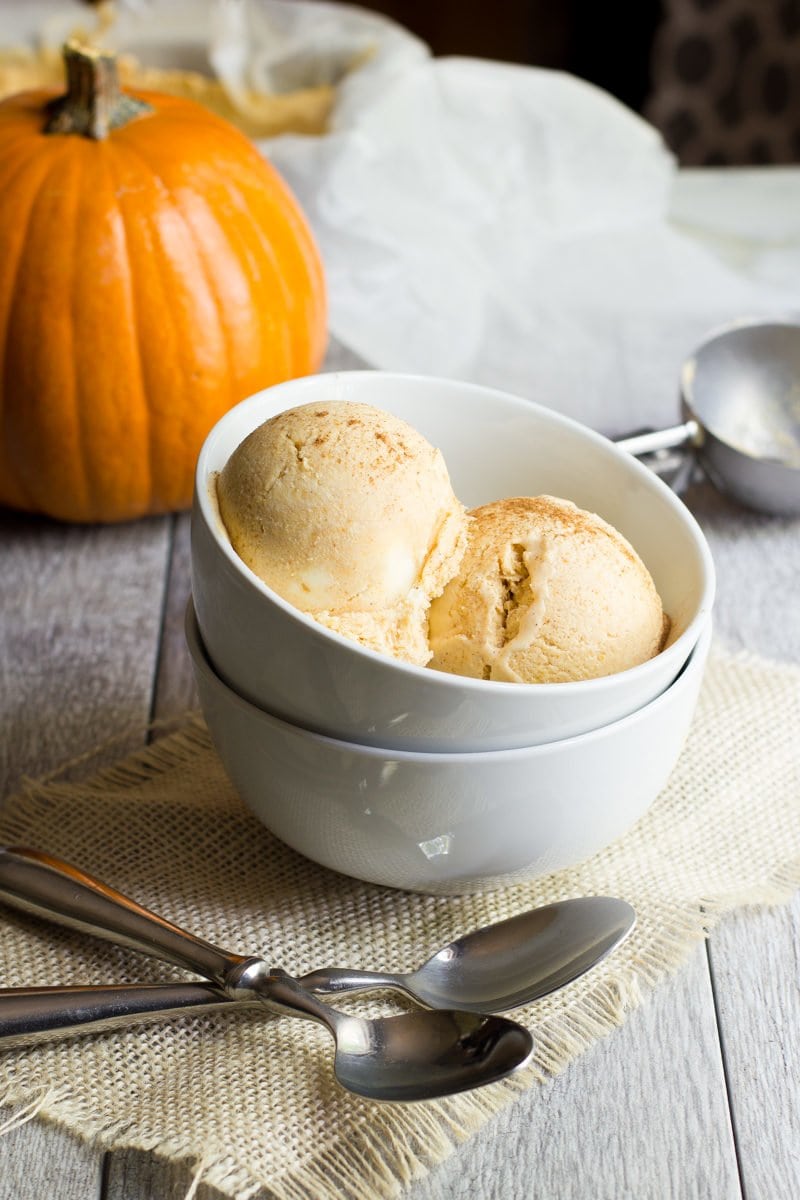
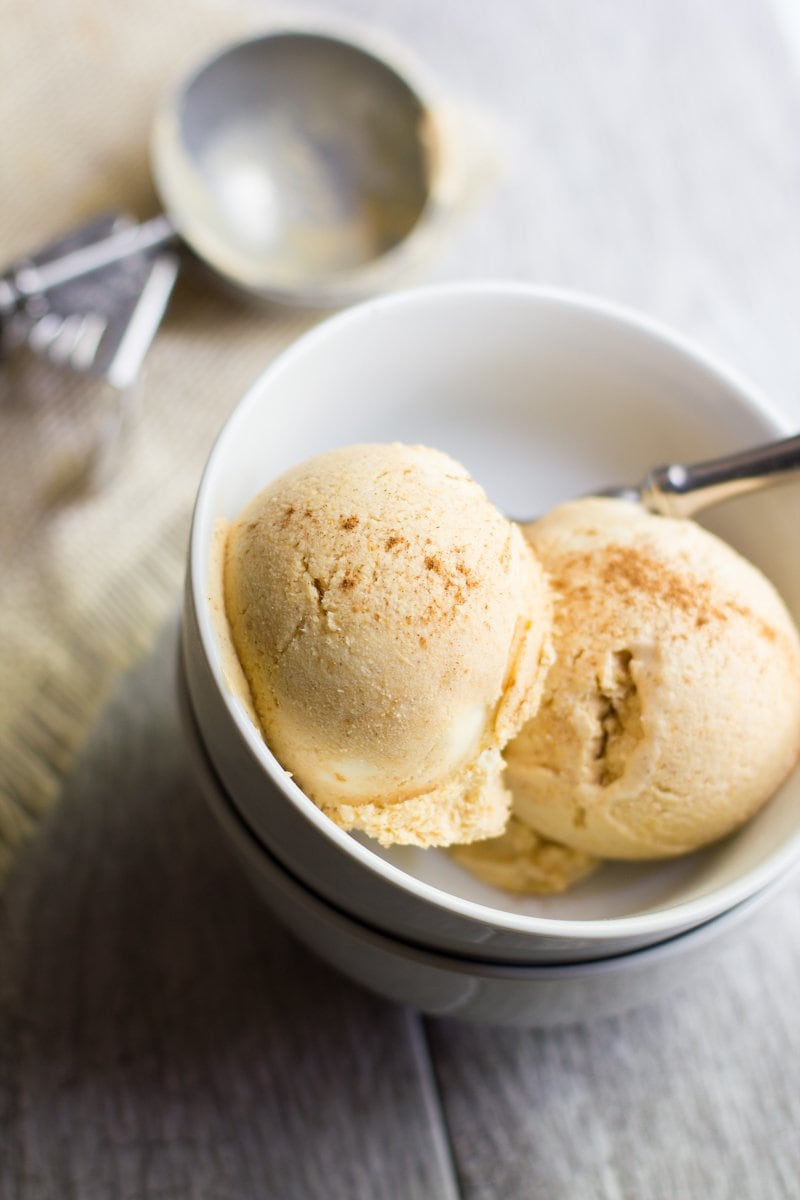
This is a pretty bold statement for a self-proclaimed lover of homemade ice cream, but here goes—I’m gonna throw away my ice cream maker. There is no need for it anymore, because I have jumped onto the no-churn ice cream bandwagon with both feet, and I’m never getting off. Life. Changed.
I was so skeptical for so long, but oh my gosh, it is so easy to make dreamy, creamy ice cream without any special equipment (or honestly, much work). And I’ve been having a long-term love affair with my ice cream maker for years, so you know that if this method is enough to make me break up with her, it must be something special.
If you are one of the naysayers like I was, and haven’t tried your hand at one of the four million no-churn ice cream recipes floating around Pinterest, let me tell you how it works.
IT’S MAGIC. That’s how it works. Pure flipping wizardy. End of story.
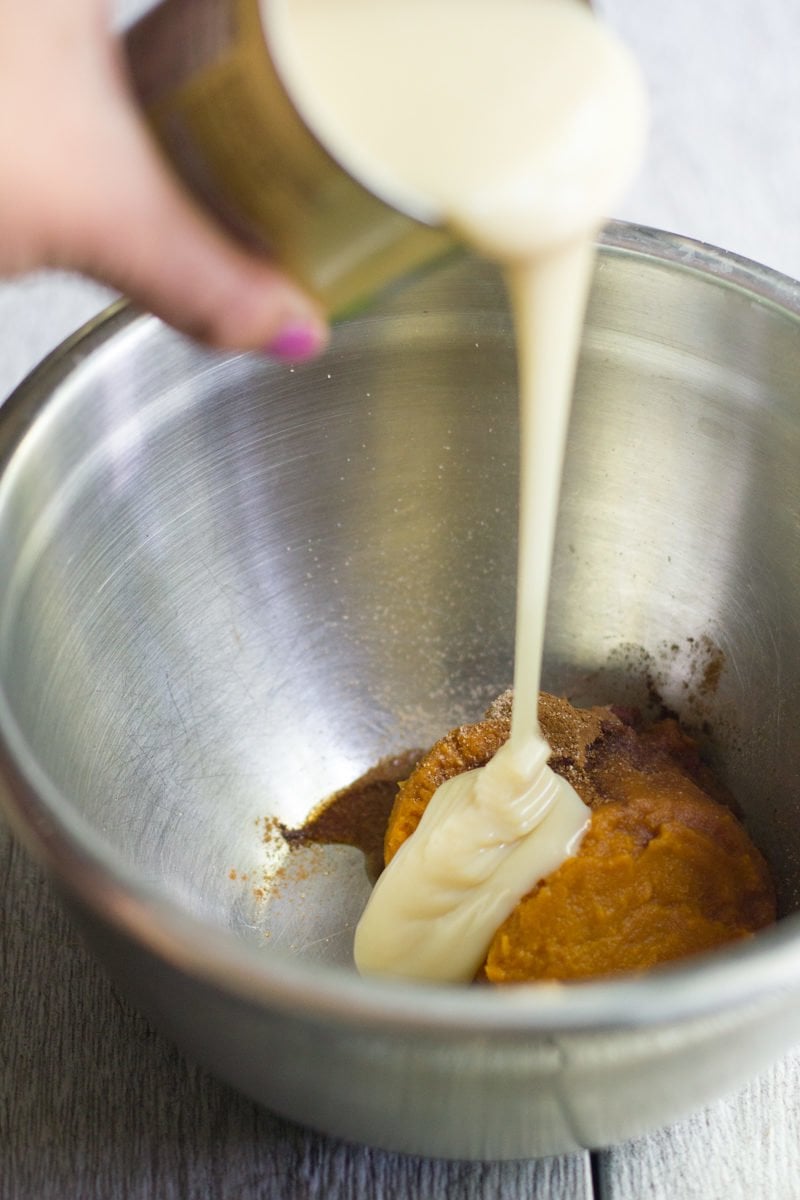
I mean, only needing two ingredients is pretty much the same thing as magic, right?
To make no-churn ice cream, literally, all you need are two ingredients—heavy whipping cream and sweetened condensed milk (I get this organic stuff at my local supermarket). You whip the cream until it has stiff peaks, then you gently fold it into the sweetened condensed milk. Then you freeze that beautiful, thick, sweet mixture, and come back a few hours later to the best ice cream you’ve ever had (especially considering it takes like six minutes worth of effort).
And then, once you’ve realized how amazing no-churn ice cream is, you can expand past the two ingredients and start flavoring that ish. Like say, with pumpkin, vanilla, nutmeg, and cinnamon?
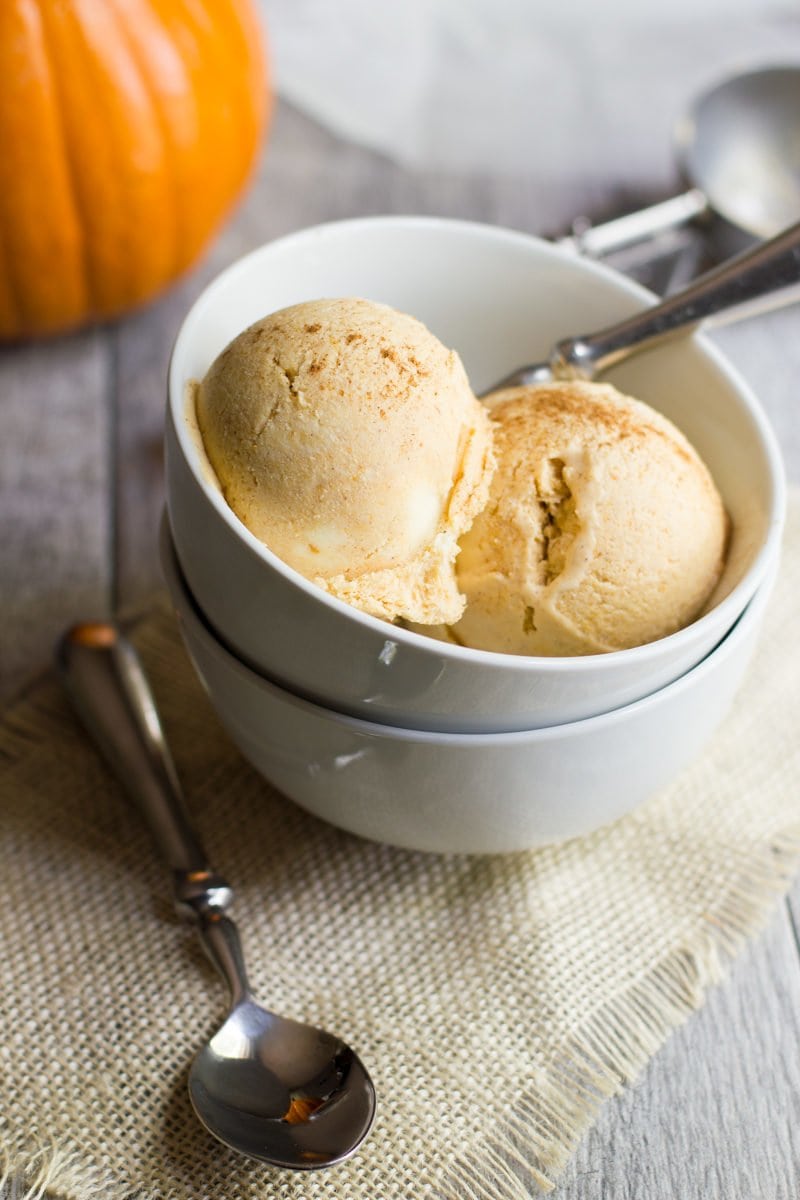
I think my favorite part of no-churn ice cream (other than the whole “no churn” part) is that it keeps its texture no matter how long it is frozen for. Even with the awesome cream cheese method for homemade ice cream from Jeni’s Splendid Ice Creams, traditional homemade ice cream still goes hard and icy after a few days. It’s like you have a small window of perfect ice cream texture before it turns into a brick that is almost impossible to scoop from.
This is not the case for the no-churn stuff! It’s perfectly scoopable six hours later and six days later (if you can hold off eating it that long). See what I mean? TOTAL WIZARDRY.
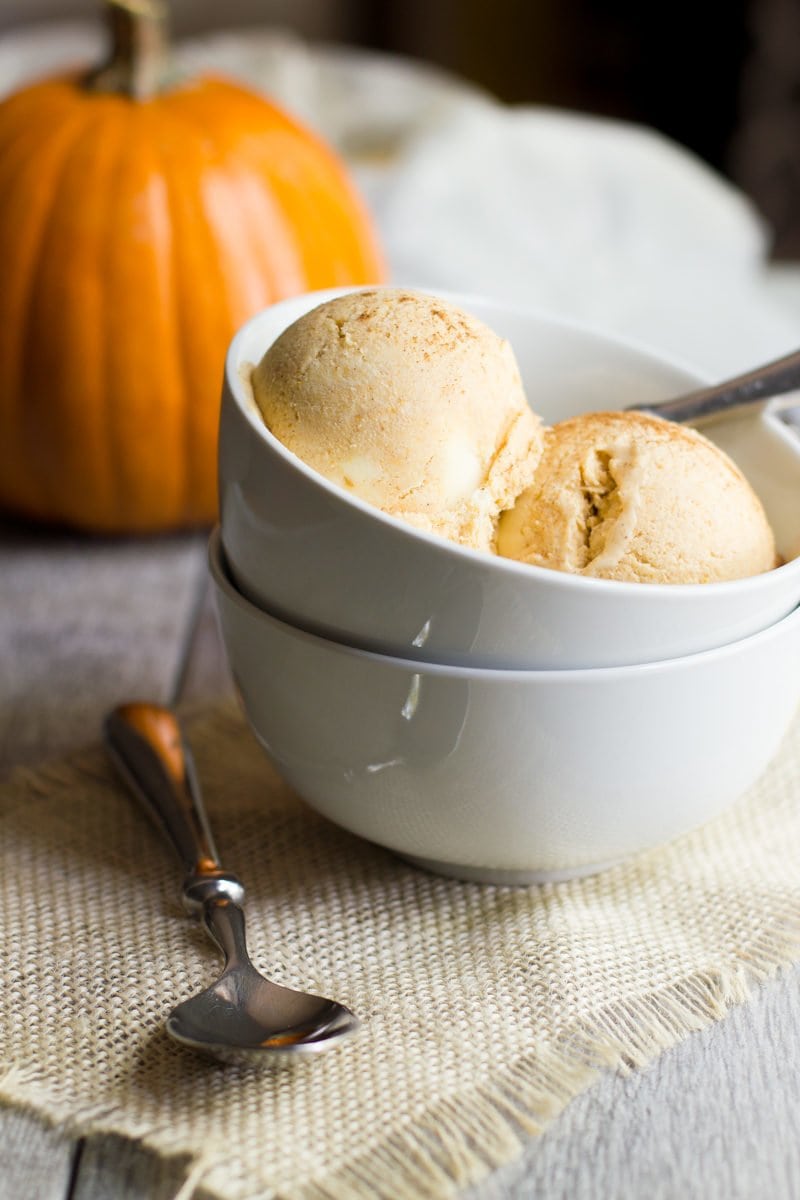
This particular no-churn pumpkin ice cream is absolutely perfect for early September when your heart says, “Ooooh, fall!” but the weather forecast screams that it’s still summer. You can have your pumpkin spice fix without sweating through your skivvies.
No-churn pumpkin ice cream is pretty much made to help you gently transition to the new season. And since no-churn ice cream requires no heating at all (unlike regular homemade ice cream), you don’t have to worry about warming up your kitchen at all. This recipe is the perfect way to kick off my full week of pumpkin recipes!
Although, honestly, I’m not sure I can top this one…
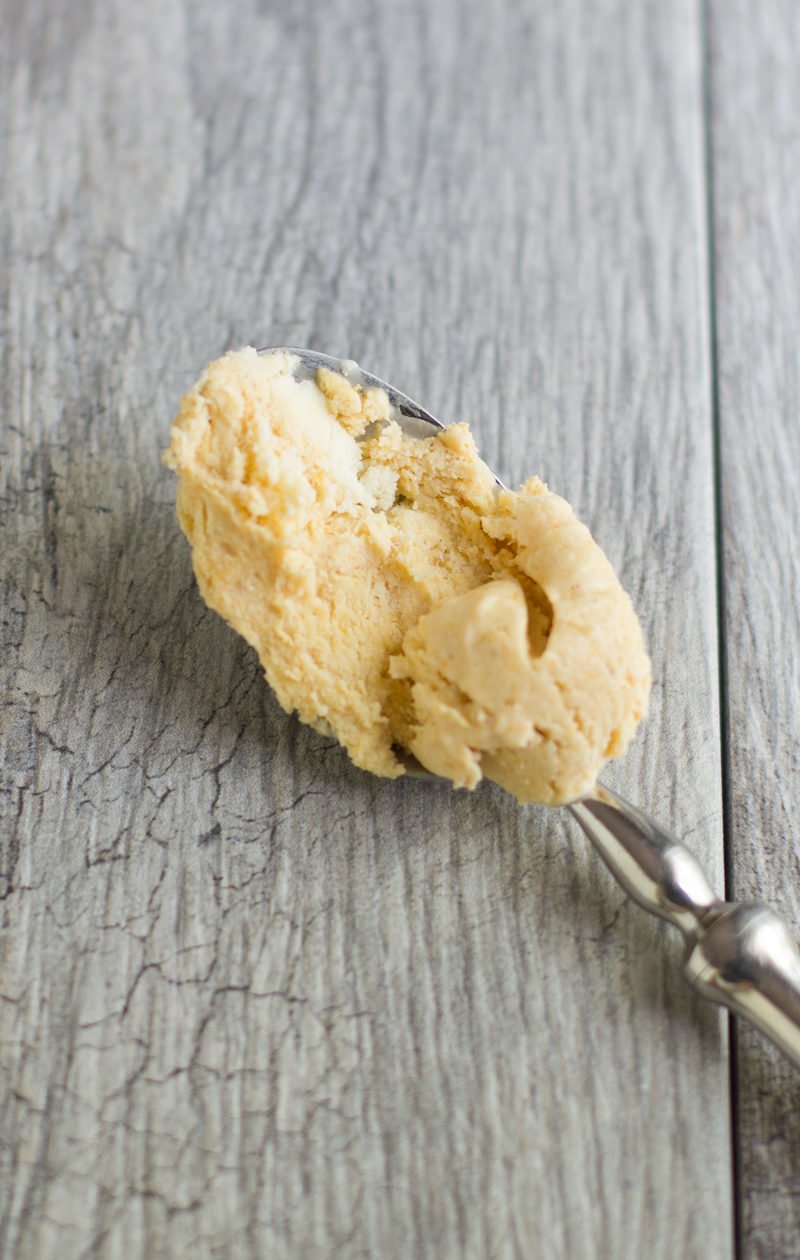
I hope you guys fall in love with no-churn ice cream as much as I have. It feels like a pretty momentous milestone in my relationship with cooking.
Like when I learned that you can make whipped cream out of canned coconut milk. Or when someone showed me the insanity that is banana soft serve. My life going forward is forever changed now that no-churn ice cream is in my life. Enjoy!
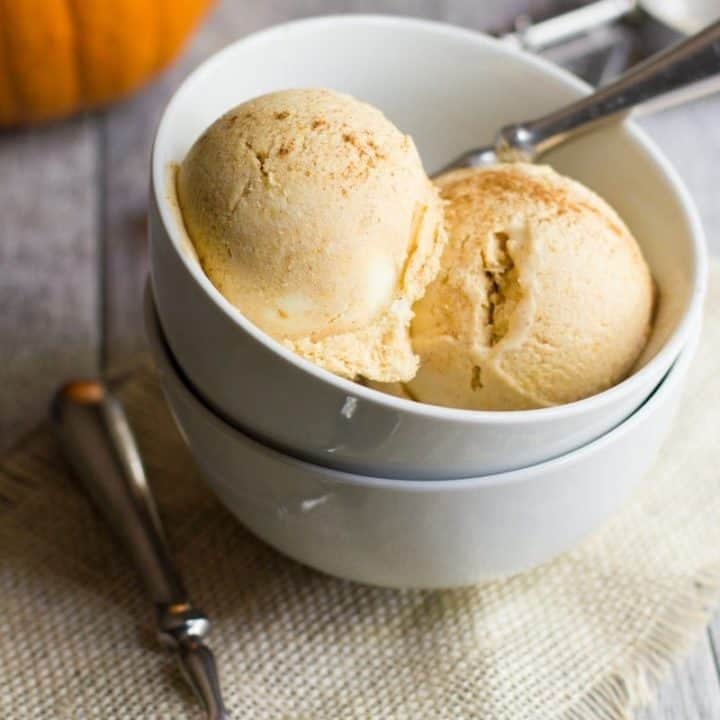
No Churn Pumpkin Ice Cream
This No Churn Pumpkin Ice Cream requires no heating and no special equipment, and comes together in about six minutes. The perfect way to usher in Fall!
Ingredients
- 1 14-ounce can of sweetened condensed milk
- 1/2 cup unsweetened pumpkin puree
- 1 teaspoon vanilla extract
- 1/2 teaspoon ground cinnamon
- 1/8 teaspoon ground nutmeg
- 2 cups heavy whipping cream
Instructions
- Line a loaf pan with waxed paper, set aside. And if your freezer is anything like mine, go ahead and take a second to clear a flat surface.
- In a large mixing bowl, whisk together the sweetened condensed milk, pumpkin, vanilla, cinnamon, and nutmeg until smooth. Set aside.
- In the bowl of an electric mixer, beat the whipping cream on high until stiff peaks form, about five minutes.
- Spoon about 1/2 cup of the whipped cream into the pumpkin mixture. Stir gently until mostly mixed (you're just looking to lighten up the mixture so the rest of the whipped cream can go in easily).
- Add the remaining whipped cream, and fold in gently. At first, the mixture will appear lumpy, but the more you fold, the smoother it will get. Don't be aggressive with your folding, just keep at it gently until it's smooth.
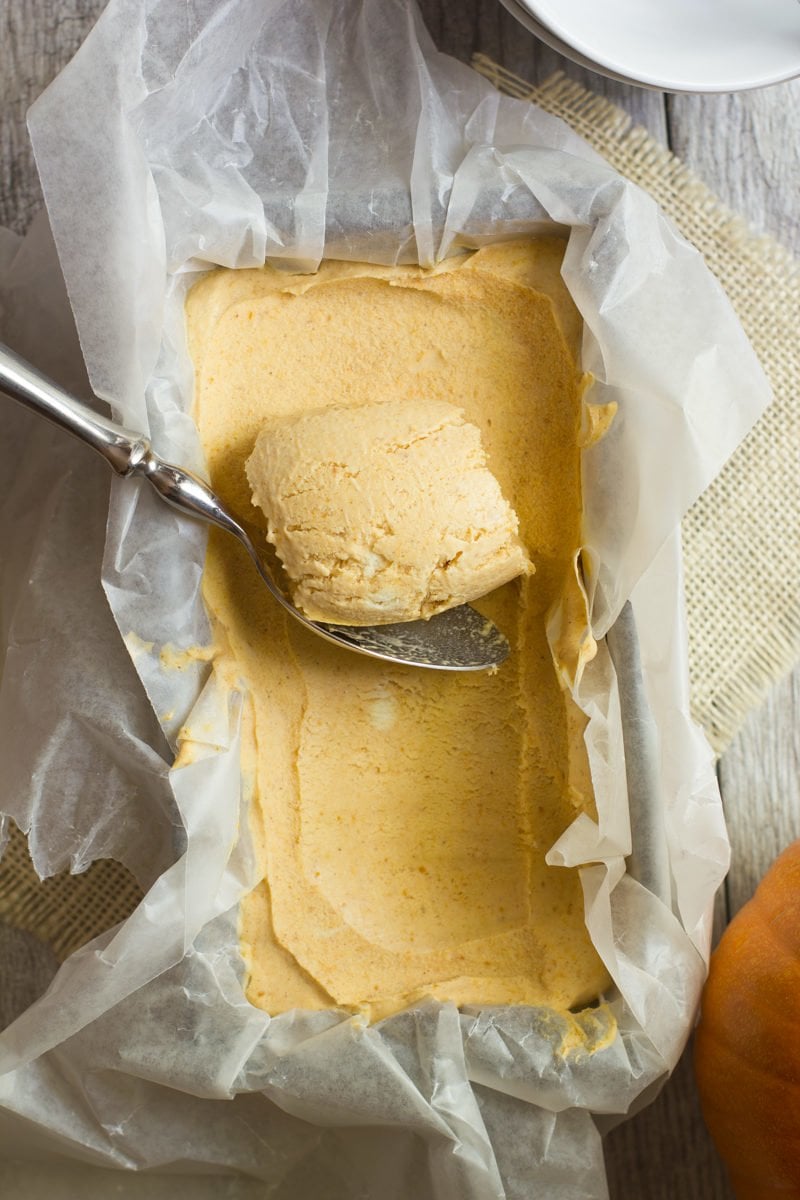
- Pour the mixture into the prepared loaf pan. Press an additional piece of waxed paper into the top of the mixture to prevent ice crystals from forming.
- Freeze for 4-6 hours, or until solid and scoopable.
Notes
Cooking time does not include freezing time.
Nutrition Information:
Yield: 8 Serving Size: 1/2 cupAmount Per Serving: Calories: 424Total Fat: 27gSaturated Fat: 17gTrans Fat: 1gUnsaturated Fat: 8gCholesterol: 90mgSodium: 102mgCarbohydrates: 39gFiber: 1gSugar: 39gProtein: 7g
At Wholefully, we believe that good nutrition is about much more than just the numbers on the nutrition facts panel. Please use the above information as only a small part of what helps you decide what foods are nourishing for you.
