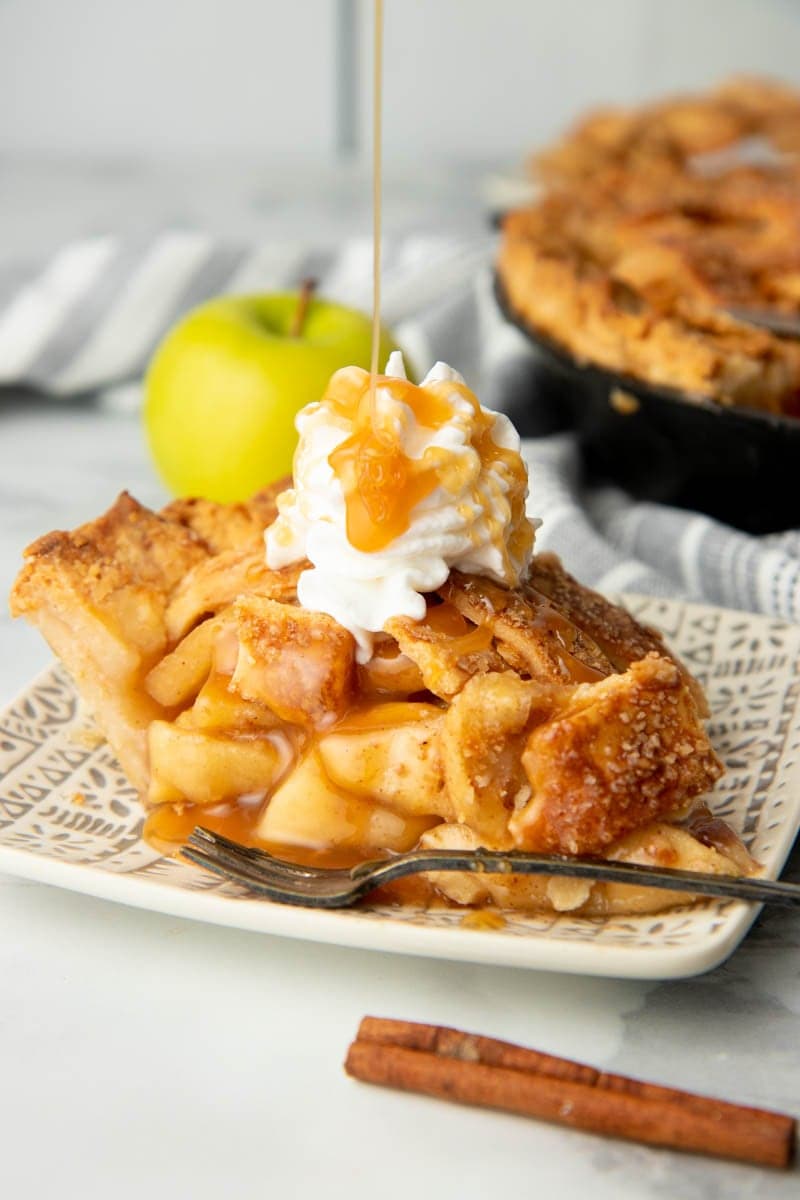
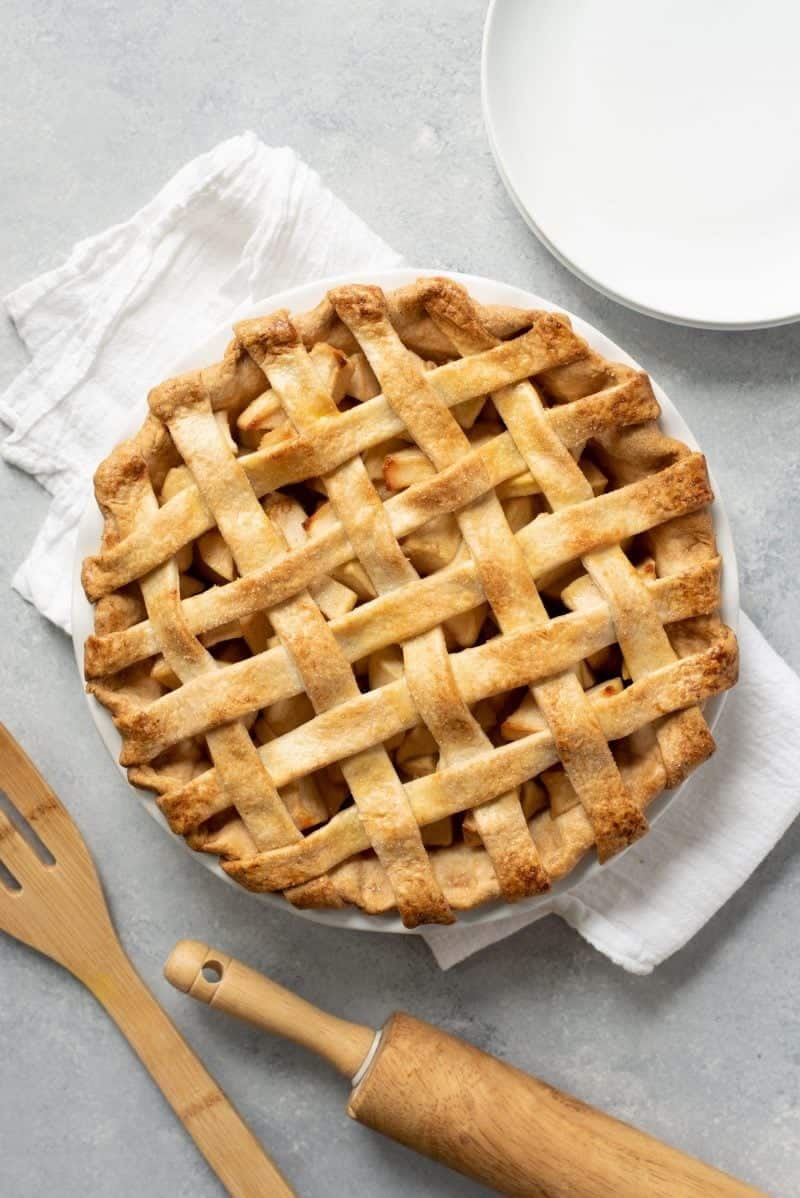
Nothing quite says fall like a warm apple pie straight from the oven. But why stop there? This caramel apple pie is a delicious remake of the classic version. The gooey, creamy caramel enhances the natural flavor of the apples. It’s like you’re taking a bite of fall! Anyone who’s ever had a caramel apple will know how well these two flavors go together.
Caramel apple pie is delicious all on its own, but I prefer to accompany it with a steaming cup of coffee and a scoop of vanilla ice cream. Yum!
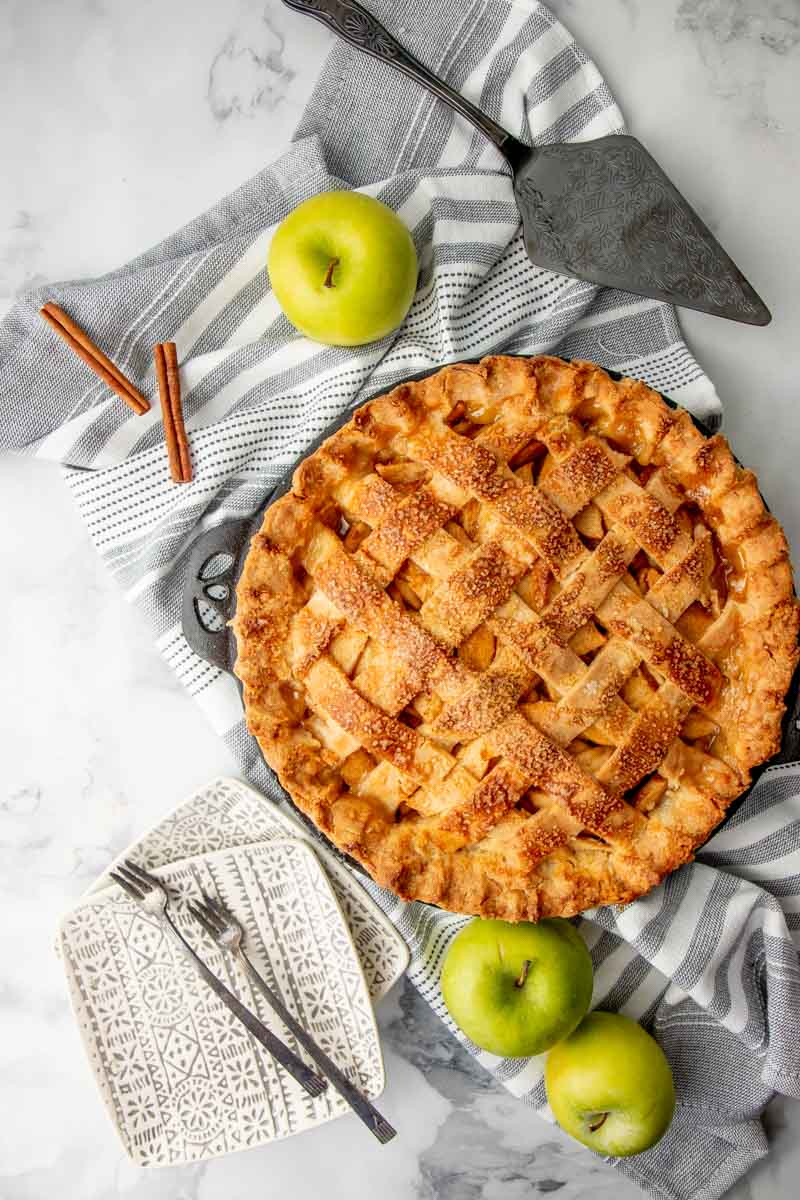
The best part of this apple pie recipe—besides its mouth-watering deliciousness—is how easy it is! The homemade caramel sauce in the recipe is simple; however, you can also use store-bought sauce. This caramel apple pie recipe is so easy that even if you’re new to baking, you’re sure to whip up a pie that will impress all your friends and family!
What type of apple is best?
Due to the sweetness of the caramel sauce, it’s best to use a tart apple such as Granny Smith. This allows the flavors to balance out, and it doesn’t overwhelm you with syrupy sweetness. Trust me, the caramel sauce will be sweet enough! If you can’t find Granny Smith apples, McIntosh, Pink Lady, and Empire apples are great substitutes.
How do you make caramel apple pie?
No need to be intimidated by making an apple pie. Let’s break it down so you can see just how easy it is!
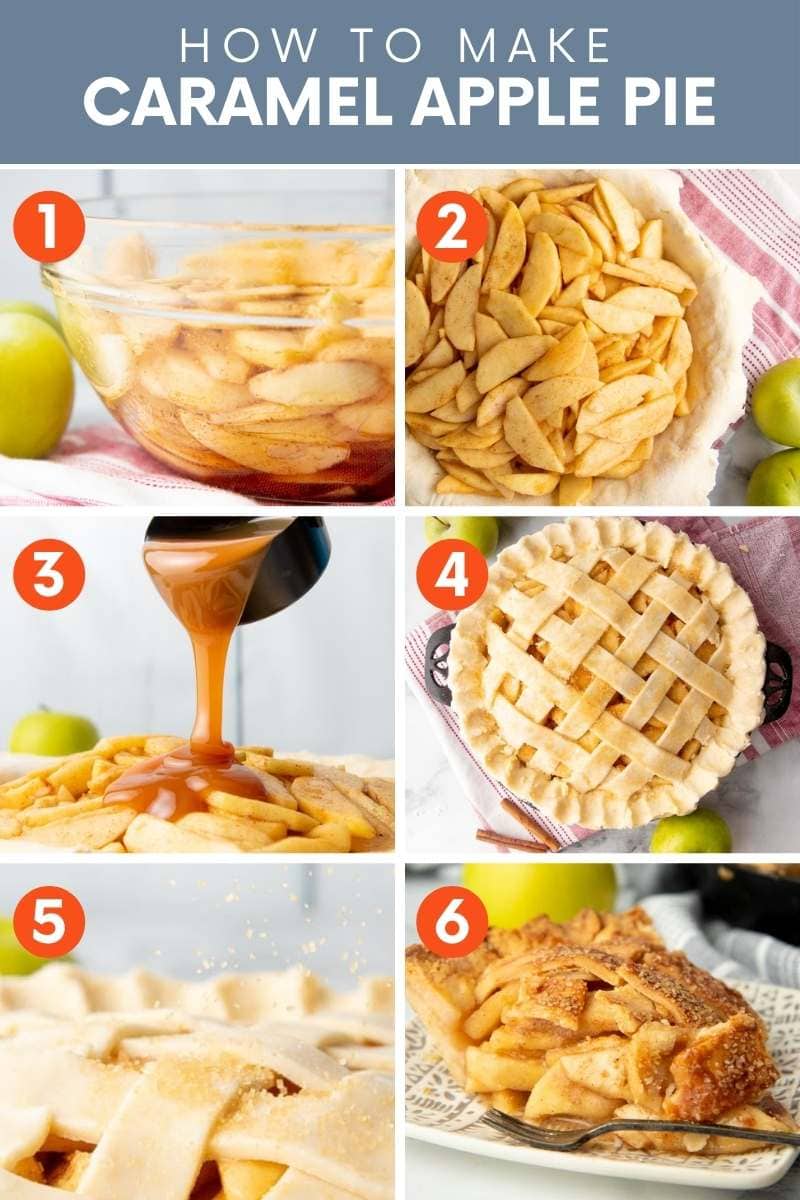
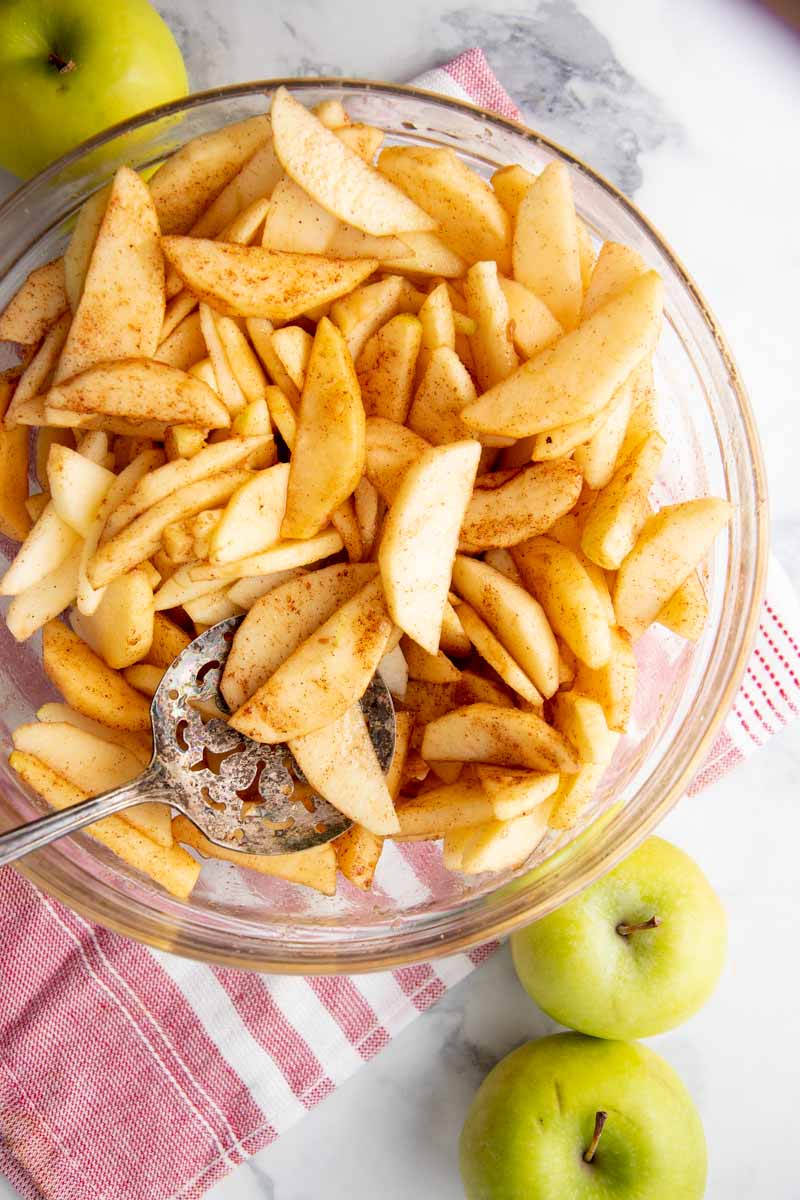
- Toss sliced apples with lemon juice in a large bowl. Then sprinkle in brown sugar, salt, cinnamon, ginger, cardamom, and nutmeg. Toss to combine. Let sit for at least a half hour so the apples can release their juices.
- Roll out a pie crust and fit to a 9-inch pie pan. Toss the apple slices with the cornstarch or tapioca starch. Pile the apples into the bottom crust of the pie plate.
- Pour 1/2 cup of caramel sauce over the apples.
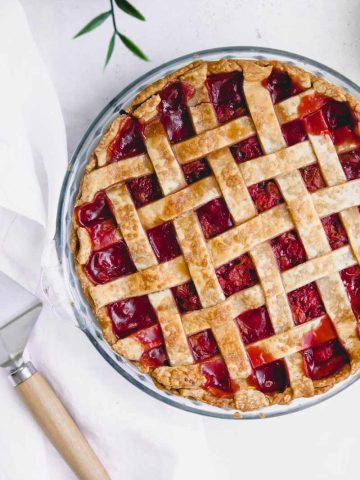
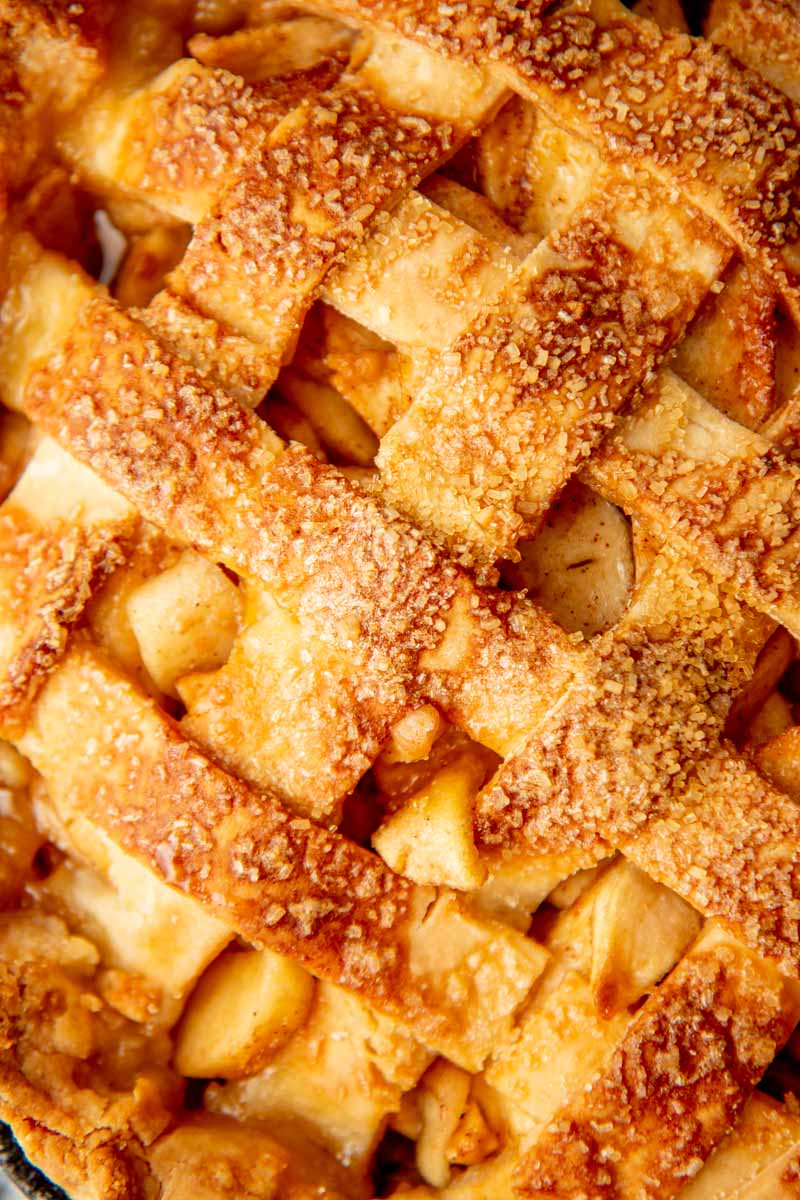
- Weave the lattice strips on top of the apples. Crimp the edge of the crust closed.
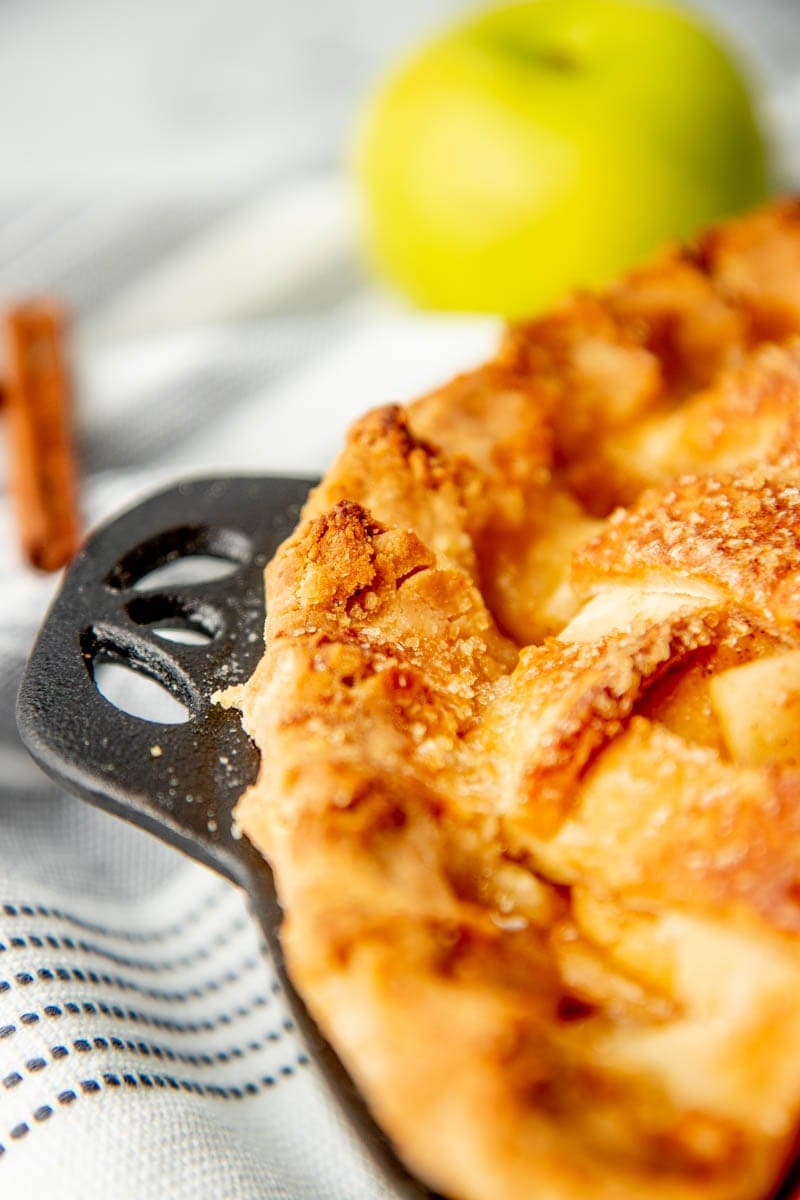
- Brush the top of the crust with egg wash, and then sprinkle with raw sugar. Bake, tenting with aluminum foil about halfway through baking time to avoid burning the crust.
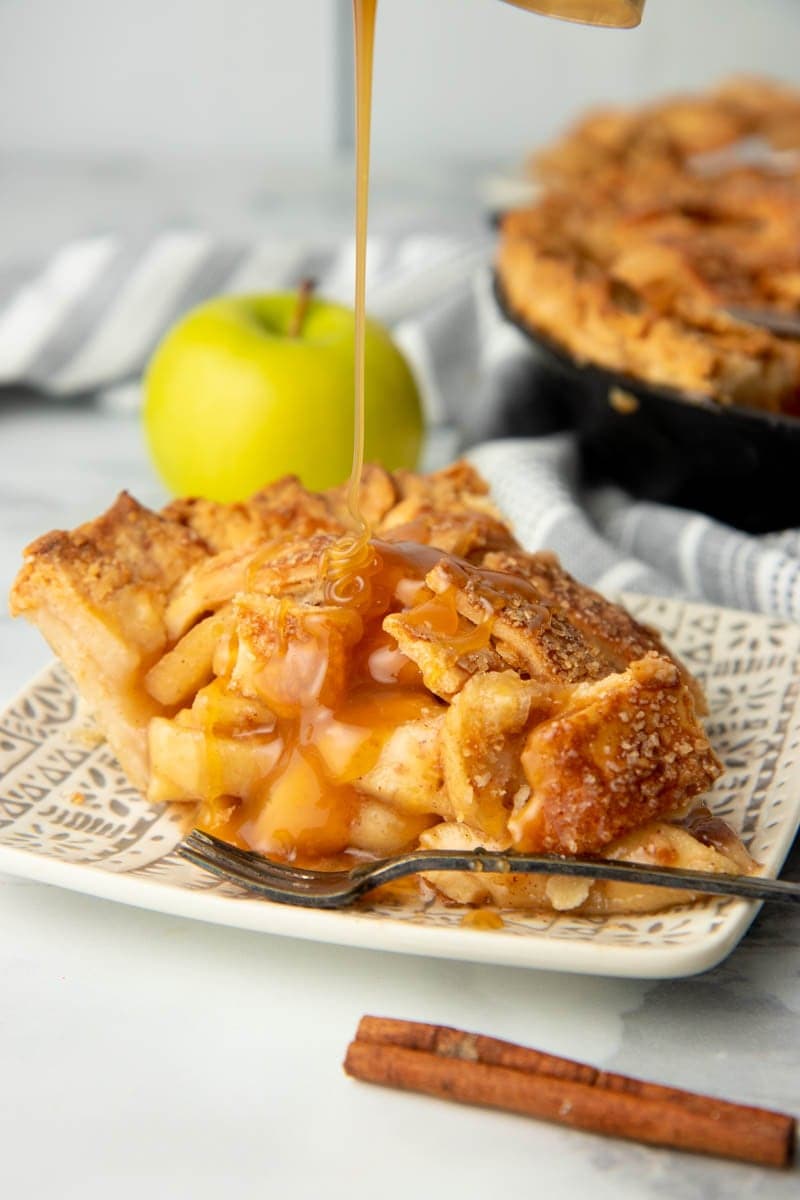
- Let pie cool for at least an hour before slicing, but preferably cool until room temperature. Drizzle with more caramel sauce before serving.
What’s the best way to slice the apples?
It’s important to make sure that your apple slices are roughly the same size. If you have a mixture of thick and thin slices, you’ll end up with an unappealing mix of apple mush and firm slices in your pie.
Your slices should be roughly ¼-inch thick. This is thin enough that they cook through, but thick enough that they won’t break down.
Do I need to peel my apples for this caramel apple pie recipe?
Yes. We highly recommend it. While it might be tempting to take a shortcut and leave your peels on, apple peels tend to get tough in the oven—which isn’t great eats!
What kind of crust should I use?
I recommend checking out my perfect pie crust recipe. It only takes 10 minutes to prepare, and it makes an easy, flaky crust that will take your caramel apple pie to the next level.
If you’re pressed for time, you can use any pie crust you want. Store-bought crust won’t have the same texture as a homemade crust, but you can use one if you’re in a pinch or short on time.
Protip: Make it gluten-free
Need to make a gluten-free pie? No problem. Our gluten-free pie crust is so good, you’ll never know it doesn’t have any wheat in it! In fact: that’s the pie crust we used in these photos!

This caramel apple pie smells so delicious! Do I have to wait an hour before digging in?
Put your patience pants on, because you do need to wait. When you cut into a hot apple pie, it tends to look more like soup and less like pie. Letting the pie sit until it has reached room temperature allows the pie filling to thicken as it cools down. This way, when you slice it, you’re left with a thick, gooey serving of caramel apple pie.
Can the pie crust be made ahead and frozen?
Definitely! I’d recommend making up a large batch of pie crusts so you have some on hand the next time you come across a delicious pie recipe. Once your dough has been rolled into balls, you can wrap them in a few layers of saran wrap. They will then store in the fridge for up to five days, and in the freezer for three months. Let the pie dough defrost in the refrigerator the night before you bake your pie.
Can I freeze the whole pie?
Absolutely! There’s nothing better than having a homemade pie ready to go when an impromptu guest shows up. They’ll be wondering where you found the time to bake such a delicious dessert. Cover your fully cooled pie in a layer of plastic wrap followed by a layer of aluminum foil, and your pie will be good for up to three months in the freezer. Allow your pie to thaw in the fridge overnight before serving.
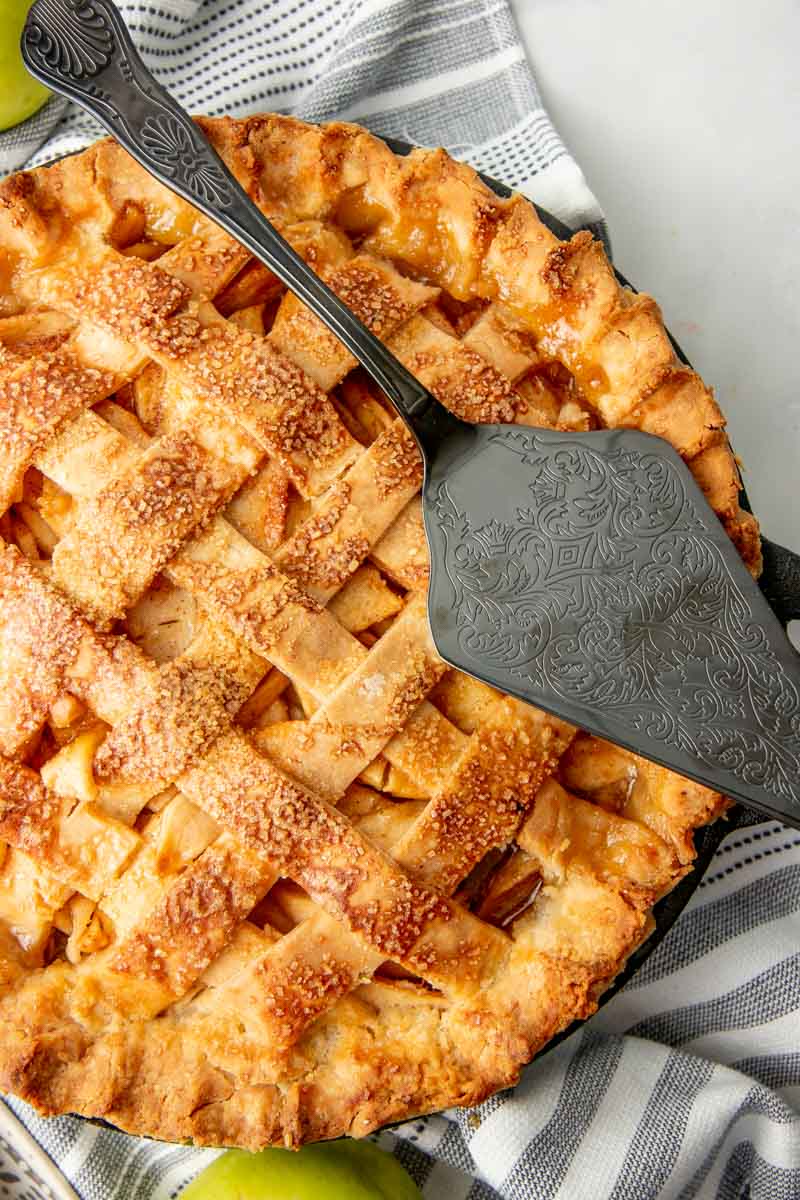
Can I make this with a gluten-free crust?
You sure can! In fact, I’ve created a gluten-free pie crust recipe that’s just as delicious as my perfect pie crust recipe.
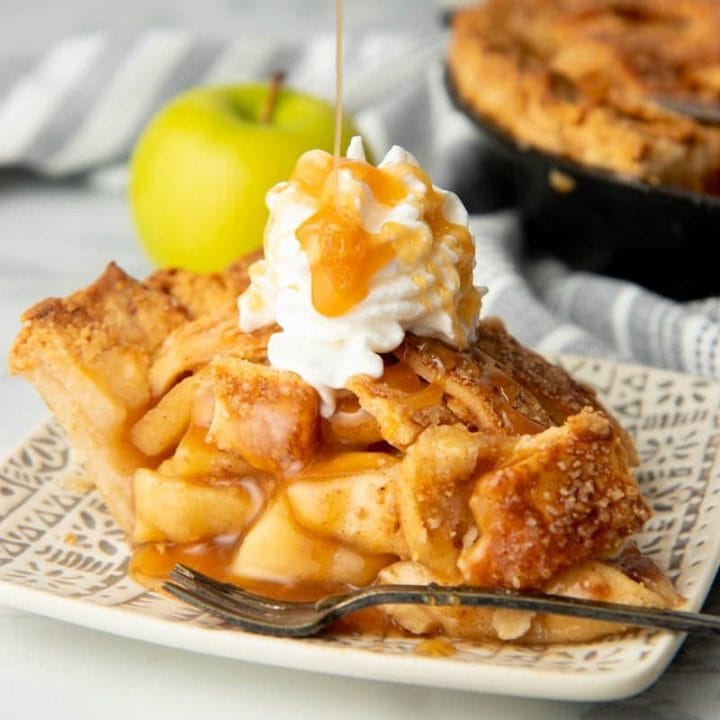
Caramel Apple Pie Recipe
Caramel apple pie transforms fall's tastiest confection, the caramel apple, into a delightful pie. You won't want to miss this one!
Ingredients
For the Caramel Sauce (or use purchased caramel sauce)
- 1 cup granulated sugar
- 6 tablespoons unsalted butter, softened
- 1/2 cup heavy cream
- 3/4 teaspoon fine sea salt
For the Pie
- 7 cups (about 3 1/2 pounds or 7-8 whole apples) peeled and sliced tart apples (like Granny Smith)
- Juice of 1 lemon
- 1/2 cup packed light brown sugar
- 1 teaspoon ground cinnamon
- 1/4 teaspoon ground ginger
- 1/4 teaspoon ground cardamom
- 1/4 teaspoon freshly grated nutmeg
- 1/4 teaspoon fine sea salt
- 2 tablespoons cornstarch or 1/4 cup tapioca starch
- 2 pie crusts (gluten-free pie crust works, too), kept chilled until right before use
- 1/2 cup caramel sauce from above, plus more for serving
- 1 egg
- 1/4 cup water
- Raw sugar, for dusting
Instructions
- To prepare the caramel sauce, in a heavy-bottomed saucepan, heat the sugar over low heat until melted. Swirl the pan every 30 seconds to prevent burning, but do not stir.
- Once the sugar is melted, remove the pan from the heat and stir in the butter—the mixture will bubble aggressively.
- Pour in the heavy cream and salt, and stir until everything is combined. Pour into a bowl or measuring cup to cool while you prepare the rest of the pie.
- To prepare the pie: toss the peeled and sliced apples with the lemon juice in a large bowl. Then sprinkle in the brown sugar, cinnamon, ginger, cardamom, nutmeg, and salt. Toss to combine. Let sit for at least a half hour or up to 2 hours so the apples can release their juices.
- Preheat oven to 400°F. Grease a 9” pie plate. Line a baking sheet with parchment paper, set aside.
- Roll out one of the pie crusts and fit to the pie plate, allowing the extra crust to overlap the edges by at least an inch. Set aside.
- Toss the apple slices with the cornstarch or tapioca starch. Pile the apples into the bottom crust of the pie plate. It will seem like there are too many apples, but really pack them in and pile them up to the very top of the pie plate. Pour 1/2 cup of the caramel sauce over the apples. Place the unfinished pie in the fridge while you work on your lattice pieces.
- Roll out the other crust. Cut into 1/2-inch strips. Bring the pie out of the fridge, and weave the lattice strips on top. Trim the ends of the lattice strips, then fold over the overhang crust from the bottom crust over top. Crimp closed.
- Whisk together the egg and water, brush the top of the crust with egg wash, and then sprinkle with raw sugar. Place pie on a parchment-lined baking sheet. Bake for 70 minutes, tenting with aluminum foil about halfway through baking time to avoid burning the crust.
- Let pie cool for at least an hour before slicing, but preferably cool until room temperature. Drizzle with more caramel sauce before serving.
Nutrition Information:
Yield: 8 Serving Size: 1/8 pieAmount Per Serving: Calories: 549Total Fat: 26gSaturated Fat: 13gTrans Fat: 0gUnsaturated Fat: 11gCholesterol: 63mgSodium: 532mgCarbohydrates: 78gFiber: 2gSugar: 52gProtein: 4g
At Wholefully, we believe that good nutrition is about much more than just the numbers on the nutrition facts panel. Please use the above information as only a small part of what helps you decide what foods are nourishing for you.

