Among the things we’re well-known for in the Midwest, corn is pretty high up on the list. While we have way more to offer this world than just corn, I have to say, we’re pretty darn good at the corn thing!
Come summertime, there is so much fresh, tender sweet corn kicking around that farmers are pretty much giving it away. It’s a great time to stock up and stash the corn in the freezer. Freezing corn is an easy food preservation project, and the resulting frozen corn is super versatile in the kitchen. Let us show you how to stock your freezer!
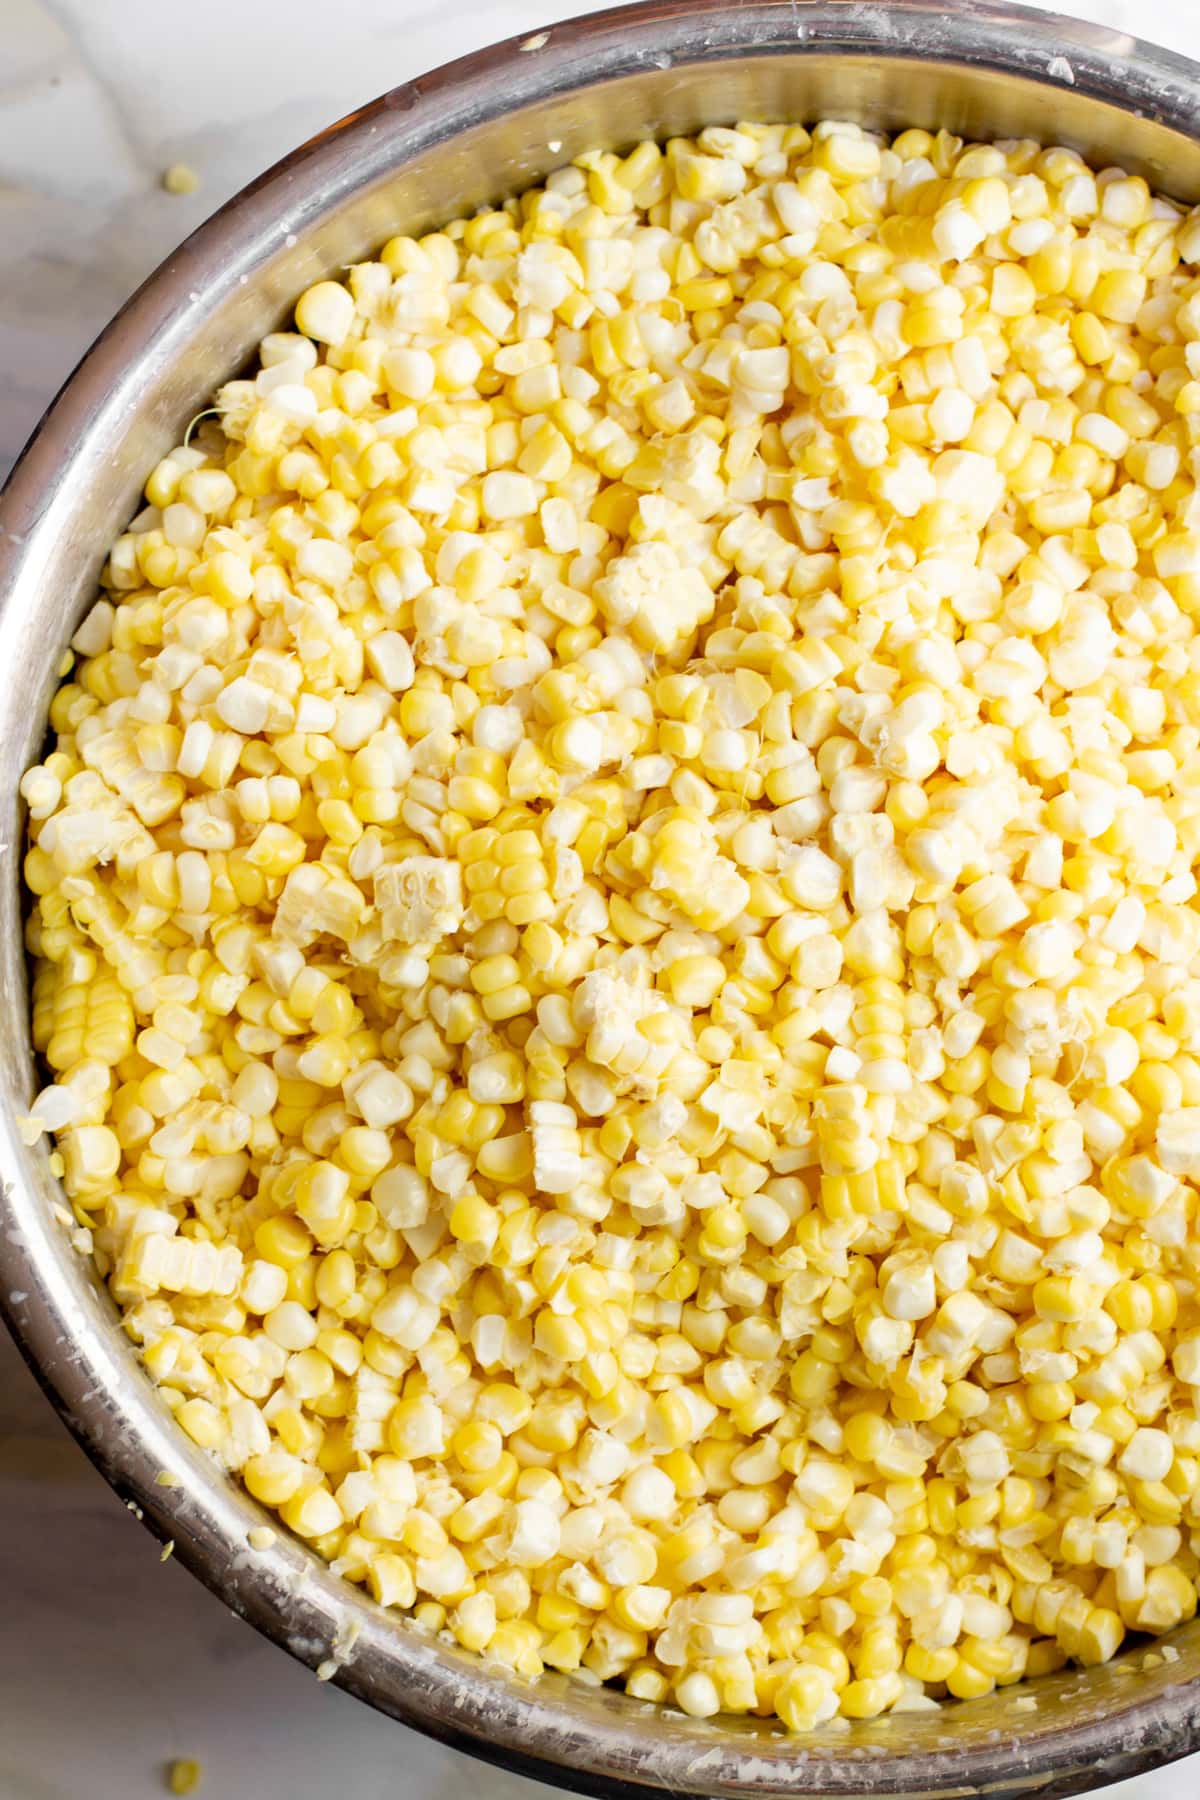
Why should I freeze corn?
The method to freeze corn is so easy, and the results are so much tastier than anything you can get in the supermarket. It is very much worth carving out a few hours in the middle of summer to sock away some corn. Some folks prefer to can or dehydrate corn to store it, but I much prefer the almost-like-fresh quality that frozen corn has.
And if you happen to live in a corn-heavy area of the world like I do, you can probably find a deal on corn from a farmer—we got ours for a whopping $16 for a bushel (and it was a very generous bushel). That bushel turned into 42 cups of frozen corn kernels!
How do I prepare corn for freezing?
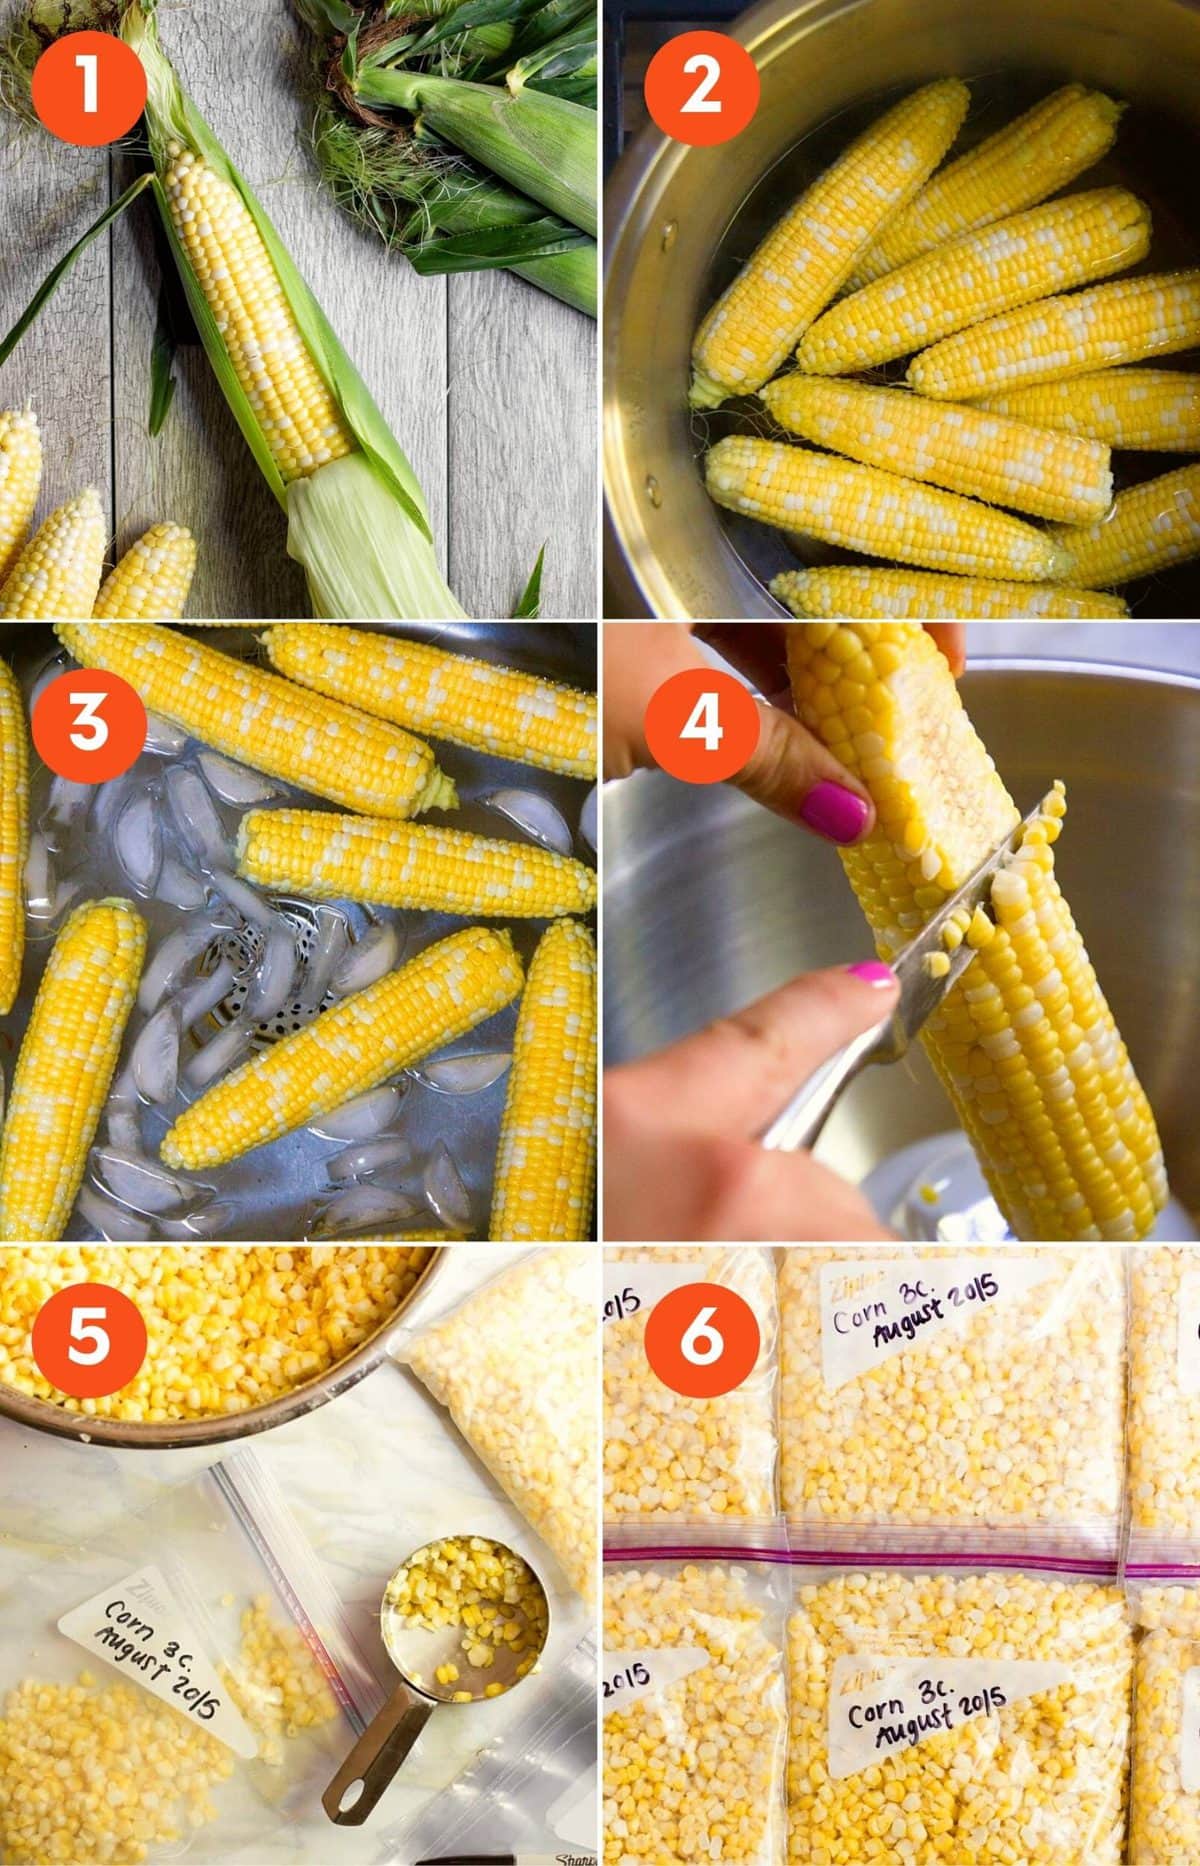
Let me step you through how to tackle freezing a windfall of corn! Here are the simple steps:
- Shuck all your corn, removing as many of the silks as you can. Snap off any stems that remain, and snap (or cut off) any parts of the corn that are looking brown or rotten. I firmly believe this is best done on a front porch or back deck, in a rocking chair (an Adirondack chair will do in a pinch), with a big mason jar full of cold sun tea.
- Next step is to blanch the ears. Bring a pot of water to boil, and drop the shucked ears into the boiling water just for a few minutes.
- Stop the cooking by then plunging the ears into an ice bath made of ice and water.
- Once the ears are cool, you can either freeze them as is for frozen corn on the cob, or slice off the kernels.
- Package the kernels in zip-top freezer bags.
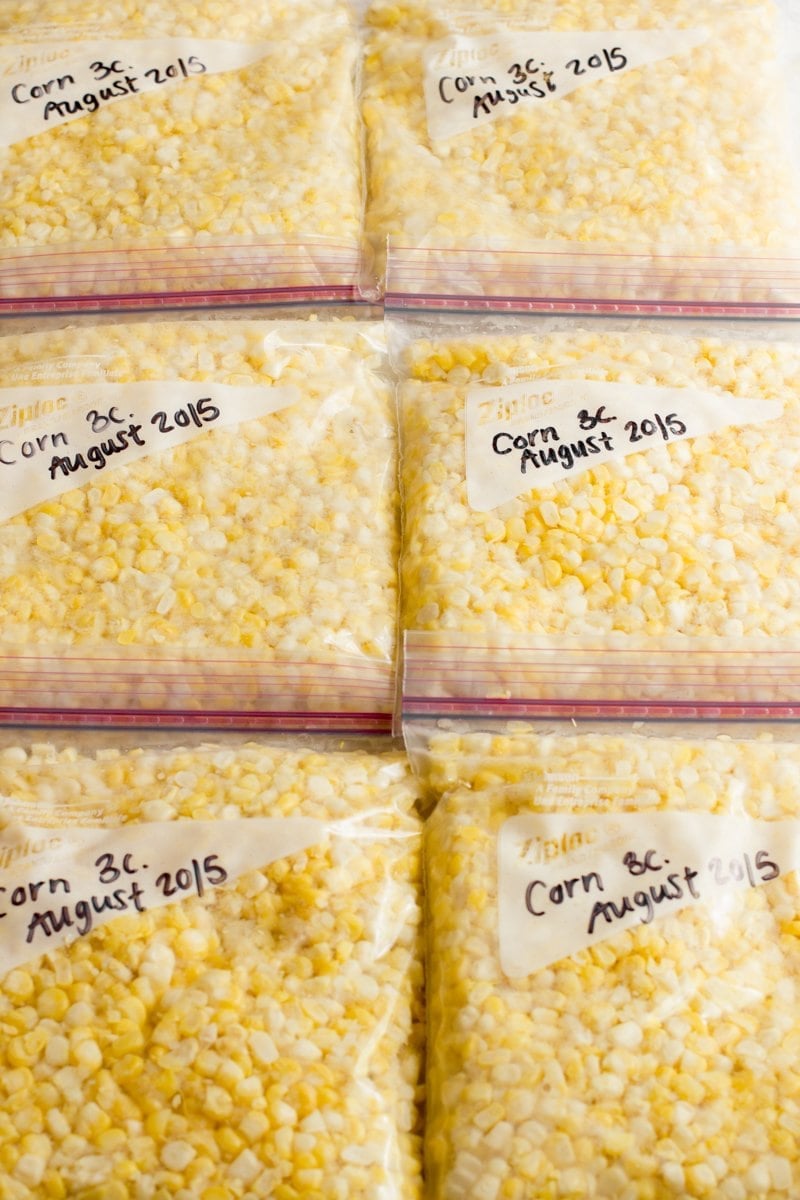
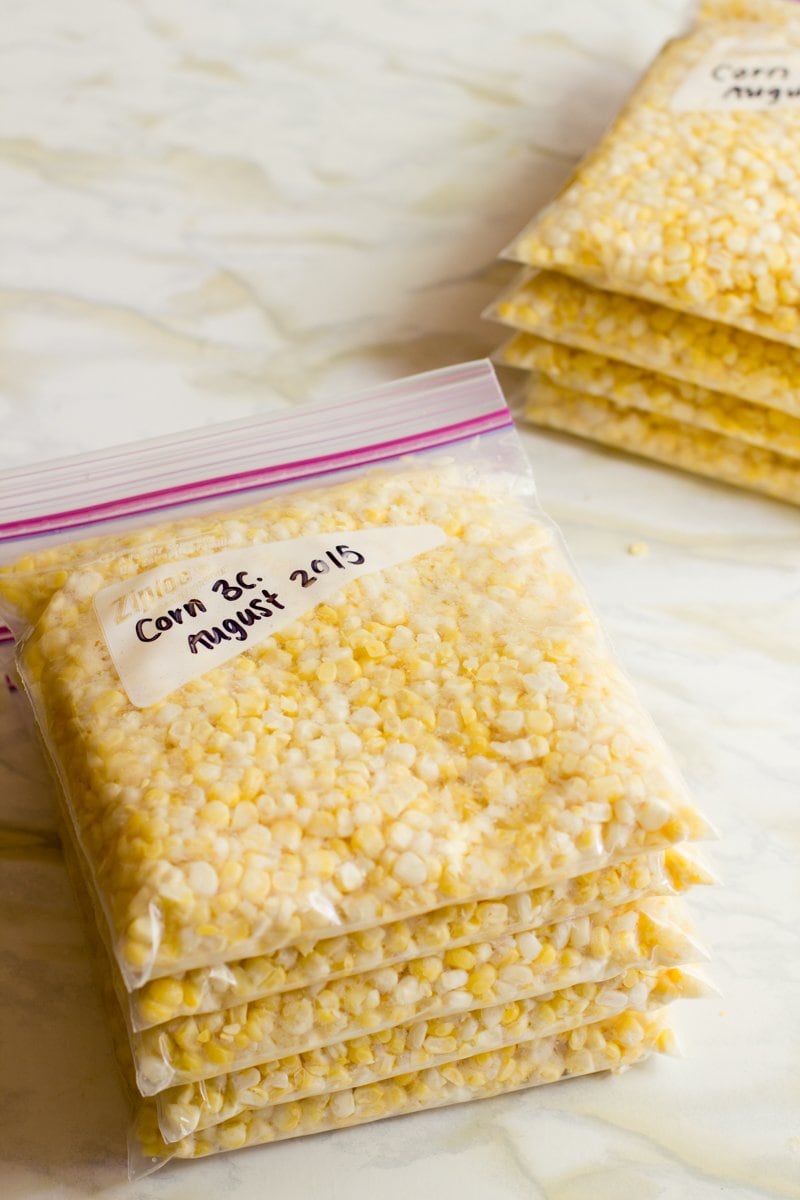
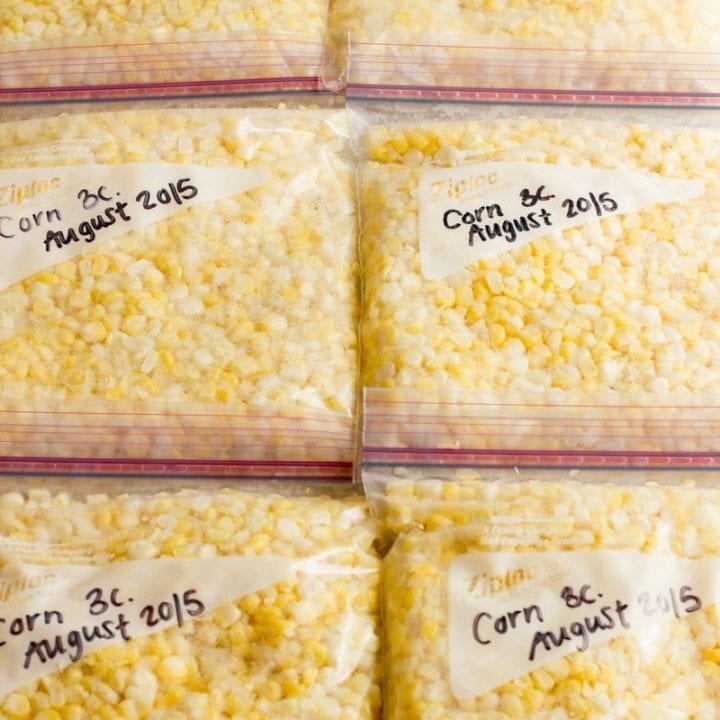
- Date and label the bags, and then freeze them flat. Once frozen, you can then move the bags to a more convenient place in the freezer.
What is blanching?
Blanching is an important step for freezing many frozen vegetables. It preserves the flavor and color of your produce, and improves the texture of frozen vegetables. To blanch vegetables, you drop them into boiling water for just a few minutes, and then plunge them into an ice bath to stop the cooking. That’s it!
Do you have to blanch corn before freezing?
I think blanching corn before you freeze it is really important for a couple of reasons:
- Blanching the corn makes it so much easier to remove the kernels (the next step).
- This one is really important if your corn is a bit past its prime like mine was—blanching helps remove some of the starchiness from the kernels. Frozen corn can end up chalky if you skip blanching.
- Blanching helps lock in the bright color of corn before you freeze it.
- It pretty much does all the cooking for you! No need to cook the kernels again before you toss them into a salad or a salsa.
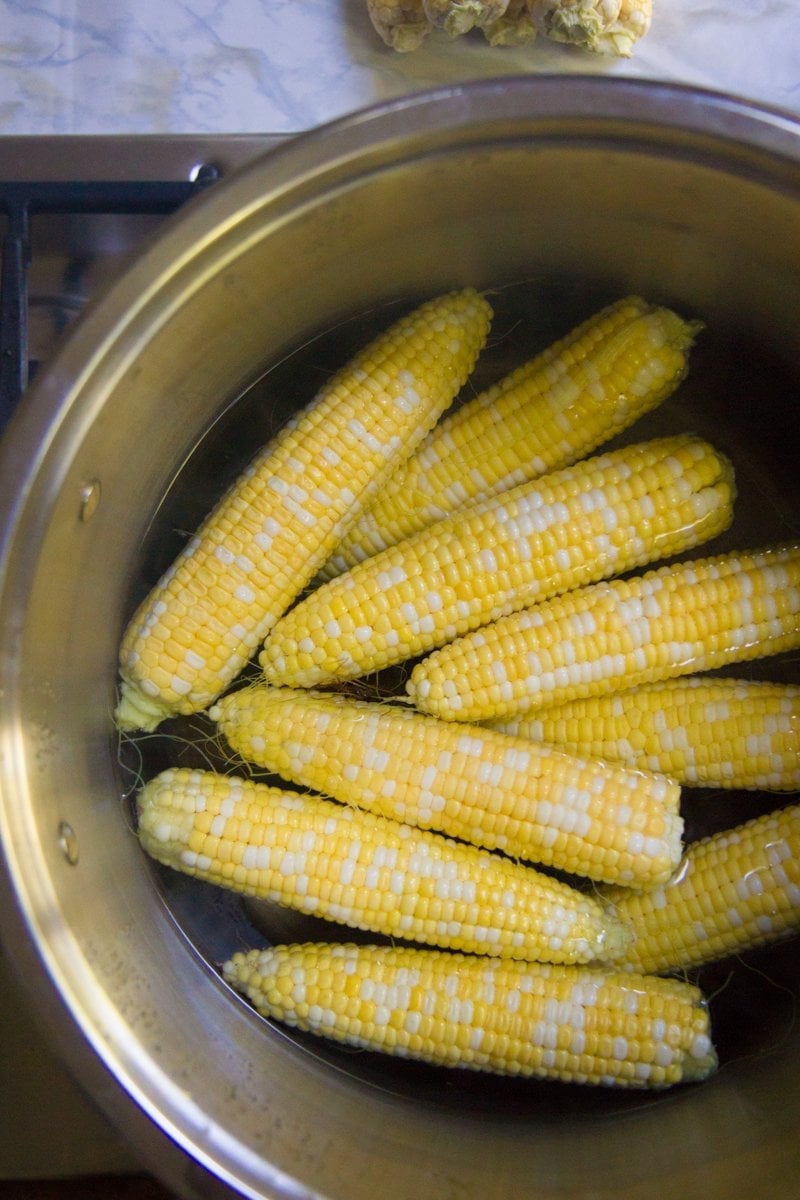
How long do you blanch corn for freezing?
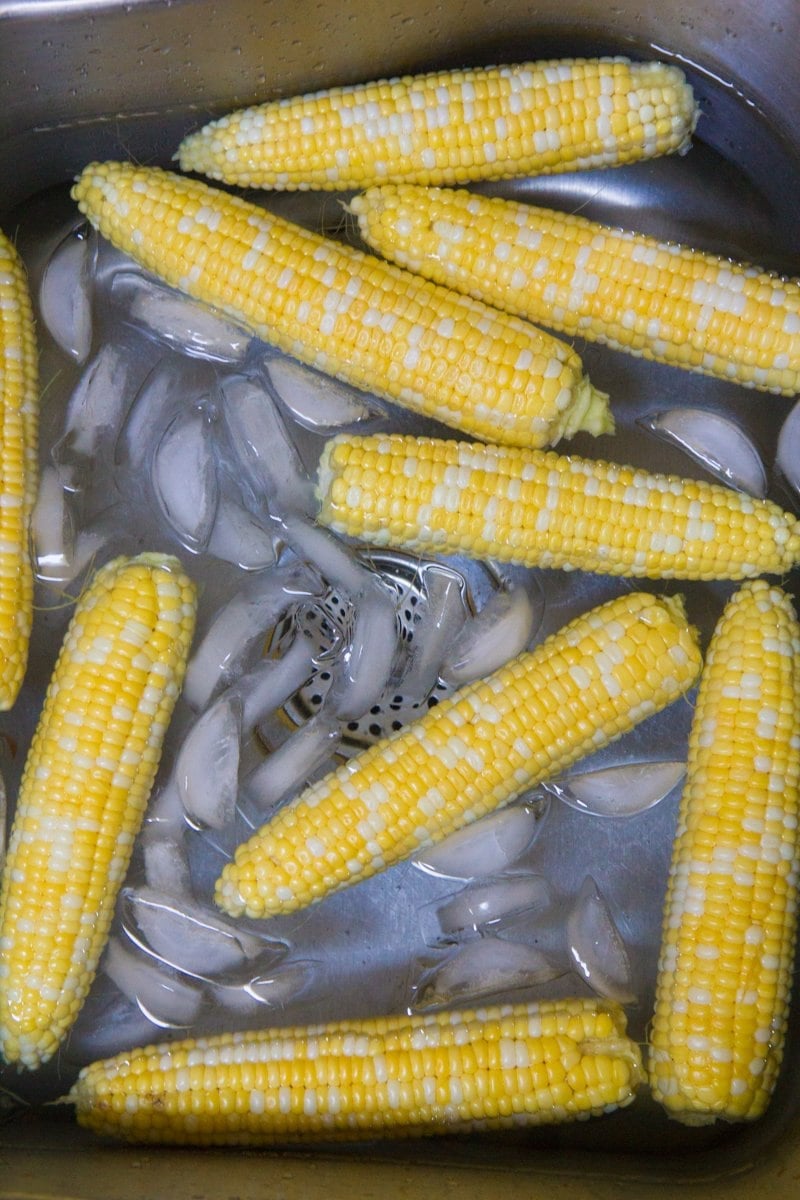
To blanch the corn, fill up a large stockpot with hot water and bring it to boil over high heat on the stove. While it heats up, make an ice bath in your sink (or a really large bowl, if you have one).
Drop the corn, 5-10 ears at a time (depending on the size of your pot) into the boiling water. Blanch for 2-3 minutes, or until the corn looks really nice and brightly-colored. Make sure to poke the ears a few times during blanching to make sure they log-roll around and all sides get cooked. Fish the corn out with tongs, and then immediately dunk them into the ice bath to stop cooking.
Wholefully Protip
Blanch shucked corn for 2-3 minutes for better frozen corn!
Can you freeze fresh corn in the husk?
You can, but I would highly recommend not doing so! Freezing in the husk makes it harder to remove the silks later, plus, as any corn-fed person will tell you, occasionally you’ll peel back a corn husk to find a yucky surprise–rotten corn or even worms! I personally wouldn’t want to accidentally freeze corn with worms inside, so I much prefer to shuck corn first.
Can you tell me how to freeze corn on the cob?
There are two ways to freeze corn—either in a full ear or as kernels. I personally stick to freezing kernels, because honestly, nothing will ever compare to eating corn on the cob fresh in the middle of summer. So why even try to recreate it? I save my corn on the cob eating for July and August, and focus on stashing away kernels for eating the rest of the year. However, if you want to freeze full ears of corn on the cob it’s even easier: just pop the blanched ears into a freezer bag or vacuum seal bag and freeze from there—no need to remove the kernels.
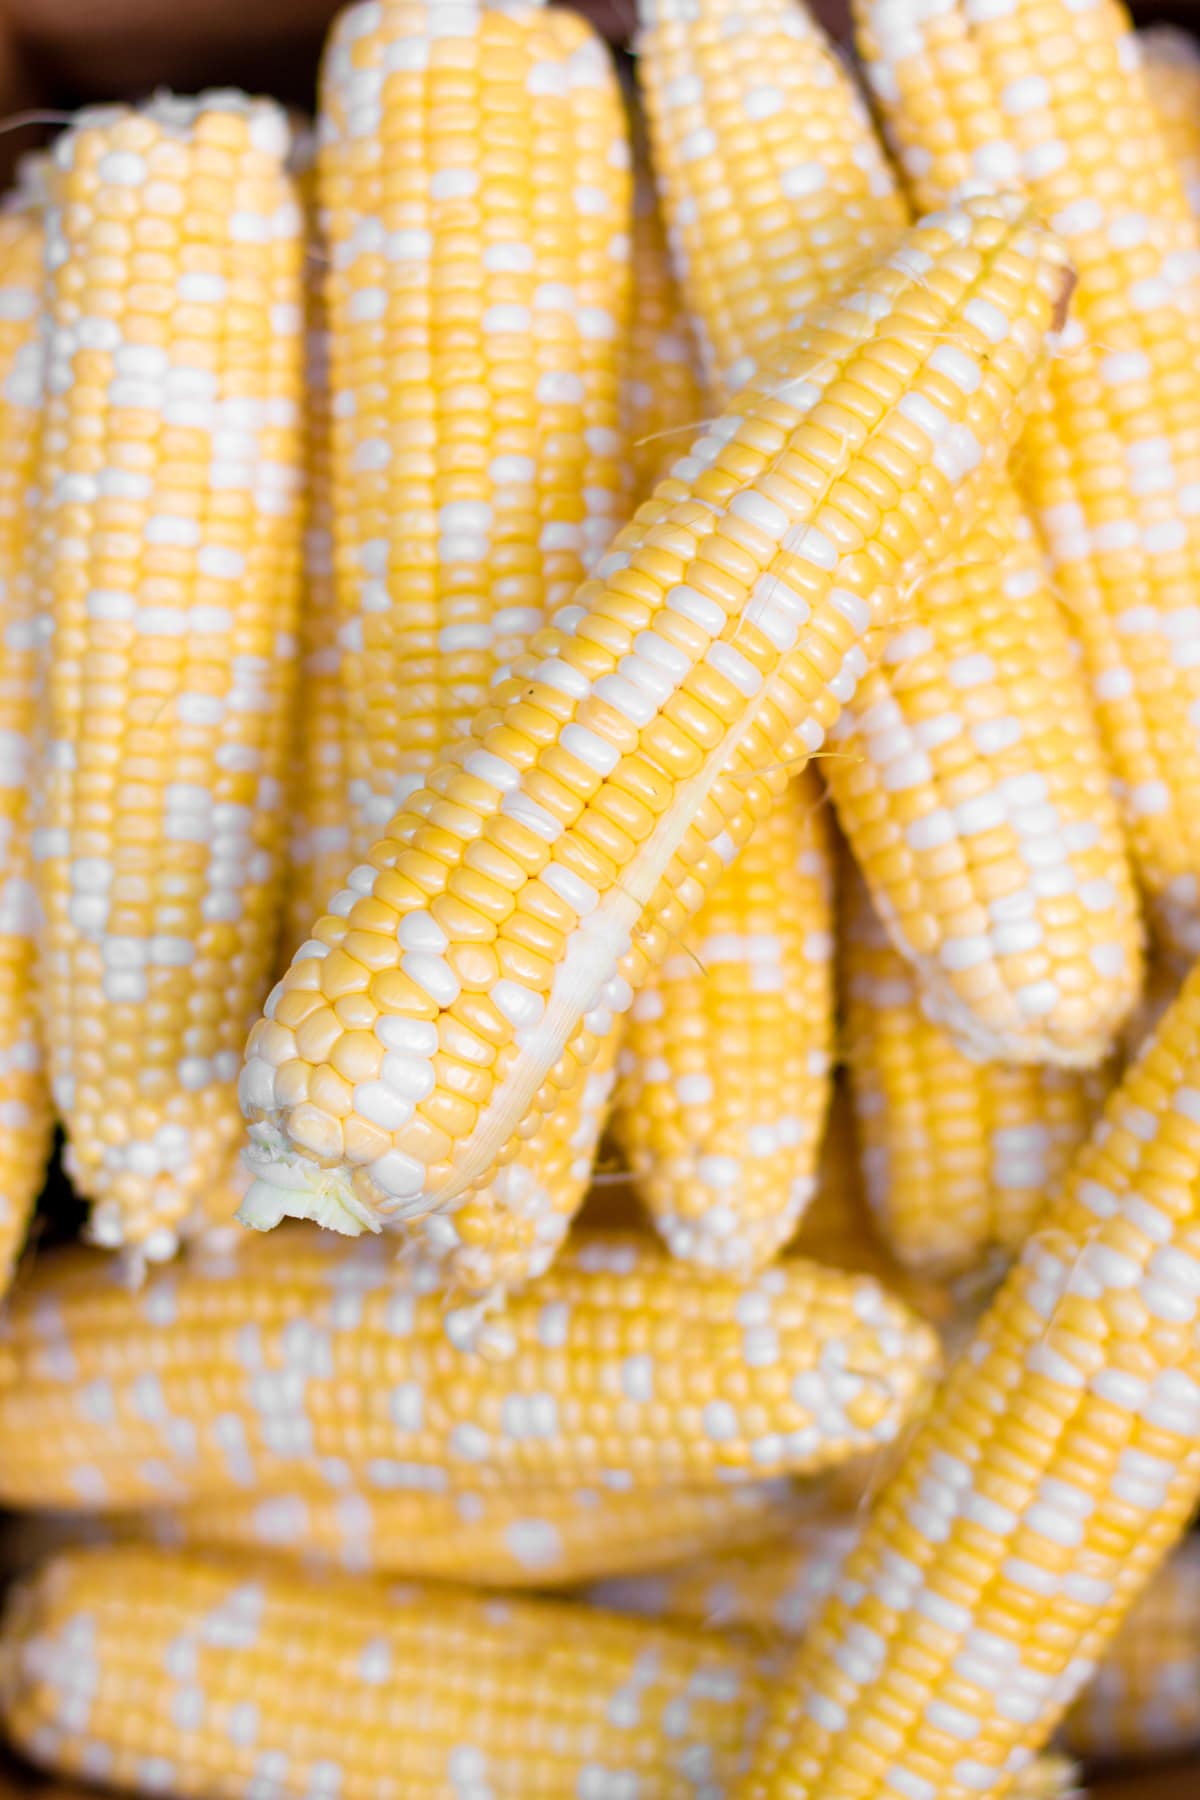
What’s the best way to remove corn kernels from the cob?
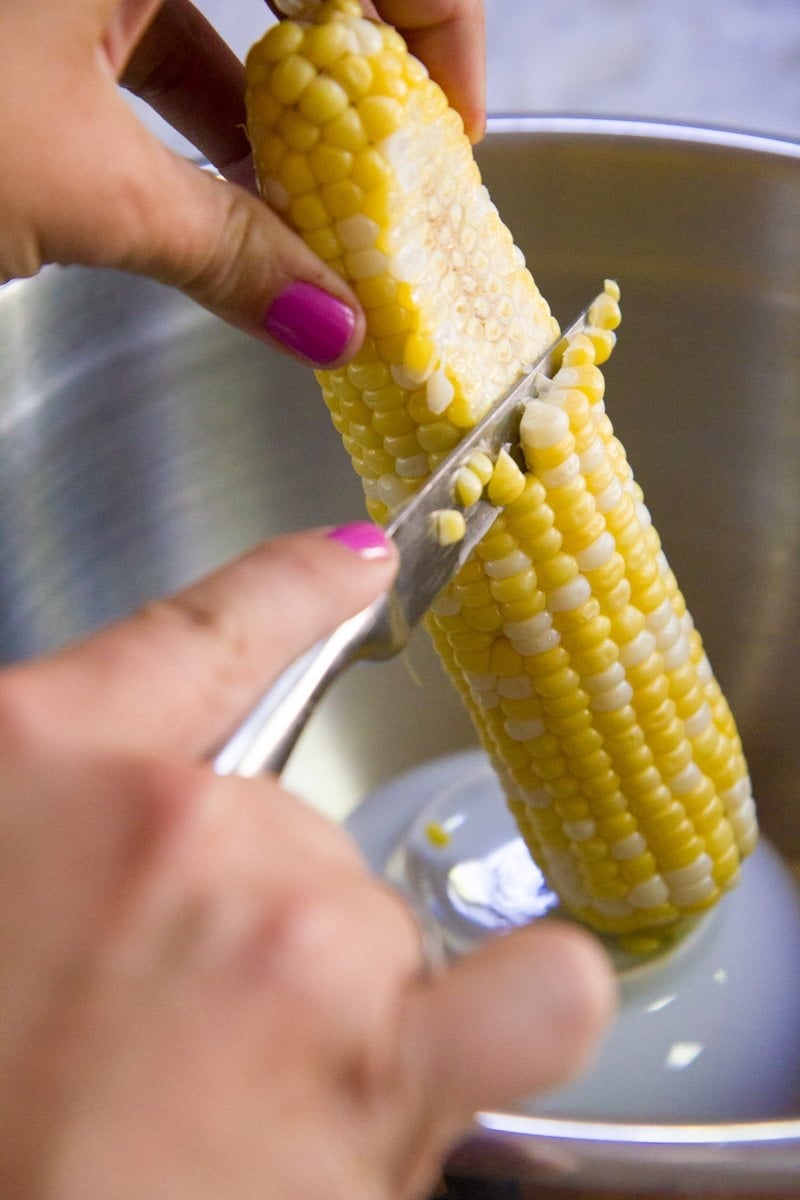
There are all kinds of fancy tools out there meant to make stripping the kernels off of a corn cob easier, but I have honestly never found one that I like more than a trusty sharp knife. If you have a tool you like, awesome—use it! Strip those cobs down to their skivvies.
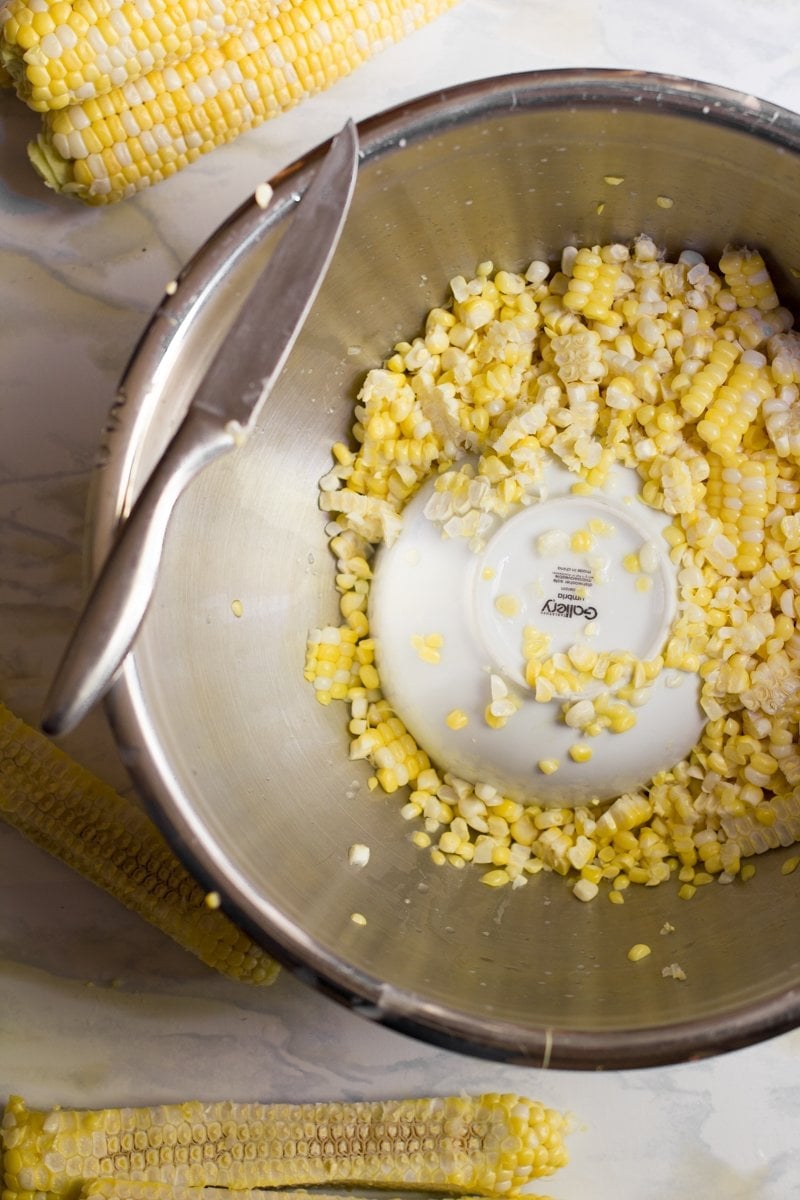
If you are special tool-less, I recommend taking a small bowl (preferably one with a little bit of a foot) and inverting it into a large bowl. Use the bottom of the small bowl as a pedestal for your corn cob, and then slice the kernels off with a sharp knife. You can also do this with a Bundt pan—just use the middle of the pan to hold your ear of corn.
It sounds like it would be really tedious, but you get into a rhythm after a while, and it honestly moves pretty quickly. I’d say it took me less than half an hour to strip all the kernels off my bushel of corn. You’d be amazed at how fast that bowl will fill up! Your kernels are ready to freeze!
Wholefully Protip
Don’t you dare throw away those cobs! Make some corn cob jelly or feed them to your chickens (both of which I did).
How do you store frozen corn?
When I can, I freeze corn in three cup increments. Three cups is a good serving size for the three of us as a side dish for dinner, and it is also a good amount for recipes. But I also like to have some bigger glass containers that I can measure smaller amounts out of as needed. Here’s what I use:
- Glass Food Storage Containers and Glass Canning Jars—If I had all the freezer space in the world, I’d use only glass containers and jars—they are reusable and it is so satisfying to see glass containers of beautiful food lined up in your freezer. But they do take up a lot of space! If you go the mason jar route, make sure to choose jars with straight sides, rather than the ones with curved shoulders at the top.
- Zip-top Freezer Bags—Freezer bags are affordable, and it is easy to freeze a precise amount. Three cups of corn fit into a quart bag perfectly.
- Vacuum Sealing Bags—This is the biggest space saver, though you will need to buy a vacuum sealer to start.
Can you vacuum seal corn on the cob?
You sure can, but you need to flash freeze it first. Spread the kernels out in one layer on a baking sheet, and then freeze until just solid. Then, you can scoop the frozen kernels into vacuum sealer bags and seal.
Wholefully Protip
You must pre-freeze corn before vacuum sealing because if not, the vacuum sealer will suck in the liquid from the corn and not seal the bags properly.
How long does frozen corn last?
For the best tasting corn, you’ll want to use it within a year of being frozen, but you can get by even a little longer if you use it in soups, stews, or dips where the flavor and texture are masked a bit by other foods. We plow through frozen corn, so we’ll be lucky if these 14 bags make it until next summer (probably half of them will end up in Turkey Taco Chili). You can get by with even longer if you vacuum seal your corn—up to two to three years.
How can I use frozen corn?
How can you NOT use frozen corn is a better question! Frozen corn is so stupendously versatile. Of course, you can heat it up in a little bit of water for a great side dish when topped with butter and salt, but you can also use it in recipes. Here are some options:
- Southwestern Quinoa Stuffed Peppers. This vegetarian meal is a staple in our house! It freezes beautifully, and the leftovers are delicious.
- Turkey Taco Chili. This turkey taco chili recipe is a family recipe that is well-loved by adults and kids alike. Make it on the stove or in the slow cooker
- Tortilla Chopped Salad. This chopped salad is packed full of amazing color, flavor and texture. It’s a favorite when I’m craving a light supper!
- Corn and Cauliflower Chowder. This is a hearty chowder that is packed full of nourishing veggies!
- Summer Roasted Vegetable Pasta. A vegetarian pasta packed with summer flavor? Sign me up!
- Black Bean and Corn Salsa. This fresh salsa is a family favorite! We make it every summer holiday, and there is never any left at the end of the party.
- Fresh Corn and Basil Salad. This simple salad is packed with the flavor of summer.
- One Pot Summertime Primavera. A creamy and veggie-packed pasta all made in one pot? This is a weeknight win!
- Blue Cornbread. This colorful cornbread uses frozen corn to add amazing flavor and texture.
- Summer Split Pea Salad. This vegan split pea recipe is a different way to use up that bag of split peas in your pantry.
- Easy Vegetable Beef Soup. This easy soup recipe is designed to use frozen veggies!
Freezing Corn
Stash the flavor of sweet corn in your freezer using our how to freeze corn on the cob tutorial! Freeze it in kernels or ears.
Ingredients
- 12 ears of corn, husks and silks removed
Instructions
- Bring a pot of water to boil, and prepare an ice bath by filling your clean sink or a large bowl with ice and water.
- Drop the shucked ears of corn into boiling water for 2-3 minutes. You may need to do this in batches.
- Stop the cooking by plunging the blanched corn into the ice bath. Repeat with remaining corn.
For freezing full ears of corn:
- Move the ears of corn to freezer bags or containers and freeze until use.
For freezing corn kernels:
- Use a large bowl and a specialty tool or a sharp knife to remove the corn kernels from the cob.
- Package the kernels in freezer bags or containers and freeze until use.
Nutrition Information:
Yield: 12 Serving Size: 1 cupAmount Per Serving: Calories: 76Total Fat: 1gSaturated Fat: 0gTrans Fat: 0gUnsaturated Fat: 1gCholesterol: 0mgSodium: 1mgCarbohydrates: 17gFiber: 2gSugar: 4gProtein: 3g
At Wholefully, we believe that good nutrition is about much more than just the numbers on the nutrition facts panel. Please use the above information as only a small part of what helps you decide what foods are nourishing for you.

