Cheese boards are my JAM for holiday entertaining. They are delicious. They are impressive. And they are crazy easy to put together. I’m a big fan of dishes that have a high oooh-and-ahhh to elbow grease ratio. And cheese boards are the epitome of a great return on investment. They take just a few minutes to put together, and man, do they ever look sharp. So much so, that when you bring one out, more often than not, one of your guests will say, “Oh, you didn’t have to go to that much hassle for me!” To which you will then laugh and tell them it took you like three seconds to put together. Or you’ll let them continue to feel impressed. Depending on how much you like your houseguest.
Now, there are a lot of cheese board ideas out there. So let me tell you why mine is different—it isn’t ridiculous. Some of the cheese boards you see that are making the rounds on Instagram have hundreds of dollars worth of ingredients put into them, tons of food styling time, and so many moving parts, it seems almost impossible to wrap your brain around. That isn’t my cheese board. I’m so not that kind of girl.
The Ultimate Guide to Healthy School Lunches
We’ve packed (pun intended!) all our knowledge from years of making school lunches into one digital master guide!
How do you make a cheese board?
My basic principle when making a cheese board is to put piles of stuff I like on a board. Done. It really is that simple. I just pile stuff on a board until it’s full, and then when people eat some, I pile on some more. There isn’t really anything magical to it!
It can’t really be that easy to make a good cheese platter, can it?
If you want a little more rigidity, try to make sure you have items in each of a few categories—cheese (of course), salty, sweet, crackers, and condiments/sauces. I’ll talk a little bit more about each of those categories in a sec, but when you’re gathering ingredients at the store, it’s good to think of filling up those flavor “buckets.”
Or don’t. Seriously, don’t overthink it if you don’t want to. I promise you can’t mess this up.
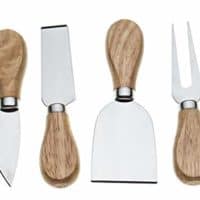
In fact, the messier, less organized, more rustic a cheese board is, the more beautiful I think it is. I don’t pre-slice my cheese, mostly because I’m lazy (I use these really affordable cheese knives instead). I don’t make perfectly organized rows—I’m a big fan of the pile method. Seriously, friends. Just put stuff you like on a board and serve it. I promise your guests will love it.
Can you use a cutting board for a cheese board?
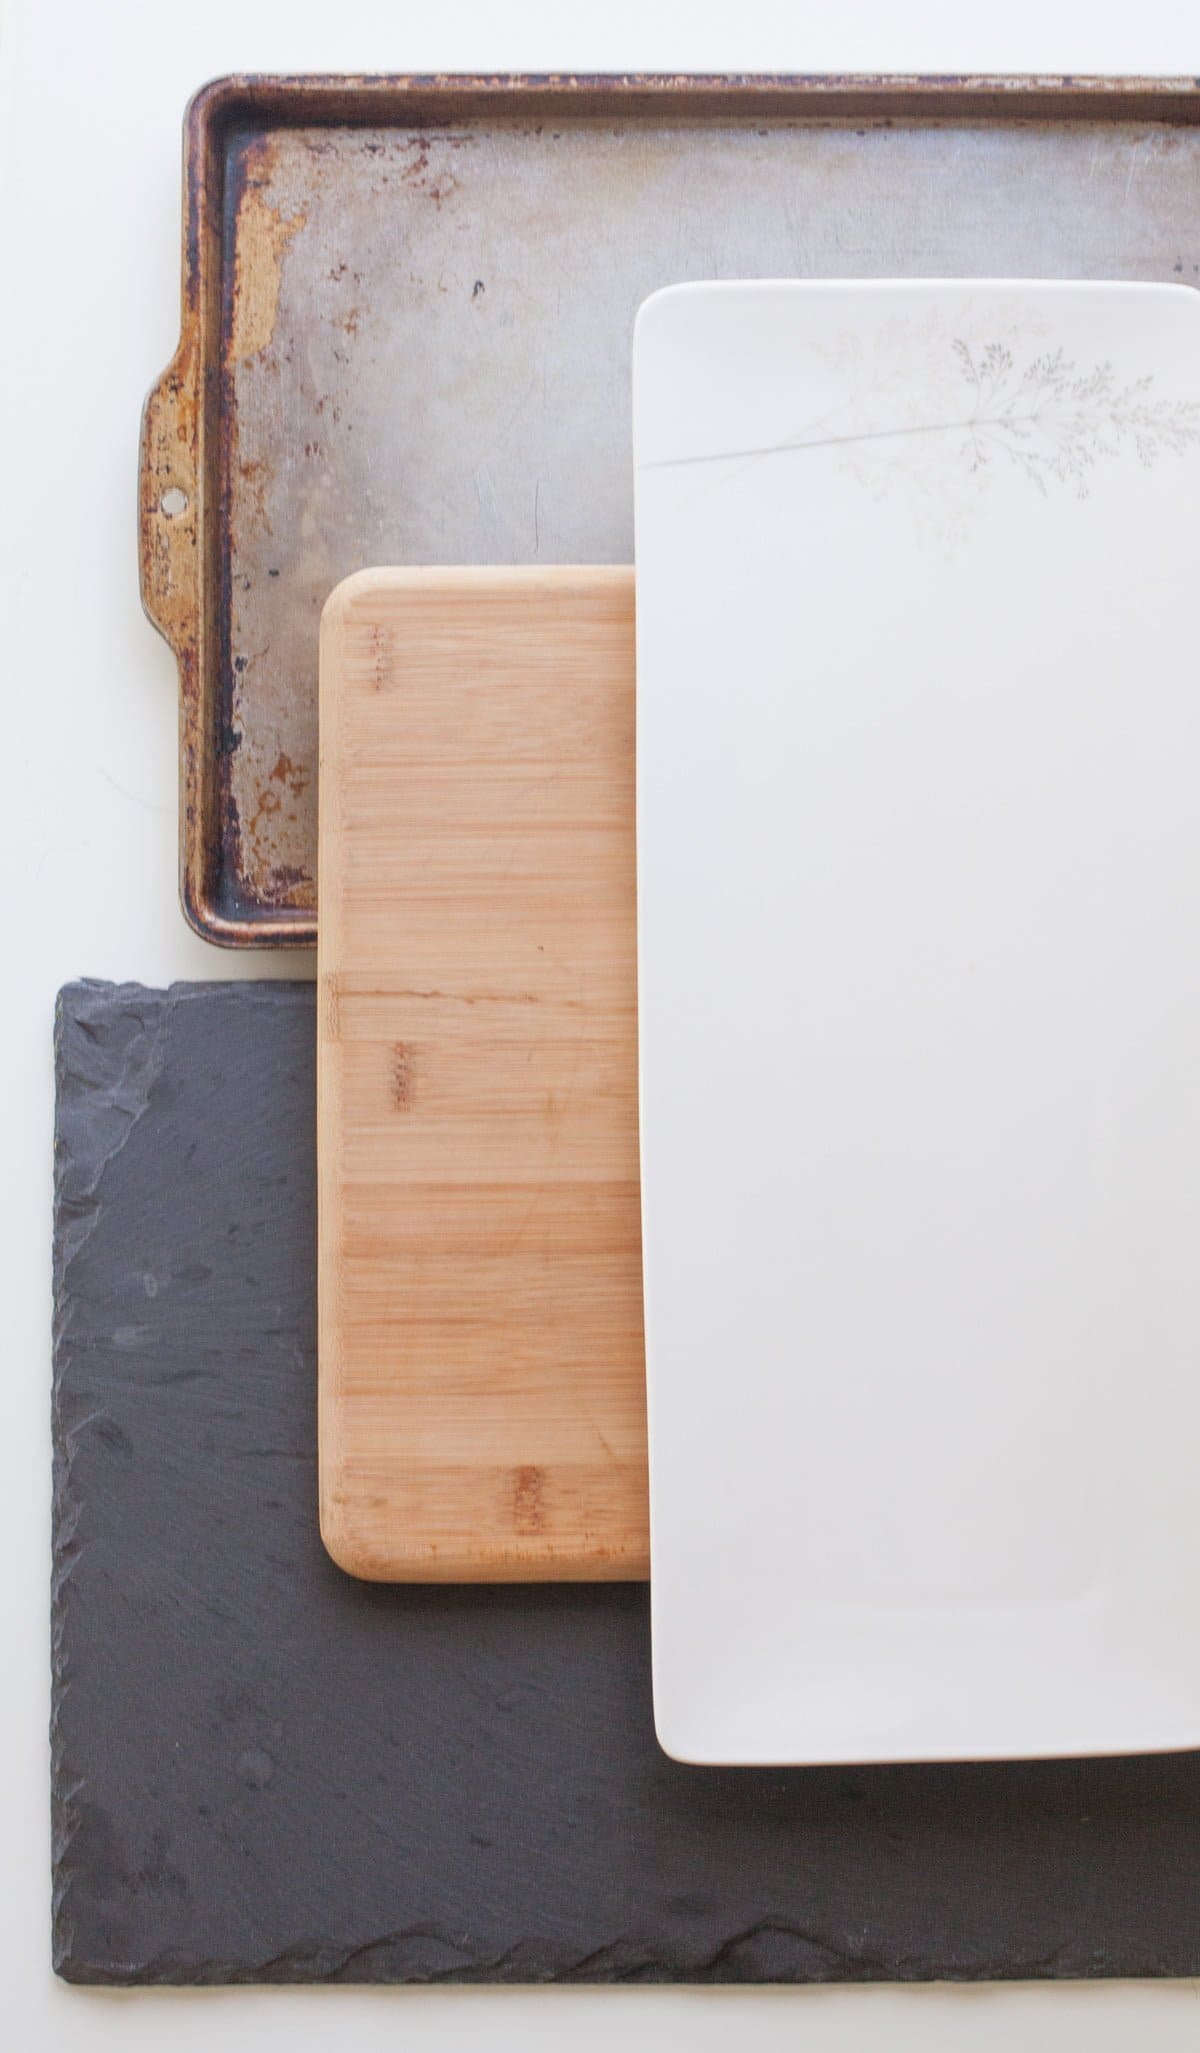
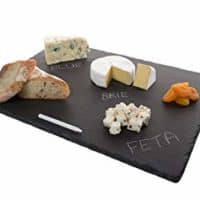
I have a large slate board that I nabbed from Crate and Barrel that I love. I think the black background really makes everything look beautiful—it also allows you to write on it in chalk (if I ever left extra space on my cheese boards to do so).
Don’t have a specialty cheese board? Ain’t no thang. Use a big cutting board (I have this bamboo one that is perfect), a serving platter, or even a cookie sheet works—it looks all rustic and cute-like. Any large flat surface will work.
What cheeses should you put on a cheese board?
I generally recommend picking 3-5 cheeses for your cheese platter. For most cheese boards, you’ll want to select varieties that cover the whole cheese spectrum in terms of texture and flavor. Here is a general idea of what kinds of cheeses to get:
- A mix of cheese textures—Get at least one soft cheese (like brie), one hard cheese (like Parmesan or cheddar), and one crumbly cheese (like bleu cheese).
- A mix of strengths—Not everyone loves stinky cheese, so make sure one or two of your options are mild or buttery.
- A variety of colors and shapes—This is just to make the board look more visually interesting and pretty!
Most of those cheese counters at higher-end grocery stores will let you sample cheeses if you don’t know what you’re buying. And many also have a bargain bin where you can get small wedges or wheels for just a few bucks—this is great for cheese boarding!
Protip: Save some money!
Lots of cheese counters will have a bargain bin of cheese ends—pieces that were too small for people to order. This is a great place to get cheeses for your cheese platter, because you can get lots of variety for only a few dollars!
Should I pre-slice the cheese before I assemble my cheese board?
Like I mentioned above, I don’t normally pre-slice my cheese before it goes on the board—instead, I use cheese knives. There are two reasons for this:
- It just looks better. Perfectly aligned rows of pre-sliced cheese remind of deli cheese trays. There is something really organic and beautiful about seeing the whole wedge or wheel.
- It’s so much easier! Let your guests do the work, and slice as thin or as thick as they want.
How many cheeses should you have on a charcuterie board?
It can be a little tricky to estimate how much cheese board is enough cheese board. The answer to this question of course entirely depends on how many people you are serving and if you are serving the cheese board as an appetizer for a larger meal, or if it’s the only food available. Here is a good rule of thumb that I use:
- For an appetizer: One standard-size wedge/circle/log (4-6 ounces each) of cheese per three people served.
- For a main: One standard-size wedge/circle/log (4-6 ounces each) of cheese per two people served
Of course, this doesn’t take into account the fact that you might just want to have more cheese available so you have a mix of textures and flavors! Take those numbers as the bare minimum, and remember: more cheese is never a bad thing. I try to always have at least three cheeses on a cheese board, just because I think visually it looks the best.
Protip: Don’t skimp on the cheese!
Alway err on the side of too much cheese instead of not enough cheese.
What meats, crackers, fruits, veggies, and condiments go on a cheese board?
The possibilities for adding to a cheese board are almost endless, so I find that it’s better to think of the categories of foods you need instead of the individual items. Here are some cheese board ideas for all the non-cheese categories I try to include:
- Meaty/Salty: Prosciutto, salami, sausage, olives (stuffed are great), marinated artichoke hearts, fermented veggies, pickles.
- Crunchy: Nuts, seeds, rice crackers, water crackers, Triscuits, crunchy breadsticks, cheese crisps, bagel crisps, pita chips.
- Sweet: Dried apricots, chocolate squares, chocolate-covered almonds, dried mango, yogurt-covered raisins.
- Fruits: Grapes, apple or pear slices (treated with fruit preserver), orange slices, pomegranate arils, persimmon slices, cherries, strawberries, blueberries.
- Veggies: Grape or cherry tomatoes, sliced bell pepper, caprese sticks, any blanched veggie (asparagus, broccoli, etc.).
- Condiments: Grainy mustard, chutneys, honey, hot sauce, jams, salsa, sauerkraut, hot honey, pesto.
- Garnishes: Rosemary sprigs, sage leaves, parsley sprigs—anything green!
How do you assemble a beautiful cheese board?
As I’ve already established, I have a very “pile and go” mentality when it comes to cheese boards! I do have a little bit of method to my madness, and that comes in the order I put things on. Here is the order in which I build my cheese board:
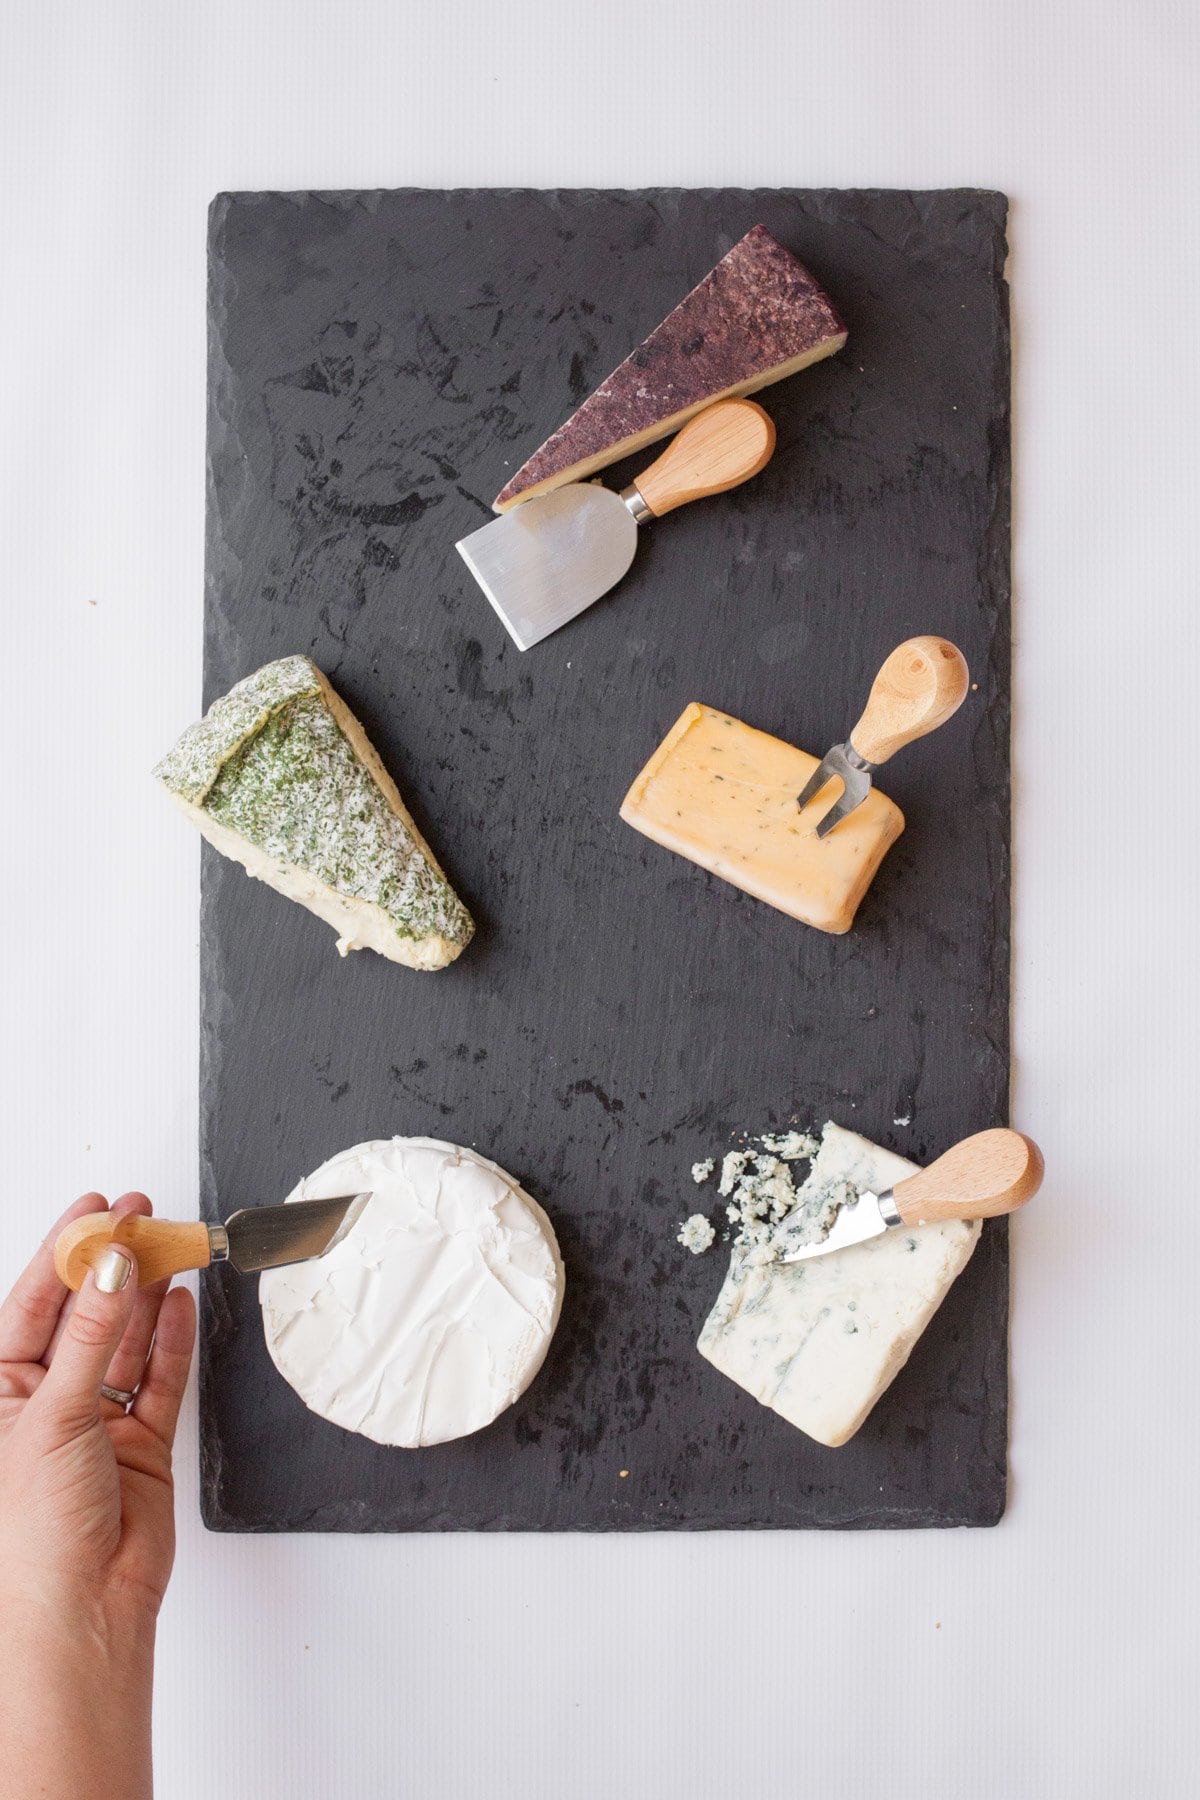
Step 1: Cheeses on.
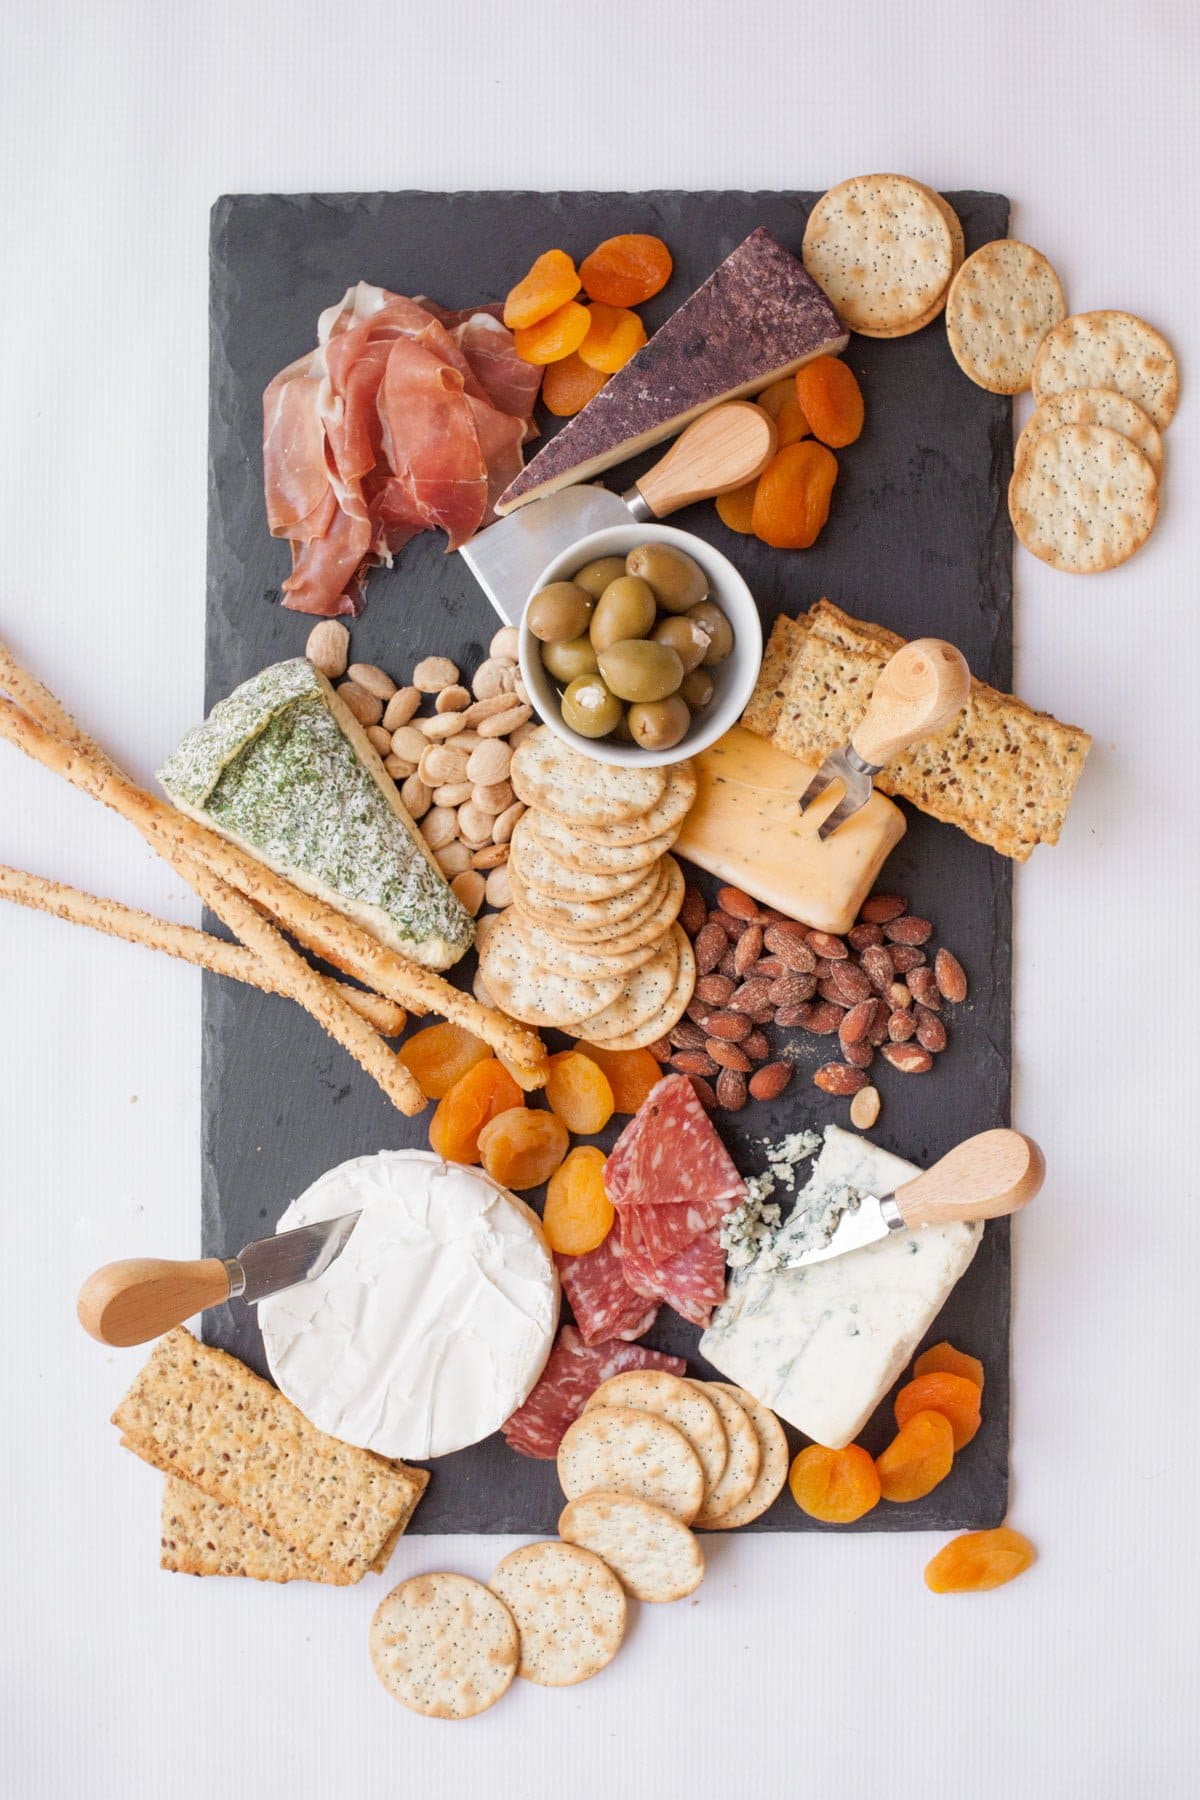
I put my cheeses on first, spread evenly throughout the open space of the board. The cheese wedges are the “hubs” of the board, so I like to get those on first.
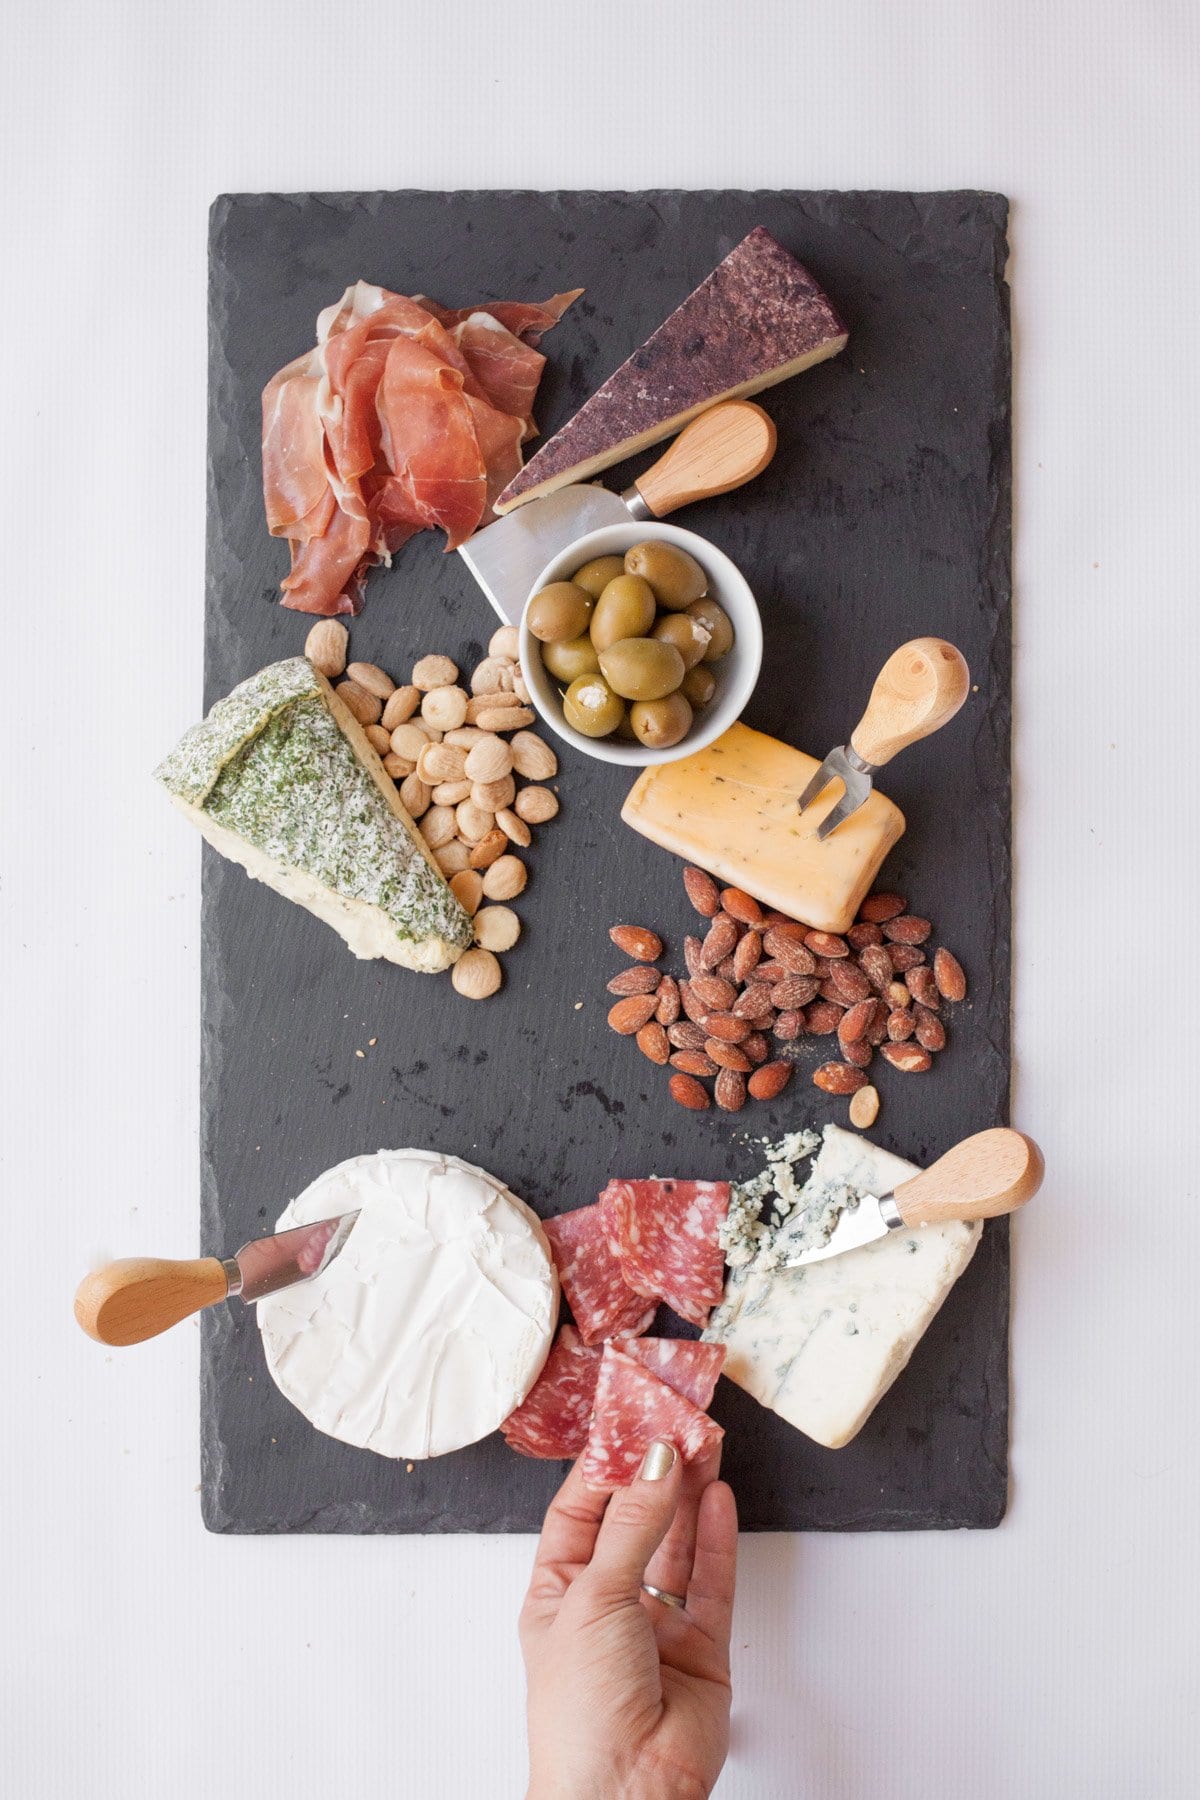
Step 2: Salty (but not cracker) things on next.
Now, I start using the cheese wedges as the center and build out from there. I pile meats, nuts, and olives around. Sometimes I use small bowls (especially for roly-poly olives), but more often than not, I just pile.
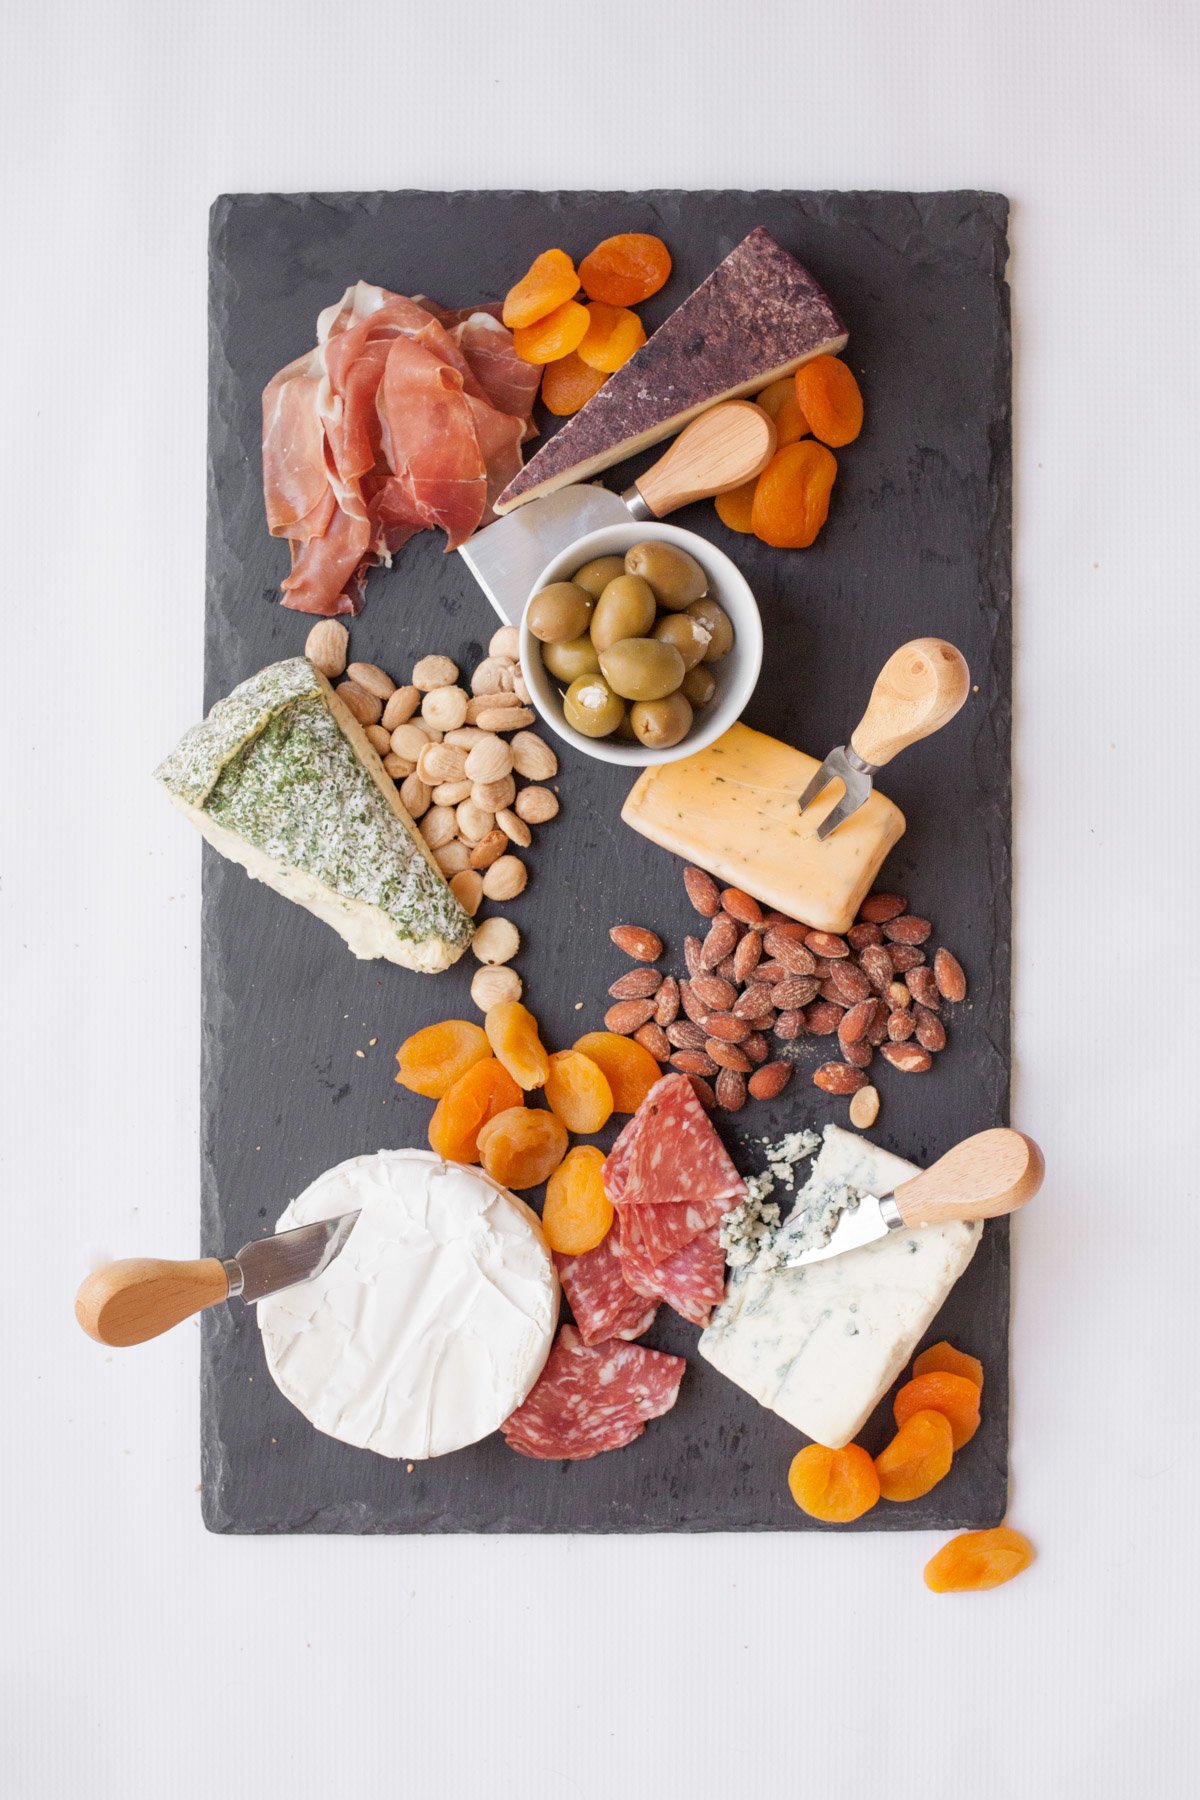
Step 3: Sweet things start to fill in the gaps.
You don’t need a ton of fresh or dried fruit here, but a little bit can be a nice thing to bite on between cheese tastes.
Step 4: Add piles of crackers.
I like to use a mix of crackers, just because it’s fun, but use whatever makes you happy. I just pile them on the cheese board wherever there are openings. You can always restock if you run low on crackers. I also like to include some crunchy breadsticks. They look pretty and they’re fun to snack on!
You could stop working on your cheese board right here, and it’d be delicious, beautiful, and everyone would love it. For overachiever status, continue on.
Protip: If you want to keep it simple…
If you stop here, you’ll still have an amazing cheese board! Read on to take your cheese platter over-the-top.
Step 5: Add condiments.
Condiments are a really fun addition to a cheese board. Some of my favorite options: honey, fancy mustards, jams, and preserves. You can add sauces and chutneys and whatever else makes you happy. This is a really great excuse to use all those little gift jars of jams and mustards and such that people have gifted you (Or is that just me? Am I the only person that gets 400 tiny jars of jam a year?).
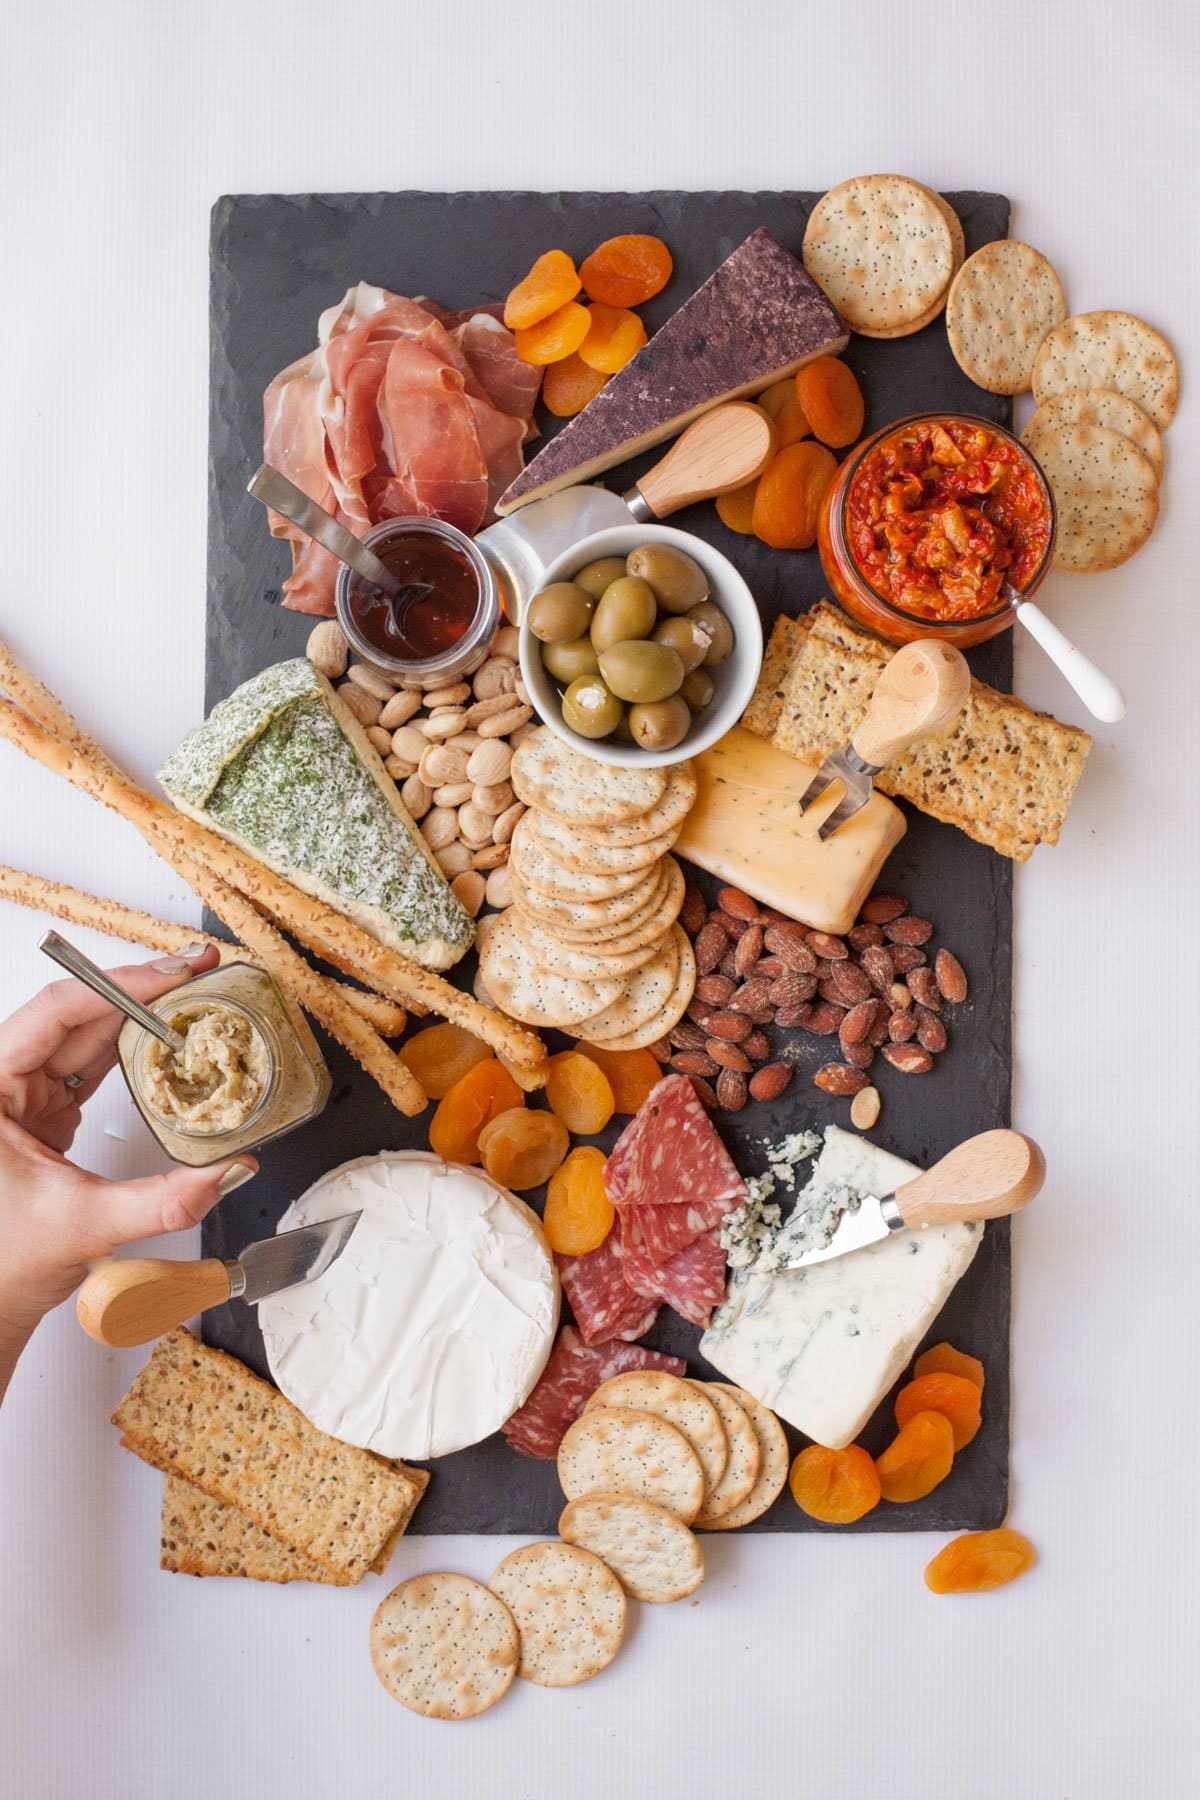
If the bottle the condiment comes in is small enough, I just take off the lid, stick a spoon in it, and call it day. If I need to transfer it (like with honey), I move it into a small jar or bowl to save space.
Step 6: Fill empty spaces.
This is what will help make your cheese board look really amazing—fill in all the empty spaces. I like to do this with little clusters of grapes. They fill in all the nooks and crannies nicely, and they’re the perfect size for someone to grab and just eat a few grapes. Another good option: cherry tomatoes. Both grapes and tomatoes help add some really beautiful color!
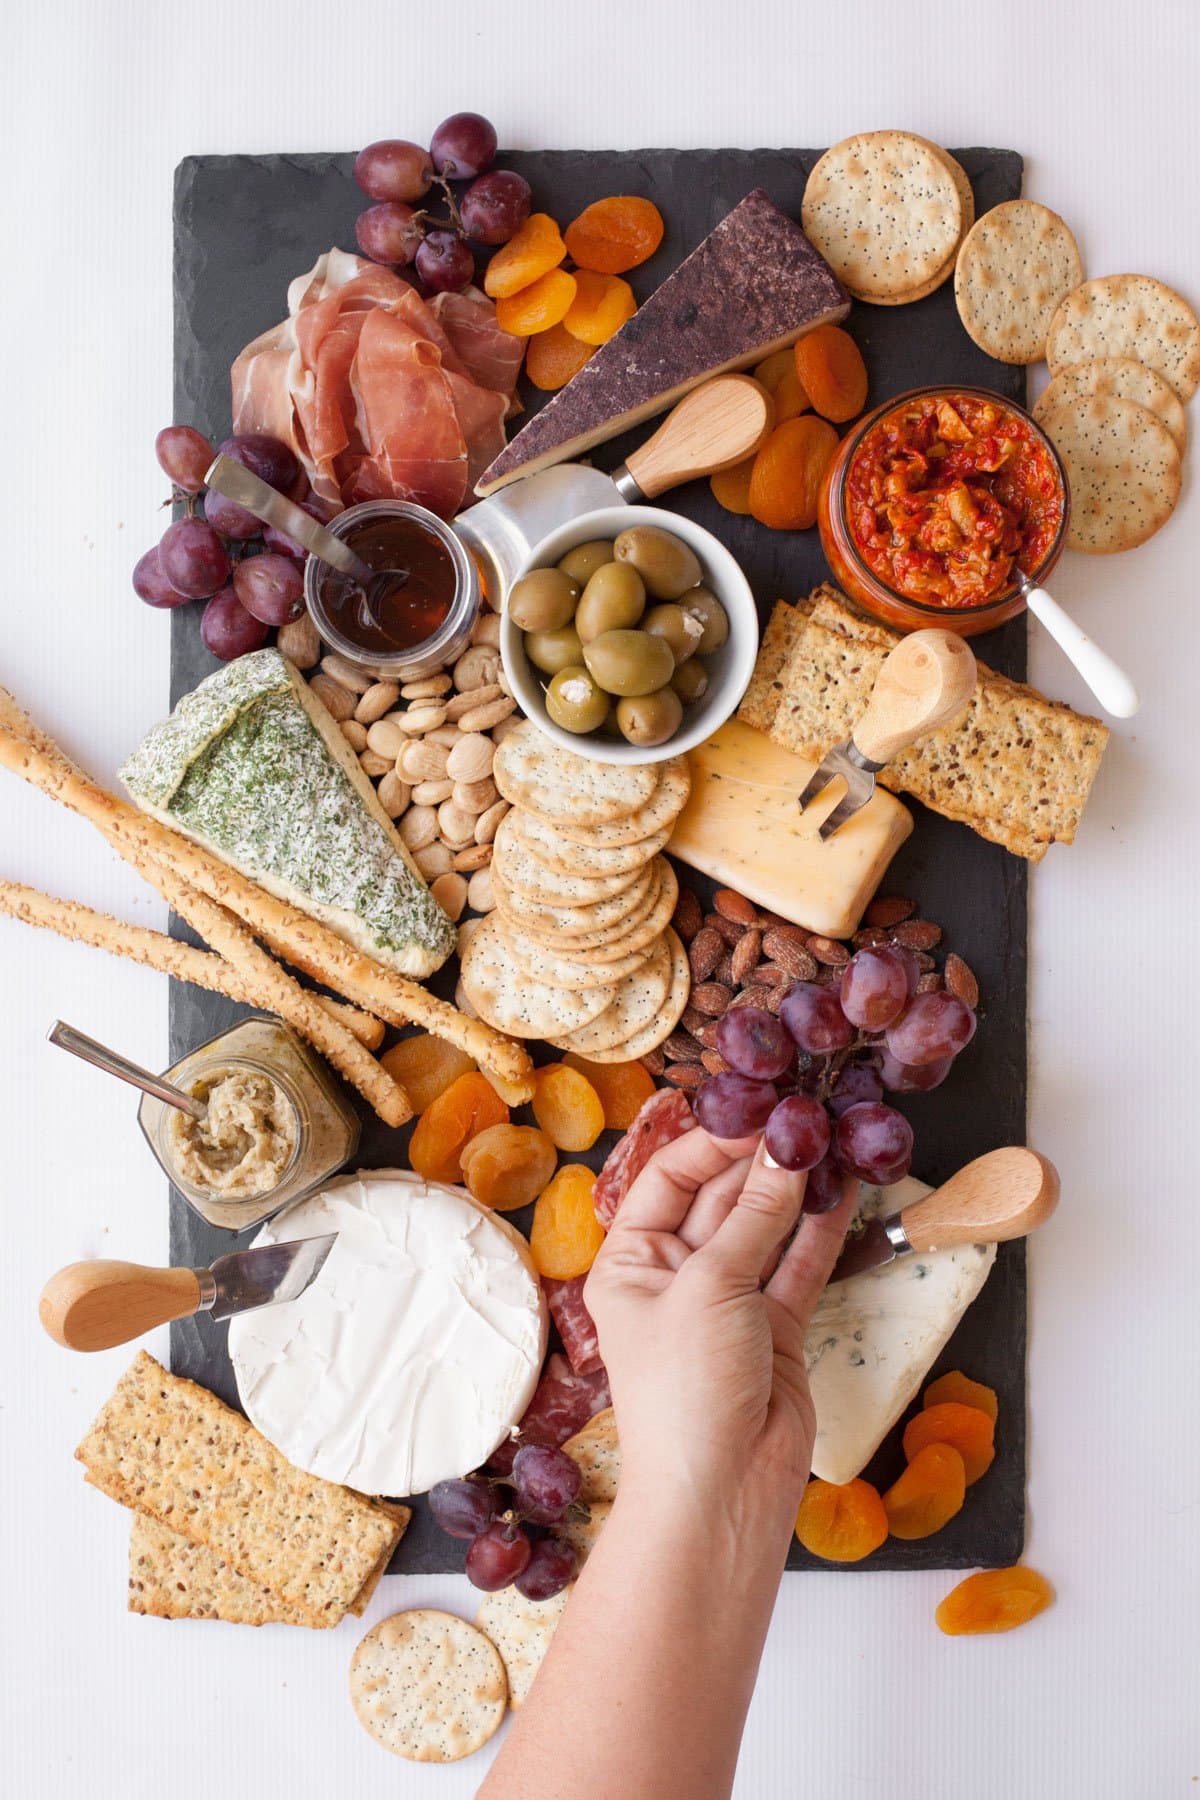
Step 7: Garnish.
Finally, garnish that baby. For the holiday season, I love just adding a few sprigs of fresh rosemary—it looks a lot like a Christmas tree, and it smells amazing. I also tend to use fresh sage a lot, too. Is this step important? Heck, no. Does it look good? Absolutely! And it takes about 10 seconds to do.
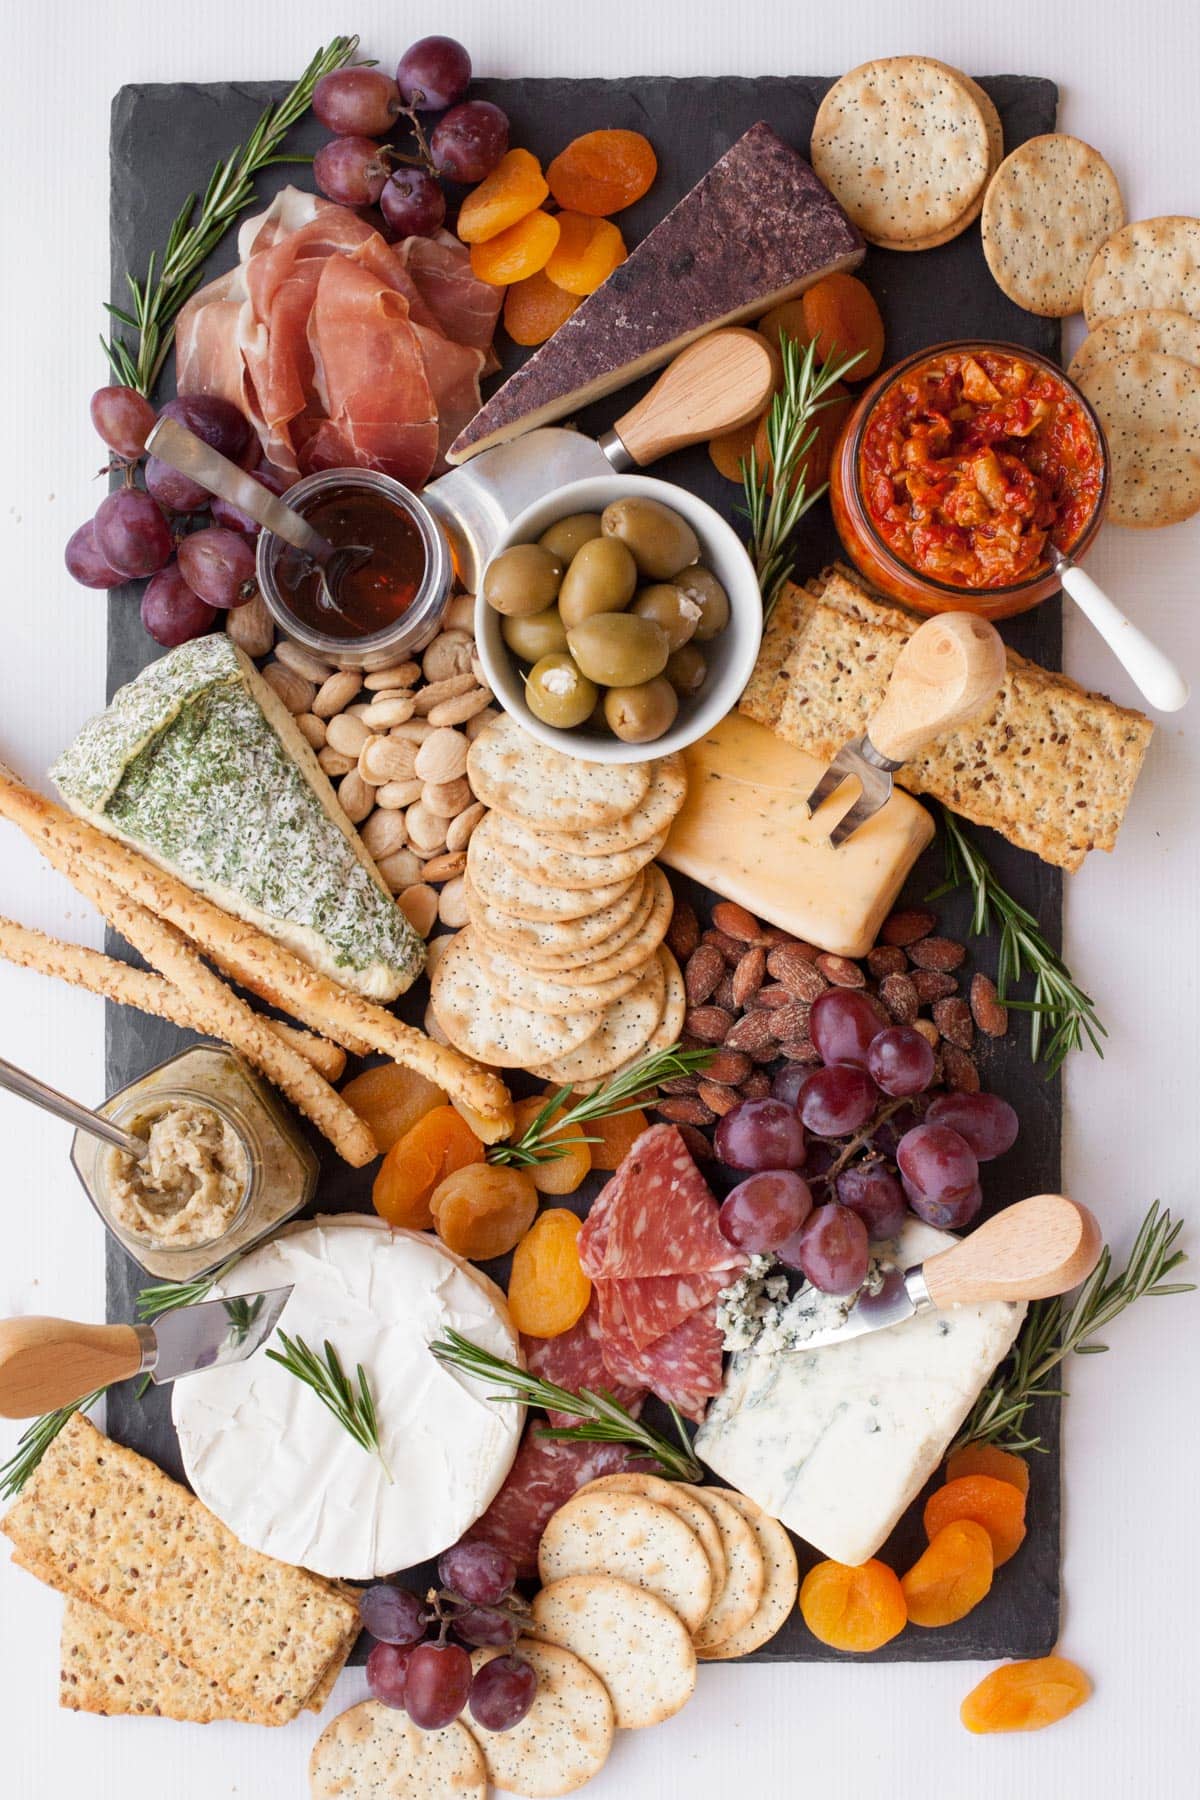
Can you make a cheese board in advance?
Putting a cheese board together is done in just a few minutes, but if you want to do some of the work ahead of time, you absolutely can! Just leave off any crunchy items—like crackers or nuts—or they’ll get soggy. Other than that, you can have the entire cheese board assembled up to a day in advance. Just make sure to wrap the whole thing well in plastic wrap and store it in the fridge.
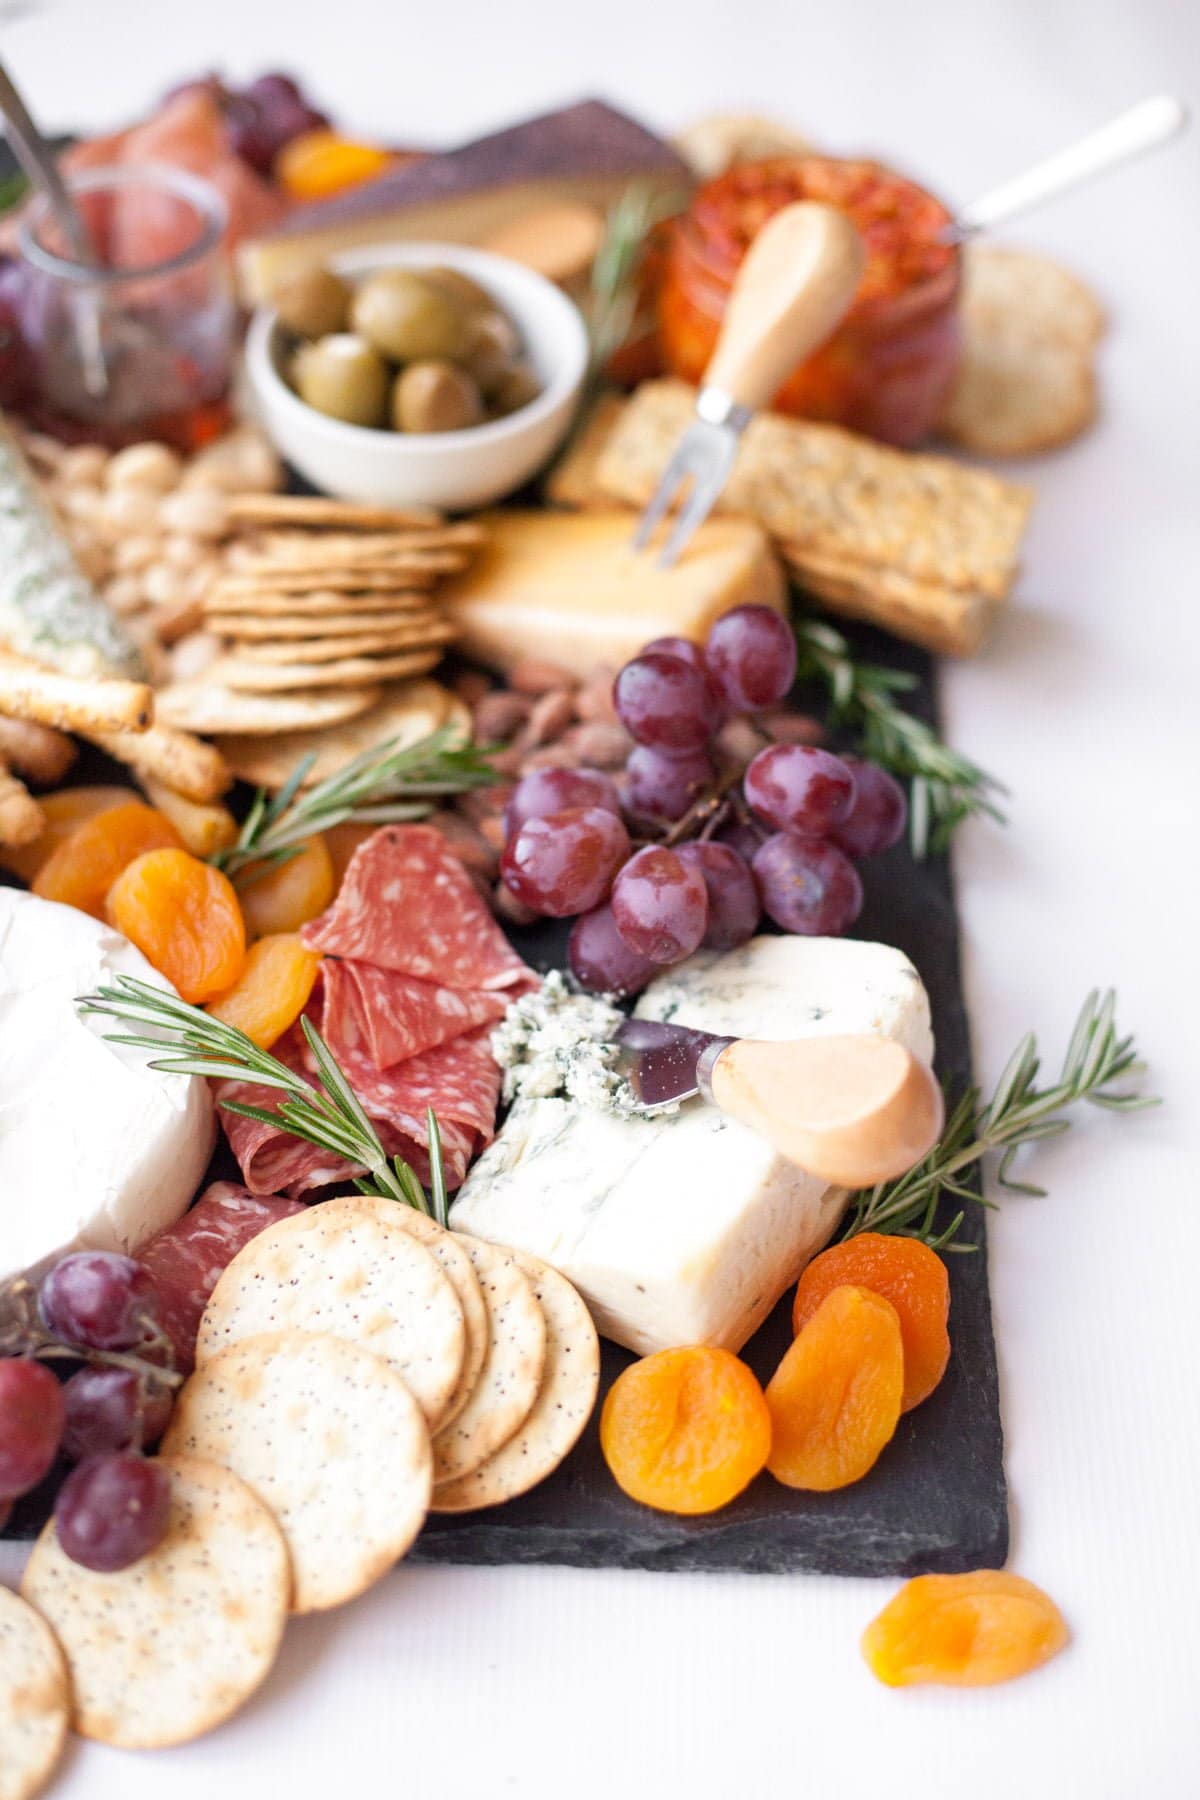
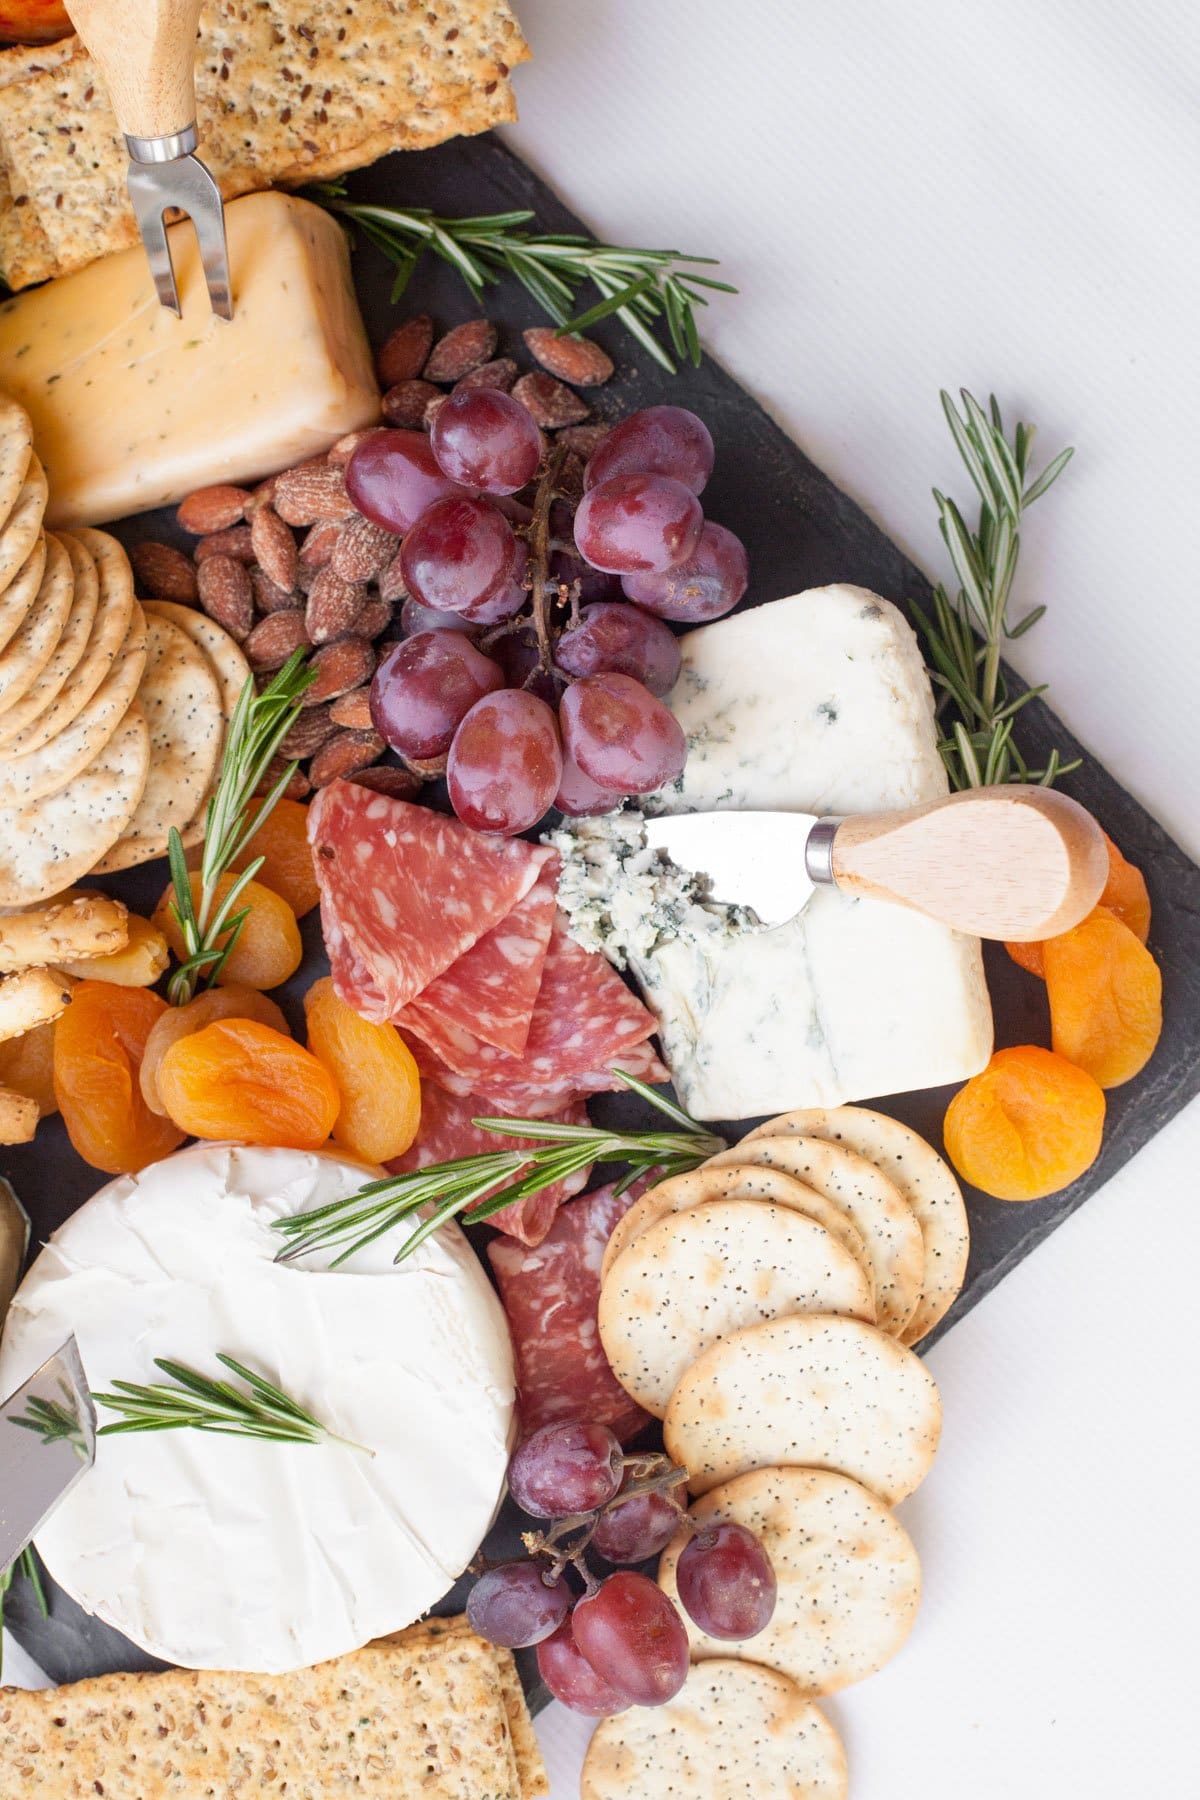
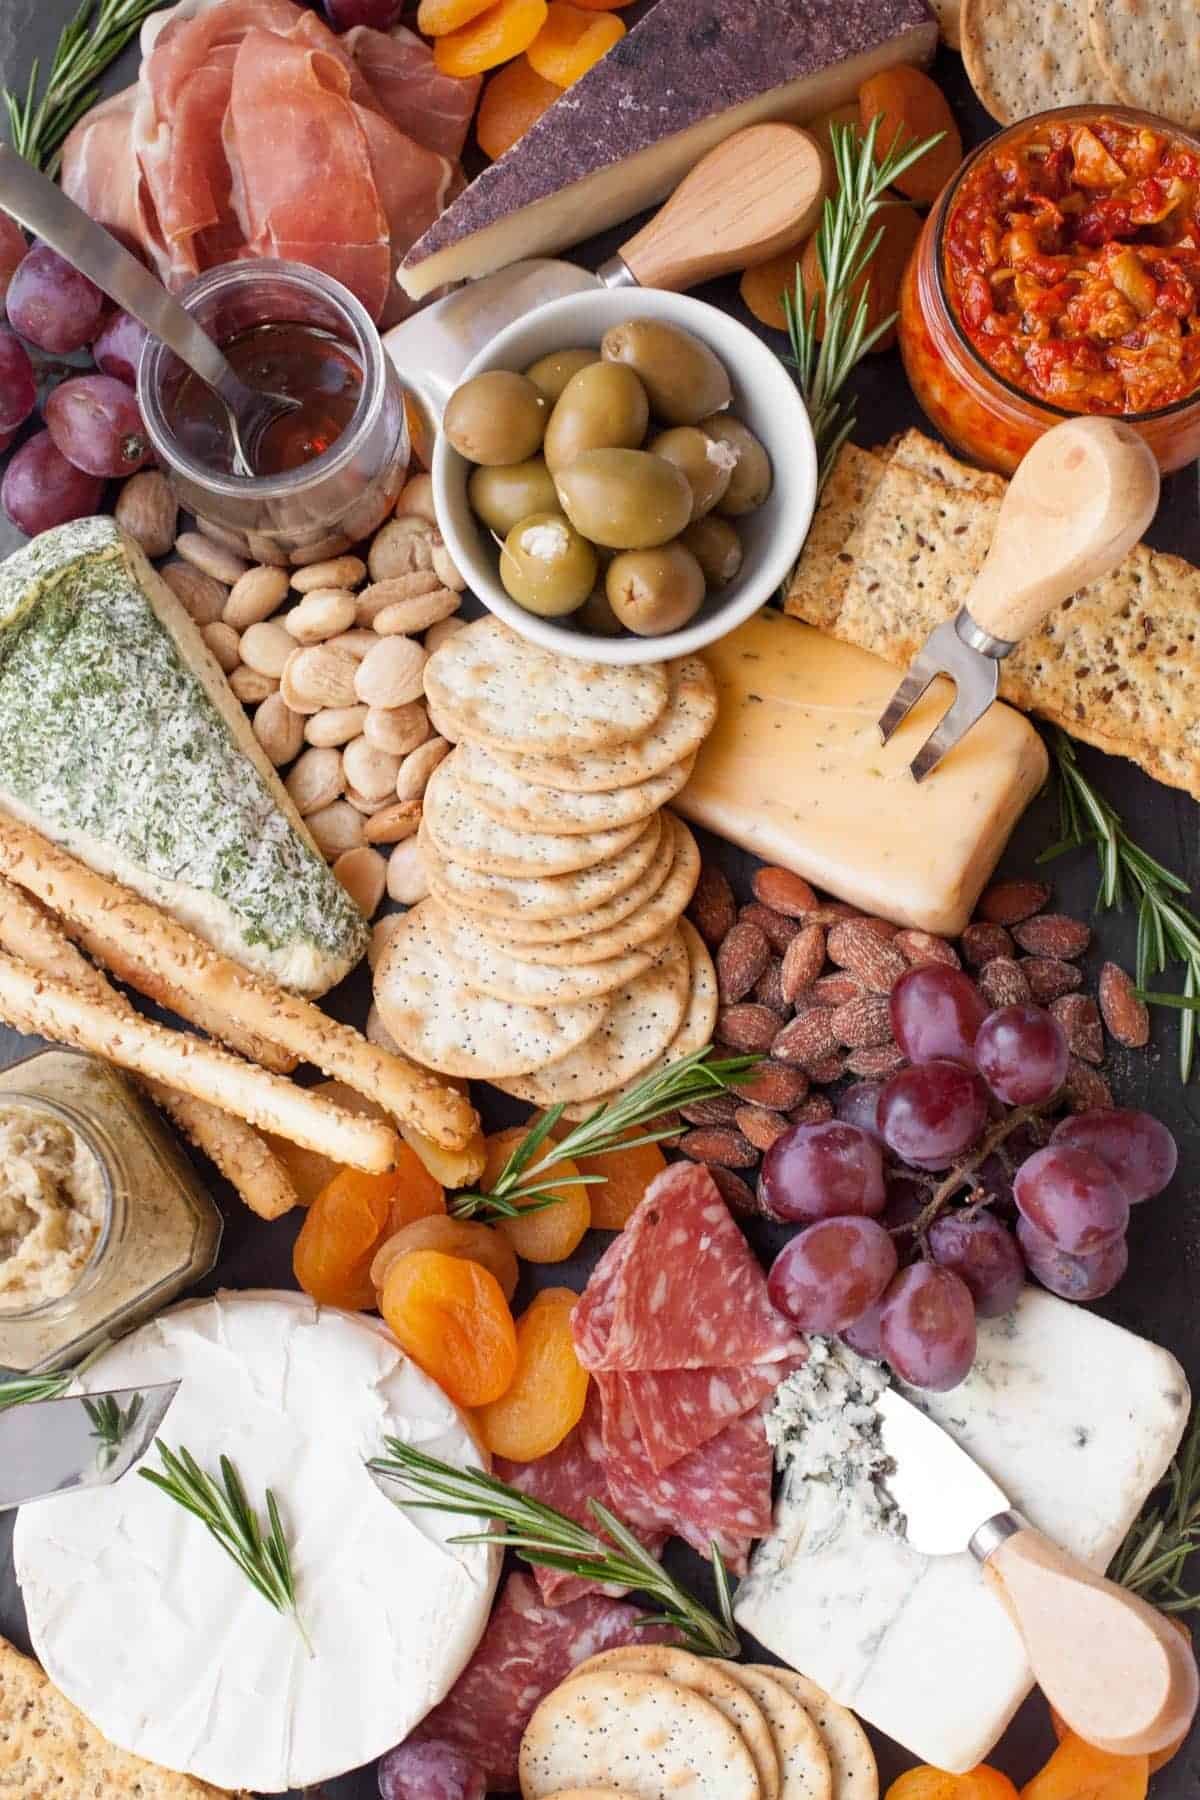
And that’s it! I know that was a lot of explaining, but honestly, the whole process takes less than five minutes. And look at this beauty!

Now, of course, I’ve been talking a lot about using a cheese board for serving to guests at the holidays, but it’s also important to note that a cheese board dinner is a favorite in our house! We have it every few weeks. It’s a super speedy dinner (perfect for weeknights). It’s fun for everyone (even kids love it). And it’s pretty healthy (especially if you go heavy on the fruits and veggies). Happy cheese boarding!
Want some holiday-specific cheese board ideas?
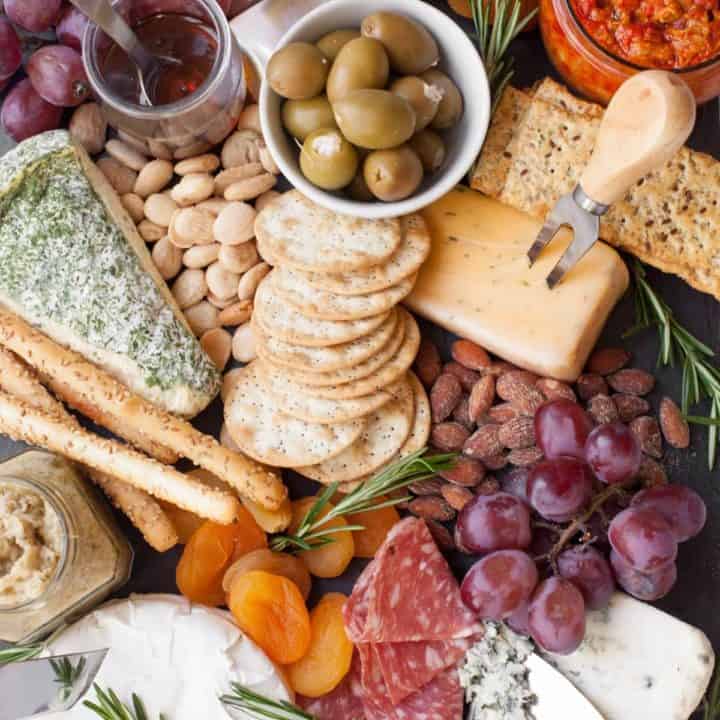
How to Make an Awesome Cheese Board in Minutes
Cheese boards are always crowd-pleasers! Learn how to make a cheese board in just a few minutes with our no-fuss tutorial.
Ingredients
- Various cheese (get a mix of flavors, textures, shapes, and colors)
- Salty items (meats, nuts, olives, etc.)
- Sweet items (fruit, dried fruit, chocolate, etc.)
- Crunchy items (crackers, pita chips, breadsticks, etc.)
- Condiments (honey, mustards, chutney, etc.)
- Space-filling items (grapes, cherry tomatoes, cherries)
- Garnish (fresh herbs)
- Cheese board (can use a cheese board, cutting board, serving platter, tray, or cookie sheet)
- Cheese knives
Instructions
- Begin by spreading the cheese wedges, logs, and wheels evenly throughout the cheese board surface. Add cheese knives.
- Next, fill around the cheese with the salty items.
- Then, add a few piles of sweet items.
- Pile in the crunchy items and the condiments in small jars or bowls.
- Next, fill in any empty spaces with space-filling items like grapes, cherry tomatoes, or cherries.
- Finally, garnish the cheese board with fresh herbs.
Recommended Products
Many outgoing links on Wholefully are affiliate links. If you purchase a product after clicking an affiliate link, we receive a small percentage of the sale for referring you, at no extra cost to you.


